-

Win a Free Custom Engraved Brass Coin!!!
As a way to introduce our brass coins to the community, we will raffle off a free coin during the month of August. Follow link ABOVE for instructions for entering.
-

PRE-ORDER SHIPS IN SCALE TODAY!
The beloved Ships in Scale Magazine is back and charting a new course for 2026!
Discover new skills, new techniques, and new inspirations in every issue.
NOTE THAT OUR FIRST ISSUE WILL BE JAN/FEB 2026
You are using an out of date browser. It may not display this or other websites correctly.
You should upgrade or use an alternative browser.
You should upgrade or use an alternative browser.
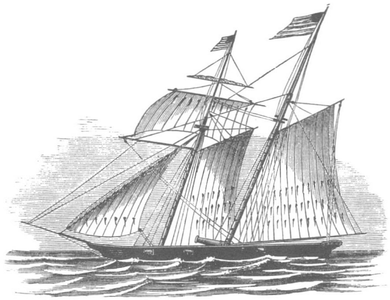
Wow, that looks much larger than the larger gun with the kit.
I now, right? But it is just an "illustration." So I would never recommend using it for scaling anything!Wow, that looks much larger than the larger gun with the kit.
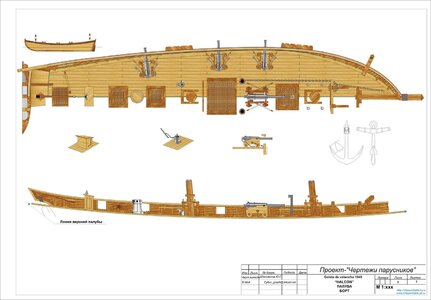
It is interesting to me that your Halcon kit has six smaller cannons and also one that is larger (that you say is also supposed to have been lashed on centerline). Very similar to the illustration. Can you share those plans? I'd like to know a bit more about the Halcon.
Of course, if you have better reference material, please point me to it.
M.
I now, right? But it is just an "illustration." So I would never recommend using it for scaling anything!
It is interesting to me that your Halcon kit has six smaller cannons and also one that is larger (that you say is also supposed to have been lashed on centerline). Very similar to the illustration. Can you share those plans? I'd like to know a bit more about the Halcon.
Of course, if you have better reference material, please point me to it.
M.
Crappy Chinese Instructions
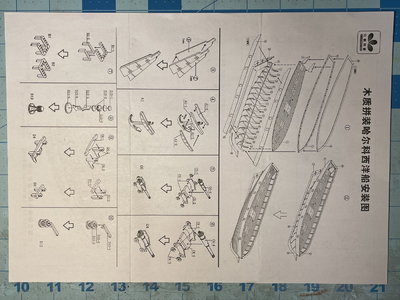
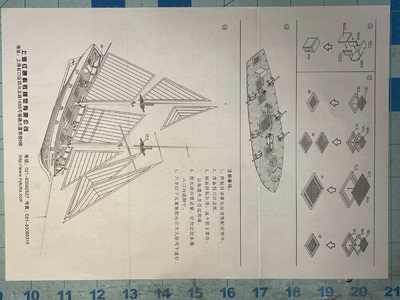
Nice ! Did your kit come with the barrels, or did you get them (or make them) separate?
Thank you both! So a centerline large gun type was definitely a ship design at some point. With only six smaller cannons rather than the 10 on the Harvey model. Do either of you know which came first? Or if they were coincident? Or WHY?
No idea.
Wow. Just WOW! And thanks for sharing! I can't believe that all can be done at this smaller scale. I am humbly challenged (I know I will fall short, but I will attempt to rise!).
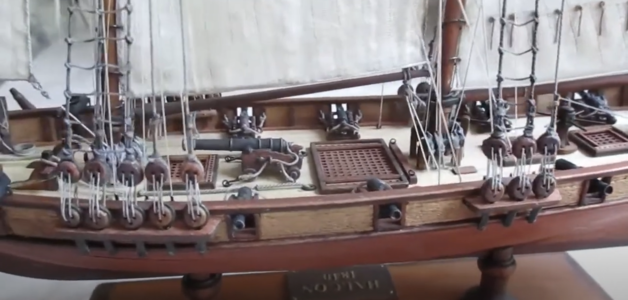
Question, your Halcon has 4 cannon ports per side. What is correct?!?
M.
No, it has five per side.
Yep. Five on the plans. But only four shown open in Kurts's video. But his plans also show for the front pair (fifth pair?) of ports to be closed? So did they only have a limited number of the smaller cannon and would move them around and open the ports with the best trajectories or what?
I would imagine that would be captains discretion.
Sorry to disappoint you. That is not my model and not my video, and no, that is not the tiny Chinese kit either. That is a larger model built from a kit from a different manufacturer. I can only hope my little Chinese kit comes out with half the level of detail which the Russian builder Mikhail Mikhailovich (Михаил Михайлович) of the model in the video has.Wow. Just WOW! And thanks for sharing! I can't believe that all can be done at this smaller scale. I am humbly challenged (I know I will fall short, but I will attempt to rise!).
Question, your Halcon has 4 cannon ports per side. What is correct?!?
M.
Last edited:
Oh wow! Do the cannon builds shown in panels 5 and 6 show the barrel pointing the wrong way in the carriages?
Yes...Oh wow! Do the cannon builds shown in panels 5 and 6 show the barrel pointing the wrong way in the carriages?
Still working on the planking... I can only complete one on each side on weekdays. But I hope to (finally) wrap it up this weekend.
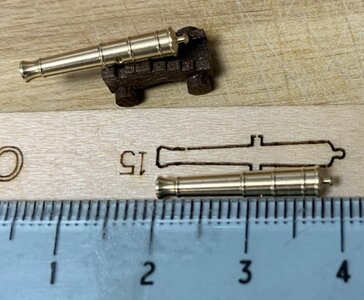
Meanwhile I've been trying out how to blacken the replacement brass cannon. I've been working with this:
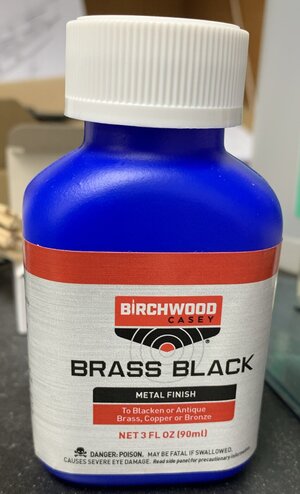
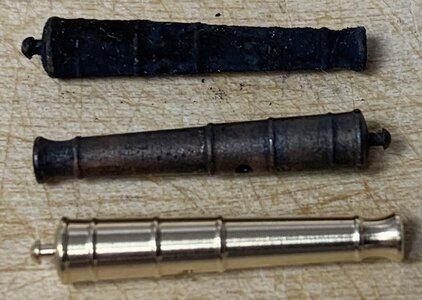
The results were mixed at first. The bottom cannon is the raw brass. The top is after I let it soak in the solution for a while (I did not time it). And I DEFFINITELY do not recommend this! The black finish is very flakey (surface layers that easily brush off onto your hands and then expose the raw brass underneath).
The middle one is the first attempt to follow the directions on the packaging! And it looks great so far. Doing that will definitely take longer than I hoped but will likely have the best result.
Meanwhile I've been trying out how to blacken the replacement brass cannon. I've been working with this:

The results were mixed at first. The bottom cannon is the raw brass. The top is after I let it soak in the solution for a while (I did not time it). And I DEFFINITELY do not recommend this! The black finish is very flakey (surface layers that easily brush off onto your hands and then expose the raw brass underneath).
The middle one is the first attempt to follow the directions on the packaging! And it looks great so far. Doing that will definitely take longer than I hoped but will likely have the best result.


