the Colonial Schooner Hannah in 1/48 [COMPLETED BUILD]

Hello dear friends
Today I sat down to continue the process of preparing the anchors o, after yesterday the shipment arrived from the cornwall model website. 20210826_183000.jpg
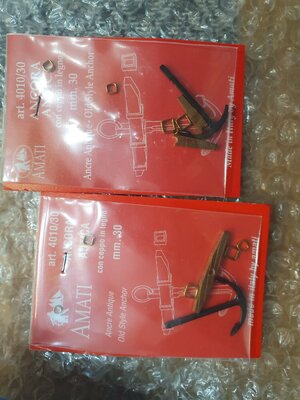
The truth is that the last day was full of bad luck and lack of success, ask why, so I will start detailing:
First of all, one of the Amati anchors from the cornwall model came when its top was simply missing, so the anchor casting was not strong enough, And the wooden block of the anchor came broken. 20210826_183124.jpg
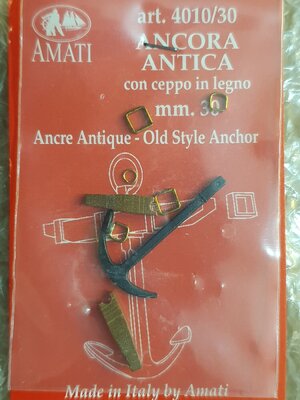
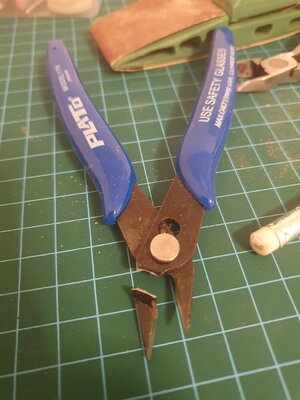
Second, during work the second anchor is also broken. To the credit of the site he offered a refund, although I preferred them to send two new and good anchors. And as the work progressed, I had a pair of cutting pliers destroyed, 20210827_173409.jpg
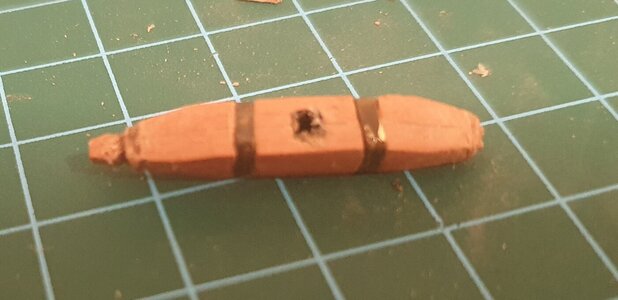
and as part of the work, the wooden boards holding the anchor also broke at the end. 20210827_175232.jpg
In short I had a day full of disappointments and glitches, but I take it easy, in the fact that these are small troubles and that life is beautiful and nothing will stop the passion in building models. :)
I will order new anchors from another site, I would be happy for recommendations on another site that is The metal is good , strong and not a weak alloy.
my we all have a pleasant weekend :cool::DThumbsup
 
Oh...no..., my friend!! Sorry for the trouble. :( But while you are waiting for the anchor\stock replacements try scratch building your own. A person who can make frames for the ship should accomplish the stock-making task relevantly easily.

1. Glue both parts of the future stock together, using thin paper as the separator.
2. Using the vise and flat file, shape the stock.
3. Drill the center hole and using the square needle file to shape the hole to make it the shape of the neck of the anchor. Alternatively, you can drill holes to imitate bolts, or even put bolts ;)
4. Cleanup and separate both parts using the sharp blade.

You are done, and I am sure you can accomplish it with sucess!
 
Hello dear friends
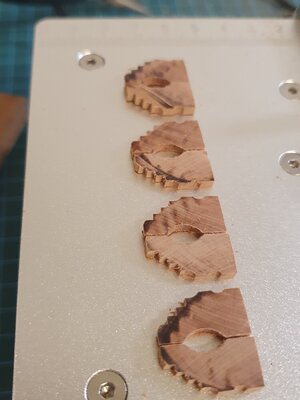
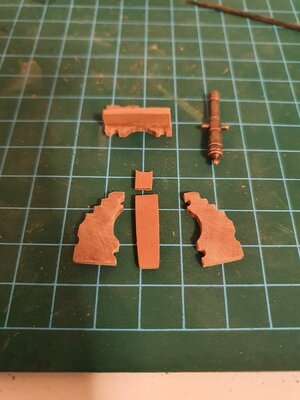
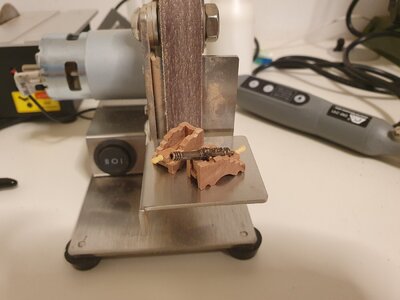
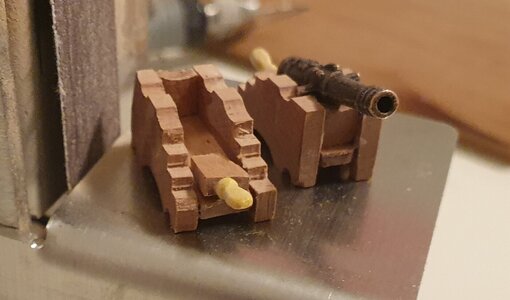
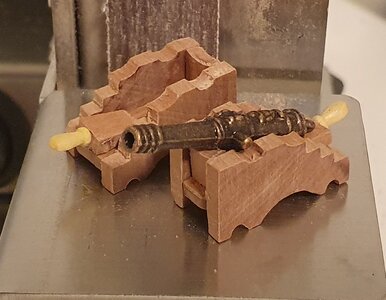
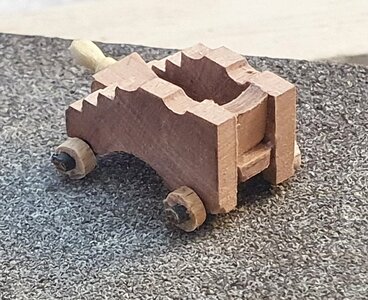
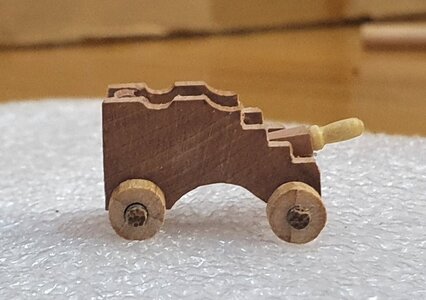
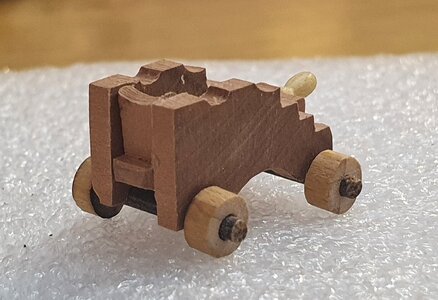
After a series of disappointments in the process of preparing the anchors, I decided to take a break for a few days until I decided how to solve the problems. I could not finish a working day without feeling positive, so I decided to start making the cannon carts. At first I worked with a walnut board that was beautiful but difficult to process. 20210827_215820.jpg20210827_221618.jpg
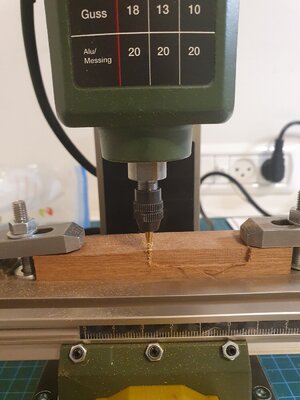
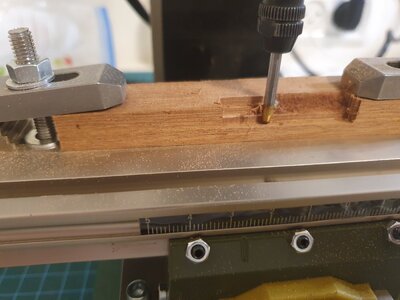
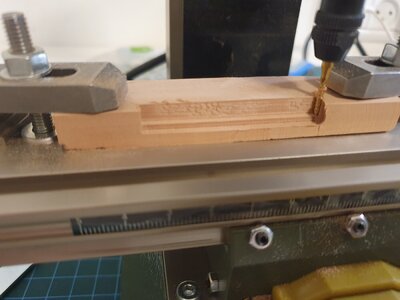
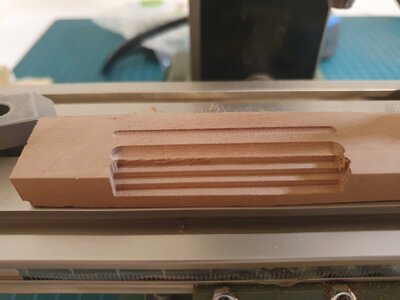
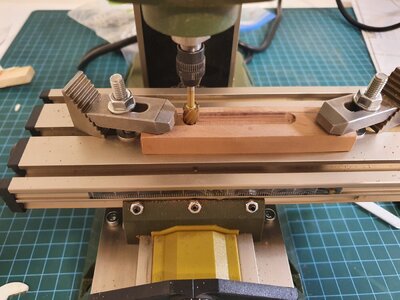
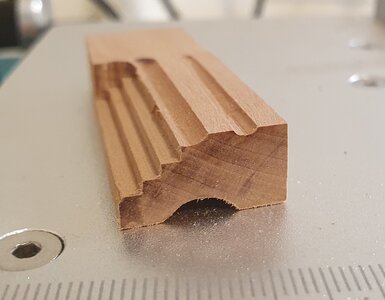
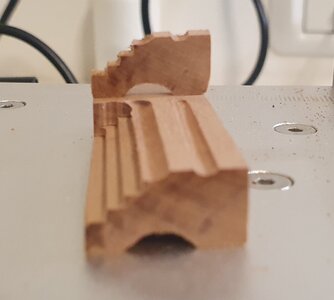
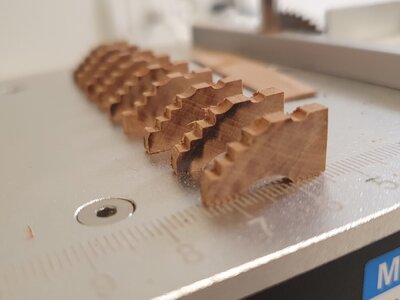
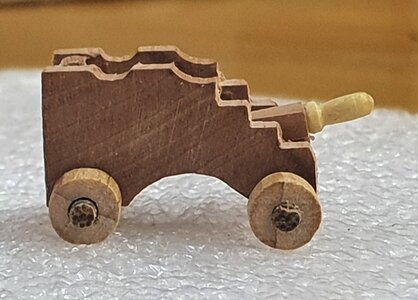
So I switched to working on a pear wood board. I created the stairs on the sides using the proxxon mf 70 milling machine. I finished the evening with slightly tired hands, but I am pleased with the result of the first stage from a series of stages.
20210827_232809.jpg20210827_235334.jpg20210828_000325.jpg20210828_004852.jpg20210828_005019.jpg20210828_010020.jpg

20210828_010159.jpg
I hope that at the end I'll make up a beautiful cart that matches the ship's plans.
meanwhile , good night from the land of milk and honey :D:)
 
Good evening friends
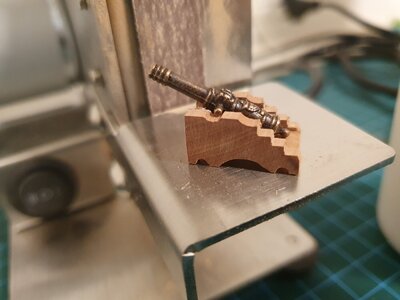
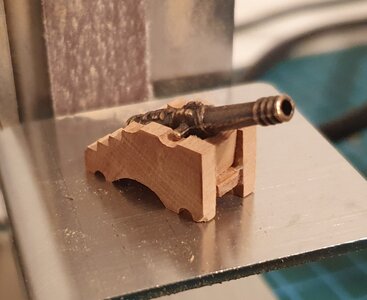
Tonight I focused on installing the Falconet Cannon .
I left the preparation of the anchors and installing them for few days/weeks.
I am waiting for the shipment of anchors and brass plates of the required thickness.
The truth is that I had relatively little time because housework took away from me the resources of time and power I had.
So I installed the cannons and the truth is that at the end of the installation I start to see the finish line of the journey and it puts in mixed feelings.
There is satisfaction from the beautiful result that takes shape and takes shape and mingles a little hard to separate from a ship whose construction process was simply a learning pleasure.
I Attach photos showing the ship with the Falconet Cannon, later this week I will start preparing the carts for the cannons on the lower deck
View attachment 252363View attachment 252364View attachment 252365View attachment 252366View attachment 252367View attachment 252368View attachment 252369
I think that I have an addiction when seeing the noun schooner anywhere I have to peek in and am rewarded almost every time. Your work too has rewarded my peek with very nice work and log. Thanks for the fix. ;;-) Rich (PT-2)
 
Hello dear friends
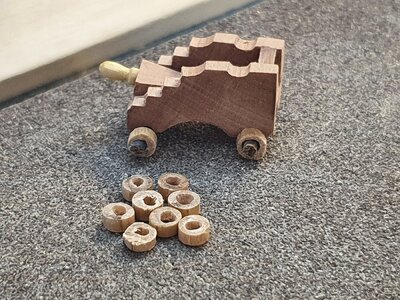
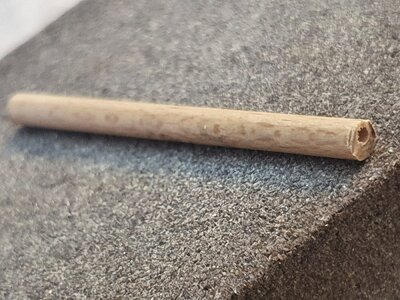
Today after a break of about 10 days I returned to the cannon cart. Today I made the wheels a round wooden beam, drilled a hole in it and sawed round discs.
I still need to sand the wheels. The carts are starting to take shape.
20210907_171438.jpg20210907_171325.jpg20210907_171656.jpg
 
Hello dear friends
Today after a break of about 10 days I returned to the cannon cart. Today I made the wheels a round wooden beam, drilled a hole in it and sawed round discs.
I still need to sand the wheels. The carts are starting to take shape.
My friend, Shota. The carriages (carts) are a really good shape, however, the trucks (wheels), the way you show in the image will require some major surgery. The problem, I think, is that the hole in the dowel you were using for trucks is off-center. If you don't have a lathe to drill the hole, you may just simply cut the trucks and then drill them individually. ;)
 
My friend, Shota. The carriages (carts) are a really good shape, however, the trucks (wheels), the way you show in the image will require some major surgery. The problem, I think, is that the hole in the dowel you were using for trucks is off-center. If you don't have a lathe to drill the hole, you may just simply cut the trucks and then drill them individually. ;)
thanks Dear friend, I will try to do it :) Thumbsup
 
My friend, Shota. The carriages (carts) are a really good shape, however, the trucks (wheels), the way you show in the image will require some major surgery. The problem, I think, is that the hole in the dowel you were using for trucks is off-center. If you don't have a lathe to drill the hole, you may just simply cut the trucks and then drill them individually. ;)
Does the scale of the wheel match the cart, or does it use a larger wooden tube
 
Does the scale of the wheel match the cart, or does it use a larger wooden tube
It all depends on the particular ships, the era they build, and their country of origin. Usually, the front axels use larger trucks than the rear. This is often dictated by the deck curvature towards the bort and starboard. However, this is in no way is a standard. Belle Poule, for example, has both front and rear trucks the same size.
 
Hello dear friends
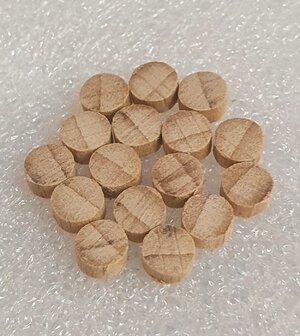
I took Jimsky's comment seriously and professionally Required and in order to improve the quality of the products and the model , I decided to remanufacture the wheels.
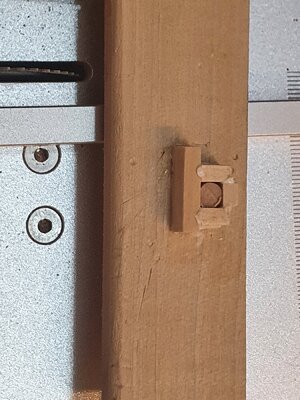
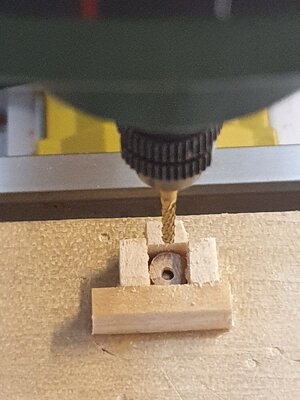
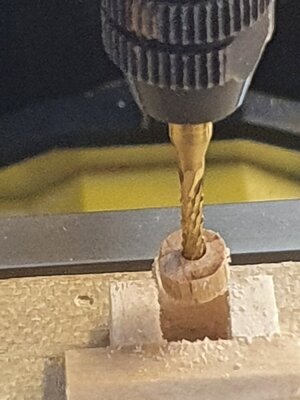
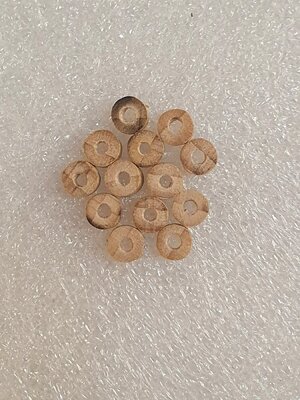
This time I took a slightly larger and more proportionate wooden pole to the cart. I sawed the wood pole into discs, then sanded them to smooth the surface. Next I built a jig that would make up the proxxon MF70 mill to gnaw the holes in the center of the wheel. I left only those that indeed the hole for the rod that connects the two wheels comes out in the center. In the picture of the result I used a sample rod to give an illustration of the end result that we hope will meet the required professional standard.

20210907_212143.jpg20210907_213204.jpg20210907_215557.jpg20210907_215657.jpg20210907_225556.jpg20210907_230510.jpg20210907_230455.jpg20210907_230438.jpg
 
You are making great progress Shota! I understand your frustration with the anchors. Whilst the wooden part of the anchors is relatively easy to make, we cannot all cast our own anchors so it is frustrating when that breaks or does not look good.
 
Back
Top