The Mary Rose

Hi. If you are building the Caldercraft kit then the gun types and placements are shown on the plan sheets, or are you scratch building?
Lol, thanks Graham !!!! If in doubt read the instructions, said while slapping my forehead. I’m still following your build, it’s great.
 
I guess the best information you can find in this book (which I do not have unfortunately)

Weapons of Warre: the armaments of the Mary Rose
Edited by Alexzandra Hildred


here is a Hope these information are of some help
Thank you! Huge amount of information, much appreciated
 
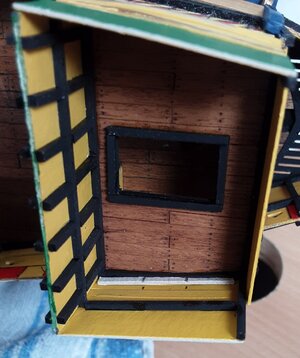
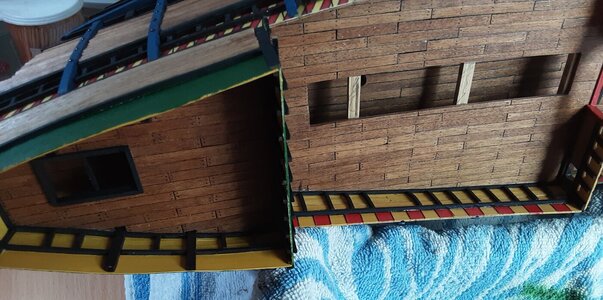
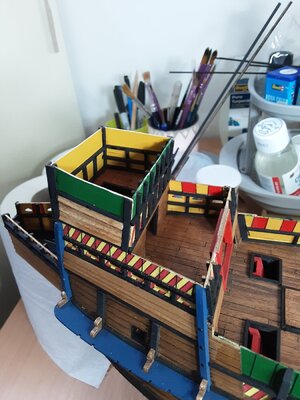
Sides now fixed in place and on with the internal framing. To get the spacings I marked up a thin strip of card. Pencil marks can then be transferred to the bulkhead itself to mark the positions. Simple solution when you can't get a ruler or dividers in there...

20201020_161121.jpg


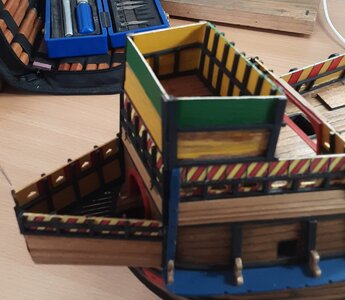
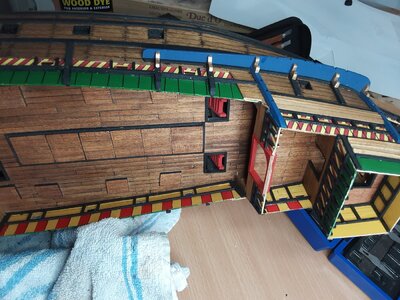
Adding framing to the outside...

20201020_161314.jpg

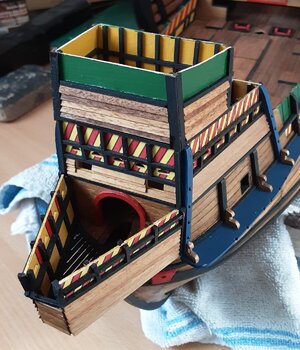
And finished...

20201020_161235.jpg

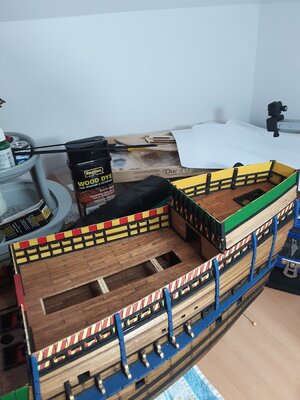
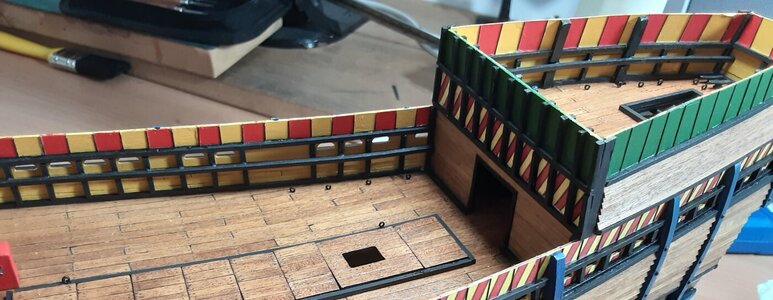
These higher castle decks would have been of great advantage to the archers. The ship carried some 250 longbows (170 recovered) and 9,600 arrows.
Next job is to complete the internal framing on all bulkheads.
 
Last edited:
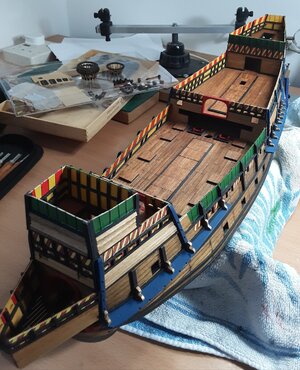
Thanks very much, Jazzy. The paintwork on the new aft and fwd castle decks is now all caught up. From my experience of building HMS Snake the next job is to scour the drawings for any cleats and bitts which need to be attached to the bulwarks and decks and get those in place while I can still get in to drill and glue. Not all of these fittings are shown on one plan sheet (don't want to make that mistake again), so it is well worth looking at the rigging drawings in some detail to also pick up on eyelets in bulwark frames.

20201026_161719.jpg
 
Last bit of work on the exterior hull for now is to tone down the clinker planking. You can see in the photo on the previous post that it looks quite bright and has been ticking me off for some time, so several washes later -
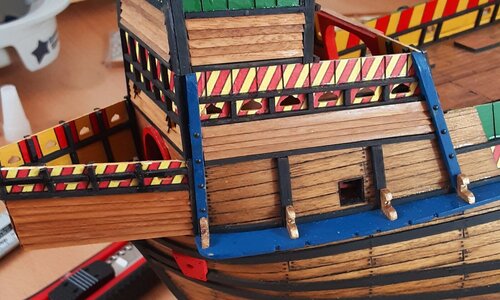

20201028_135228.jpg


Now on to the cannon. In 1545 armaments on board were -

15 muzzle loading bronze guns
76 iron guns, a mixture of carriage mounted and ship mounted
50 handguns
250 longbows with 9,600 arrows
300 staff weapons
40 dozen darts to be thrown from the fighting tops
Ten dozen pots of lime

Lime pots would be thrown in order to blind the enemy - the chemical weapons of 1545.

Cannon provided with the kit are white metal. The castings were pretty good and joined together well, so minimal clean up
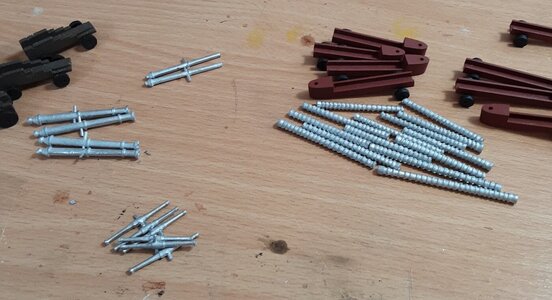
20201102_155414.jpg

Below are the bronze cannon. They are muzzle loaders and one of those on the left was found in situ (castle deck) and has been identified as a demi-culverin, being a long range gun firing an iron shot of 4 - 5 kg.
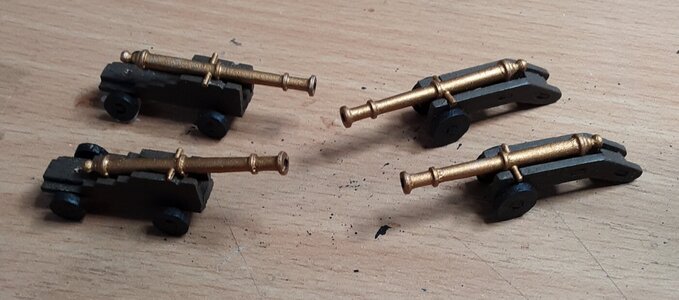
20201103_174713.jpg


The iron guns (below) were made of iron strips bound by hoops and sat on a carriage made from a single piece of elm, hollowed out like the stock of a rifle. They fired stone shot of 4.5 - 10kg (depending on calibre) and also an anti-personnel munition of cannisters of sharp stone flakes termed 'lantern shot'.
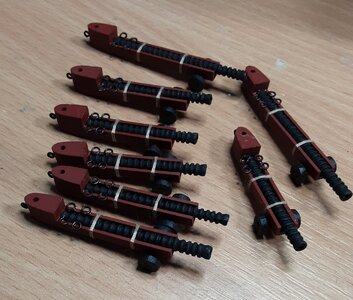

20201103_174750.jpg


The iron guns were breech loaders. The process would be to drop in a loaded breech section, slide it forward, wedge it in place, fire, then repeat. The breeches were lifted out by grasping iron rings and heaving them out. To replicate this I have fixed on some 2.5mm rings. Analysis of skeletons recovered in the area of the guns show numerous back injuries (compressed discs, fused vertebrae), quite possibly caused by continually lugging these incredibly heavy breeches around.
 
Deck fittings - eyelets, cleats and bitts. To get the position next to the bulwarks I cut out the relevant parts from the plan sheet. This is my drill template, then flip it over and use on the other side of the deck -

20201111_161958.jpg

All fitted -

20201111_161817.jpg

Trial fit of the iron deck guns, several of the gun ports needed a tiny bit taking off the bottom edge to get the carriage wheels to sit flat on the deck -

20201111_161907.jpg

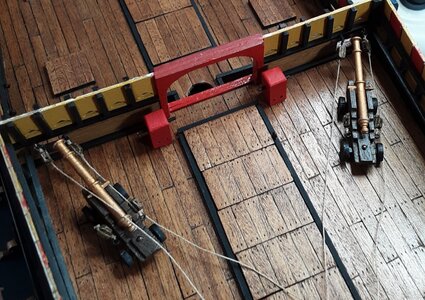
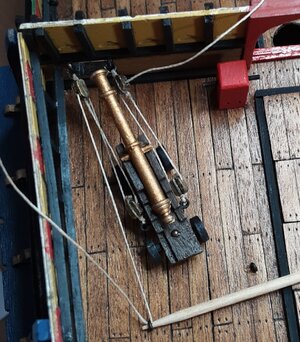
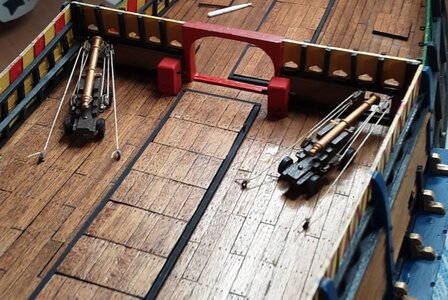
I will fit the demi-culverins first. My first thought on seeing the plans was that these were 'murderers' which were filled with scrap metal and used to clear the main deck in the event of boarding. As I said in an earlier post this is not so and they are long range guns firing forward. It is thought they were slightly angled outwards -

20201111_161555.jpg

I will show them run back. The method of rigging these cannon is not known, but I think they would have made use of some kind of pulley system. That said, I have kept it simple by using single hole pulley blocks, rather than something more complex like those of the Nelson era.

When rigging through an eyelet I find it helps to jam a sharpened cocktail stick in once the required tension has been achieved. This then frees up my hands to move on to the next stage and avoids the need to grow a third thumb -

20201111_161627.jpg

Finished -

20201111_161707.jpg

Iron guns on the main deck are next.
 
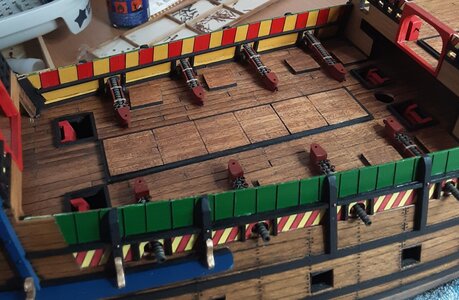
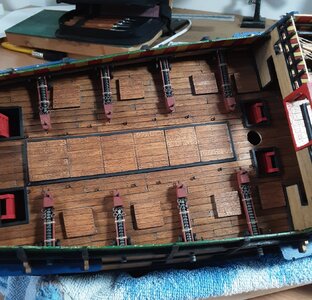
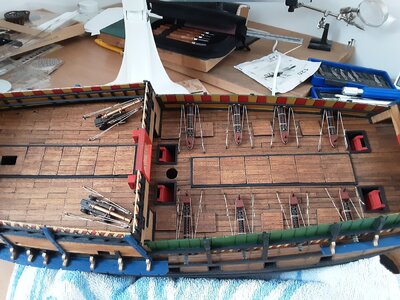
Iron guns and rigging points fixed in place on the main deck-

20201113_185943.jpg

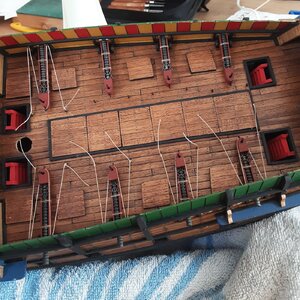
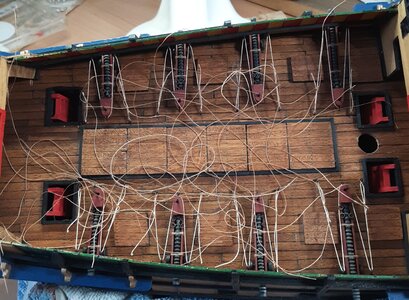
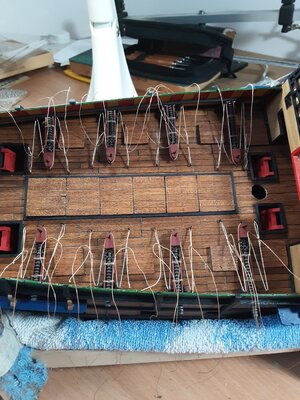
Current thinking by the archaeologists is that rigging was possibly an 'M' shape and tied off to the deck. As these guns were breech loaders I think this makes sense; they did not need running back to load, the main objective was to stop the recoil. So I went with that train of thought -

20201113_185853.jpg

Tying off the ends. A mate sent me a text asking what I was up to, so I sent him the photo below. His response is not printable, but did question my sanity.

20201113_142553.jpg

I actually do like to work a bit more neatly than that -

20201113_141942.jpg

And finished -

20201113_144909.jpg

Next job is the raised walkway which spans the main deck and connects the bulkheads at either side.
 
Brilliant build Graham, I’m very lucky that you are a long way ahead of me and I can glean information from your build
Thank you
Ike
Thanks, Ike, I hope my build helps in some way. I know you are putting additional decks on, so remember to fix the two forward pointing cannon on the front deck before you close the new upper deck completely. I didn't and spent about half an hour today faffing and fiddling about getting them in place.

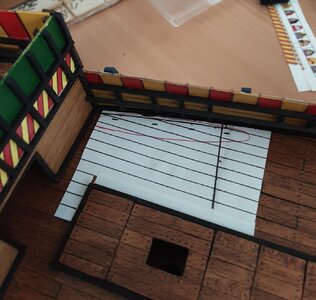
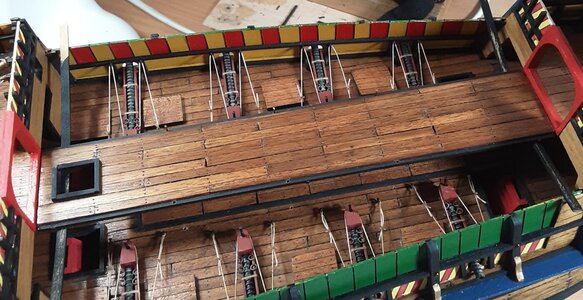
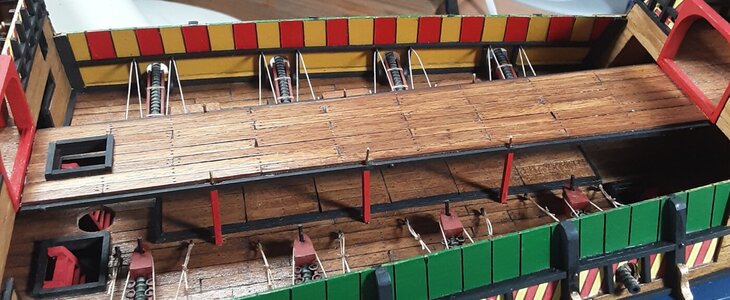
The walkway is a thin piece of ply which is planked. I changed the round mast hole to be a square one; this then ties in with the other mast holes I have made. The pieces of wood laid across the bulwarks provide an upward pressure while the glue sets as I could not get any clamps into the available space -

20201120_162252.jpg

There has been enough hatch wreckage found to convince the archaeologists that hatches ran down the centreline. However, the build instructions call for two supports (each being 1.5mm square) which rest on the hatches and to me this does not sound right - put a stanchion on a hatch and it stops being a hatch. So, I came up with an alternative -

20201120_162224.jpg
 
Last edited:
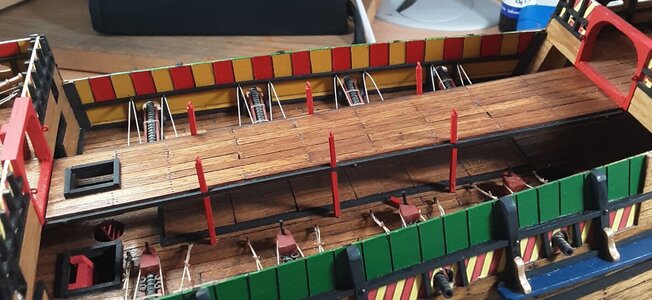
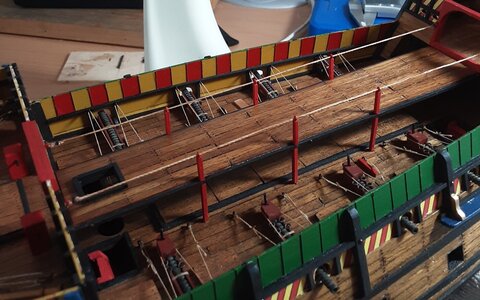
Back to the walkway. I figure there must have been something to stop people falling off it if the ship rolls, so I put some posts and a rope rail in -

20201121_152700.jpg

20201121_152628.jpg

Supports for the anti-boarding netting span this area. Before I can do those I need to fit the bulwark hand rails, so that is the next job.
 
Hi Uwe, thanks for your comment. I am using a charcoal artist's pencil which I got from a craft shop - you can just about make them out hanging on the backboard in the first of the three photos above - mine are by Faber Castell, but I am sure there are other makes. Following a discussion I had on this forum (sorry, I can't remember with whom) the use of paper was discredited because it can possibly fade over time, black felt pen was ruled out as it can soak in too much (depending on the type of wood) and sort of 'bleed' into the grain. I have never used either of these methods, so other builders may have differing views which would be good to hear. Using the charcoal pencil is easy and gives a good result, but it does tend to make your fingers a bit messy, so I just wash my hands every half hour or so in case I grab any already painted areas and mess them up. I prepare a few uncut strip lengths at a time by scrubbing the pencil along the edges, then when the plank is ready to fit I dab over the two cut ends and any other cut areas; I find the medium hardness pencil works the best. This is the first time I have used this method and, as we say in Yorkshire, the 'Proof of the Pudding' will be when I have sanded and coated it - fingers crossed for a good result!
If it looks Okay I will not paint the hull. During the excavation of the actual hull there was evidence of what is termed 'White Stuff' below the waterline, but this was not analysed at the time and has been lost as a result of the conservation process. The depiction in the Anthony Roll (see earlier post) indicates that there was some coating below the waterline, and this might be supported '...by the absence of wood boring damage'. Anyway, we'll see how it turns out and then make a decision. Regards.
Hi Graham, with reference to “the white stuff” on the underwater hull. I owned and worked as salvage skipper/diver a Dickens Class twin screw, mahogany on oak vessel, 50ft 40tons. 12 of these were built in mid to late 40s. After purchase I spent 2 years refurbishing the boat. Some of the oak keel needed repair, an old shipwright helped me on and off, I wanted to copper sheath the keel and affix a sacrificial piece along it’s bottom. He taught me how to make up, what was an illegal concoction of white lead powder, oil based putty, small amount of powdered lead, this mess was spread on the keel before coppering and between sacrificial keel and copper. I then painted antifoul on to it when it had dried, could it have been something along those lines that was used I wonder.
IKE, BUILDING MARY ROSE
Hi, Ike. That is quite a story! Regarding the use of white lead you might well be right. Health & Safety was not strong in those days and they certainly knew about white lead as an important component of cosmetics; indeed, Elizabeth 1 was plastered in it for most of her life. I have decided I am not going to paint the hull, what about you?
 
I started reading your build this evening and am absolutely impressed with the job you are doing. I have also marked a few of the building tips you have offered along the way.
 
Hi Graham--your idea of dividing the main deck in two width-wise gave me an idea. I divided it up in three length-wise. The formost deck goes from the bow to aft of frame 4. the waist deck goes from aft of frame 4 to fore of frame 9. The aftmost deck goes from fore of frame 9 to aft of frame 12. The waist was a piece of cake to put in. The bow deck gave ma a little trouble. The aft deck was a booger, but I manages to get it in without breaking it. As one long deck it was impossible to do. Both the bow and stern decks I'll plank them while installed. The waist deck and decks 28 and 32 I'll plank after the first hull planking and after twisting off the tops of all the relative frames. Please let me know if you foresee a problem with my plan. Thanks again.

Andy from Kenosha
 
That ship is praise-worthy--excellent job.
Thanks, Andy. Your plan for the decks sounds like a good one. For the frame tops which snap off, lightly saw them through on either side and they will snap off a lot more easily and cleanly when you get to it.
 
Hi, Ike. That is quite a story! Regarding the use of white lead you might well be right. Health & Safety was not strong in those days and they certainly knew about white lead as an important component of cosmetics; indeed, Elizabeth 1 was plastered in it for most of her life. I have decided I am not going to paint the hull, what about you?
i Decided early on that the hull should remain unpainted, l think I will use a hard wax oil on it.
your build is looking fantastic
IKE
 
Back
Top