• Win a Free Custom Engraved Brass Coin!!!
    As a way to introduce our brass coins to the community, we will raffle off a free coin during the month of August. Follow link ABOVE for instructions for entering.

Titanic Trumpeter 1/200 by InkMot

B and C Deck Superstructure and B Deck
IMG_9433.jpeg
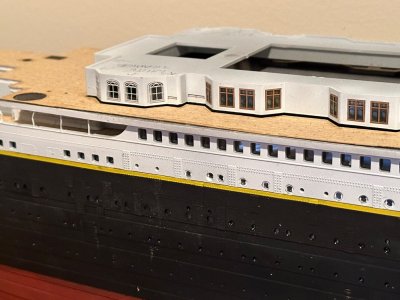
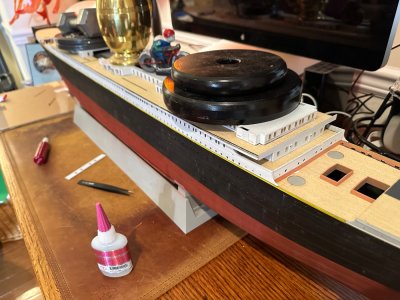
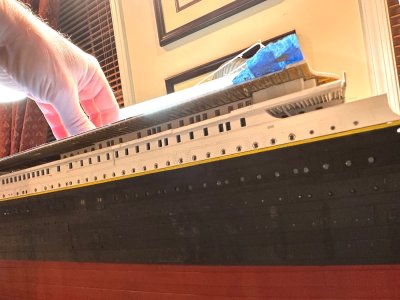
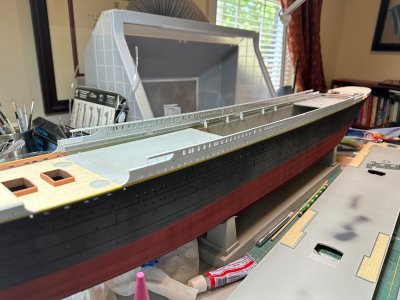
The B and C Deck superstructure is glued in place. i ended up doing the port side twice because I wasn’t careful with my alignment. Take your time to dry fit B deck (lower right in picture) to ensure proper for and aft placement of the superstructure.
IMG_9862.jpeg
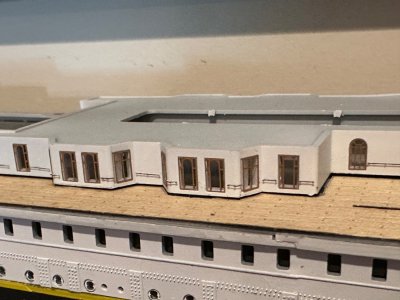
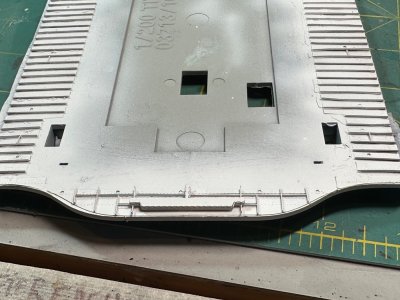
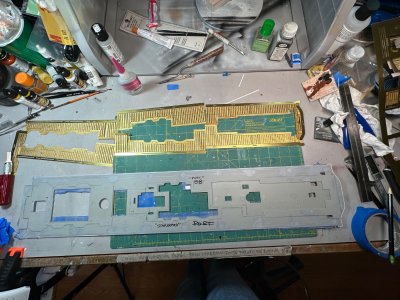
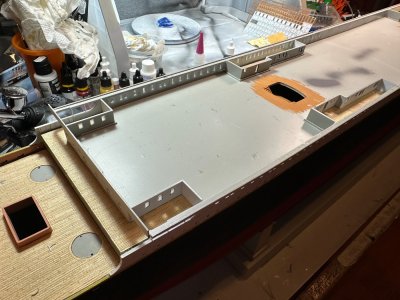
B-Deck is in place, with wood decking and bulkheads for the Cafe Parisian and First Class private promenades, etc. I chose to not replicate the details of the Cafe Parisian or the private promenades because I’m not lighting the model and, well, I get lazy. ;) Seriously though, I’ve set limits on myself with this project so that I can get it done before I’m dead. My plan has been to focus on detailing the obvious and doing the minimum on the hidden areas.
IMG_9863.jpeg
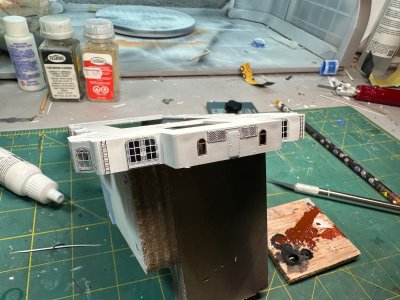
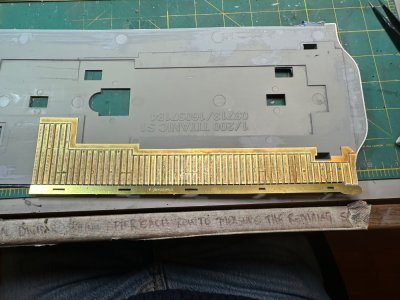
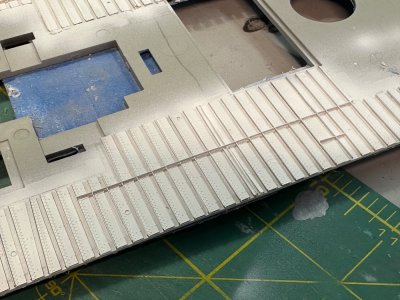
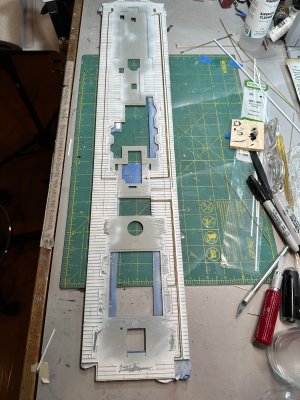
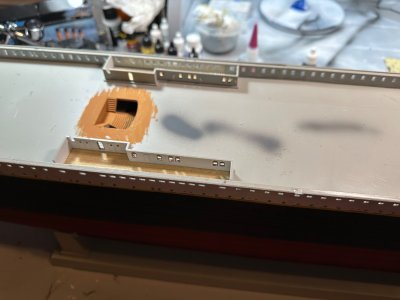
Pay attention to the height of your B-Deck bulkheads. Test fit A-Deck to ensure that your B deck bulkheads aren’t raising A-deck too high. I had to play with this a lot. Also, if you’re installing wooden decking, be careful to clear out space for the bulkheads to mate directly with the plastic of B-Deck, otherwise they’ll sit too high. I chose not to glaze the inside windows of B-deck. I might regret that later, but there are sooo many more windows to glaze on the upper decks.
 
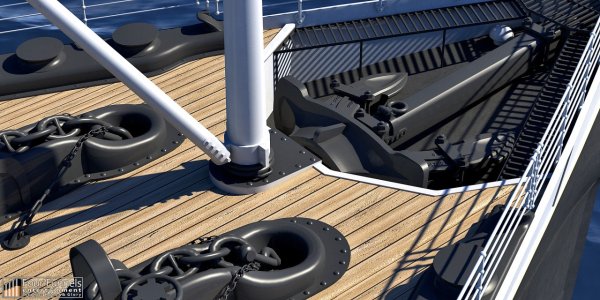
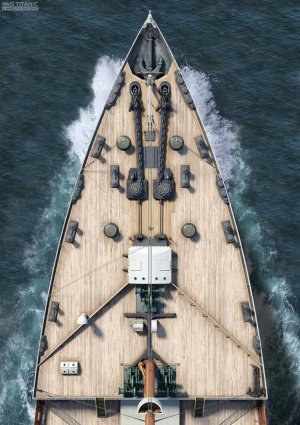
Your painting look great, just one observation, the anchor well in the bow on the Titanic was white.
 
B and C Deck Superstructure and B Deck

View attachment 547081
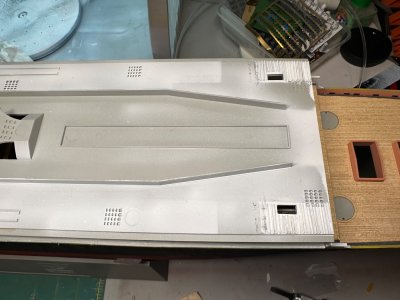
The B and C Deck superstructure is glued in place. i ended up doing the port side twice because I wasn’t careful with my alignment. Take your time to dry fit B deck (lower right in picture) to ensure proper for and aft placement of the superstructure.

View attachment 547082
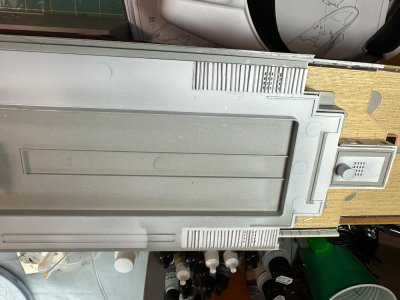
B-Deck is in place, with wood decking and bulkheads for the Cafe Parisian and First Class private promenades, etc. I chose to not replicate the details of the Cafe Parisian or the private promenades because I’m not lighting the model and, well, I get lazy. ;) Seriously though, I’ve set limits on myself with this project so that I can get it done before I’m dead. My plan has been to focus on detailing the obvious and doing the minimum on the hidden areas.

View attachment 547083
Pay attention to the height of your B-Deck bulkheads. Test fit A-Deck to ensure that your B deck bulkheads aren’t raising A-deck too high. I had to play with this a lot. Also, if you’re installing wooden decking, be careful to clear out space for the bulkheads to mate directly with the plastic of B-Deck, otherwise they’ll sit too high. I chose not to glaze the inside windows of B-deck. I might regret that later, but there are sooo many more windows to glaze on the upper decks.
Thanks for sharing all your tips. The building up is looking really good and the painted areas so far; amazing. I'm one of those people who, no matter how much masking tape I use, always seems to get bleed in between two colours. :-(
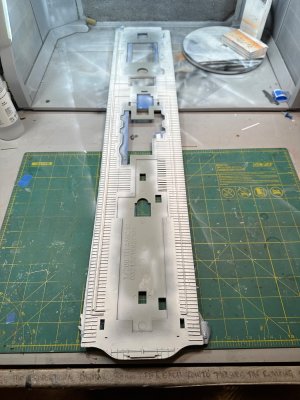
 
Your painting look great, just one observation, the anchor well in the bow on the Titanic was white.
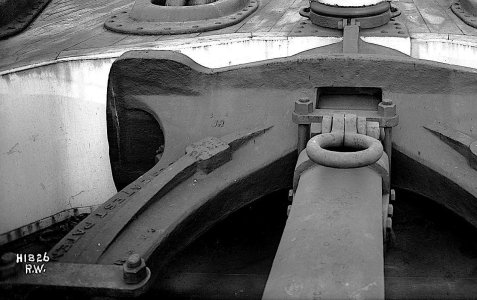
I was basing my colors on reference photos like this. The color ones are from “Titanic Honor and Glory”, the black and white image is from the Olympic…probably later in her career. It appears to me in these photos that the floor of the well was either dark grey or black.IMG_0701.jpegIMG_0699.jpegIMG_0700.jpeg
 
Thanks for sharing all your tips. The building up is looking really good and the painted areas so far; amazing. I'm one of those people who, no matter how much masking tape I use, always seems to get bleed in between two colours. :-(
I like using the Tamiya masking tape. The adhesive on it holds its place without damaging painted surfaces. I just buy rolls of the 3mm size to define my edges and then use regular painter’s tape to fill in the rest. I avoid loading up paint near tape seams, preferring to spray light coats that are just enough to cover. This helps to minimize bleeding and those annoying ridges that form.
 
the black and white image is from the Olympic…probably later in her career. It appears to me in these photos that the floor of the well was either dark grey or black.

These old black and white films were 'ortho' type. Red would also look dark grey, since ortho film was not sensitive to red light. So it cold have been red oxide.
 
These old black and white films were 'ortho' type. Red would also look dark grey, since ortho film was not sensitive to red light. So it cold have been red oxide.
It certainly could be. That’s what’s frustrating about this model. There are so many open-ended questions about what color something should be or how many blades the center screw had…makes me nuts.

I’m tempted to just make the entire model in grey scale.
 
Installing A Deck

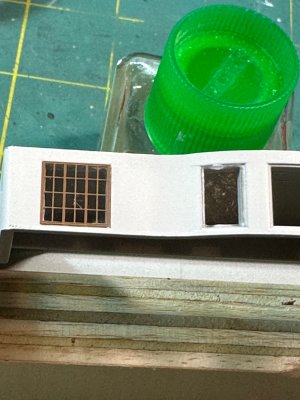
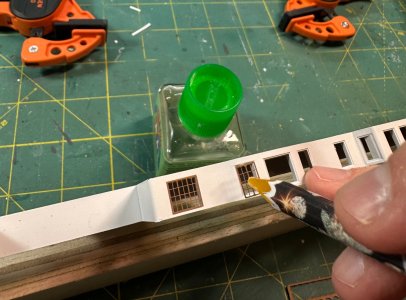
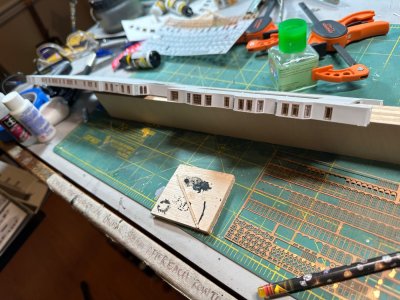
Since I’m using the Woody’s Model Works A and B Deck PE superstructure, I’m not following Trumpeter’s proscribed process for assembling the superstructure. The instructions call for you to assemble everything, C through Boat decks, off of the hull and then mount that as a whole on the hull. I’m building everything on the hull as I go. The Woody’s A and B superstructure will get glued to the outside edges of the Boat and A decks later. This approach will also require the addition of styrene strips in various places. I’ll show you that later.

With my process, A Deck had to be placed exactly on top of the bulkheads B-Deck deck houses and I had to make sure that the edges of A Deck fit tightly into the lip at the top of my C-Deck superstructure from the kit (Which was cut down to accommodate the Woody’s PE going in above it).

IMG_9858.jpeg
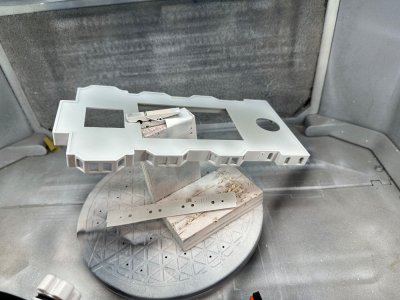
A-Deck prior to installation.
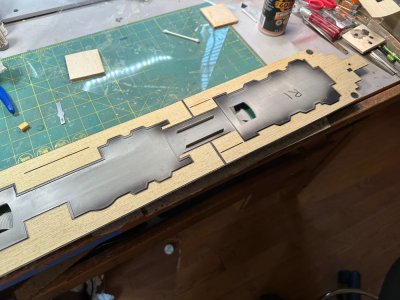
Note the black paint surrounding the wood decking. I sanded the plastic deck down to remove the molded planking and to make room for the layer of wood decking. After that, I sprayed it with black paint. This helps the wood decking show better (the real wood had black tar in the joints). As mentioned previously, I use the adhesive that comes on the wood decking to stick it to dark tissue paper. I then glue that to the plastic deck using Gorilla Wood glue. This makes it easier to mount in the correct place and allows you to make the inevitable adjustments before the glue dries. It is also supposed to last longer.

Overhead I Beams
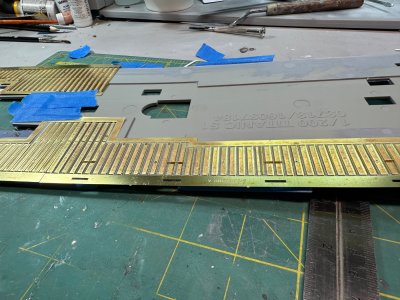
Since I didn’t purchase the Woody’s Model Works B Deck I Beams kit, I made some myself using styrene strips mounted to the bottom of A-deck. I think this works fine, although I made mine too close together. In retrospect, I should’ve gotten the Woody’s kit since it also includes I beams for the aft deck area and the thin area under the promenade. I still might order the kit just to do that lower area. You can see the styrene strips I added to the open promenade areas over B-deck.
IMG_9998.jpeg
IMG_0120.jpegIMG_0119.jpeg
You need to be careful that the I beams don’t interfere with the contact area where A Deck attaches to the lower bulkheads.

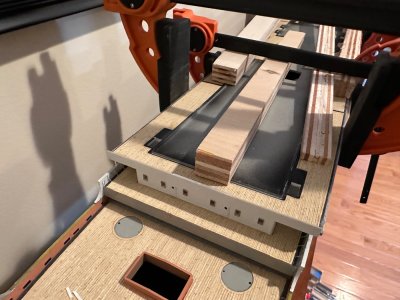
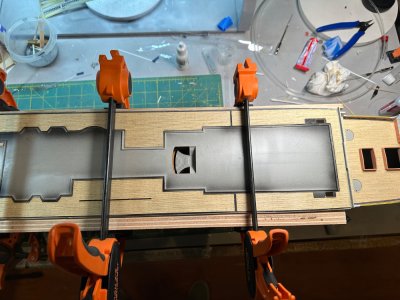
I spent a great deal of time with the dry fit. Some of the B-deck bulkheads had to be shaved down. Since I mounted the kit superstructure to the hull first, both sides were leaning a bit outboard and needed to be pulled in to mate properly with A-deck. I needed a lot of clamps for this. In fact, I needed a couple more than I had on hand.
IMG_0158.jpeg
A-Deck clamped in place.
I used a combination of Tester’s Model Cement (red tube, original fumes) and CA glue. The Tester’s glue was used on the tops of the B-Deck bulkheads and along the edge of A-deck where it mates with the kit superstructure. CA was used later to tack down sections of deck that didn’t adhere well with the Tester’s.
IMG_0124.jpeg
I also used strips of wood to protect the hull form the clamps.
 
What size styrene strip did you use for the under deck support beams? I'm wanting to do a similar thing, but can't really afford the Woody's PE upgrades.
 
What size styrene strip did you use for the under deck support beams? I'm wanting to do a similar thing, but can't really afford the Woody's PE upgrades.
I used 0.13mm styrene. Make your beams 1.5mm tall and space them 4.25mm apart. The ones in my photos are too close together.

My measurements are based on the Woody’s Model Works I beams that I have.
IMG_0497.jpeg
 
Last edited:
Back
Top