Making Window Glass and Building A-Deck Houses
Painting Deck Houses
View attachment 551702
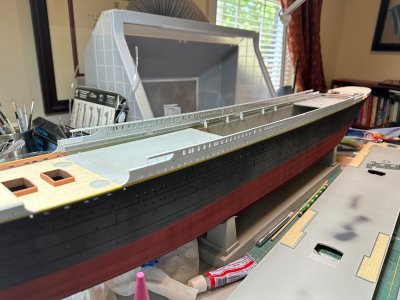
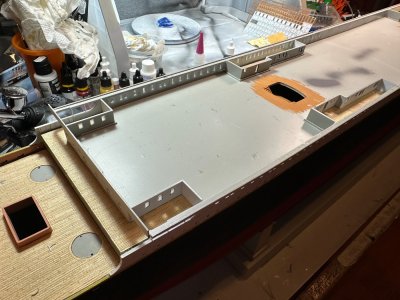
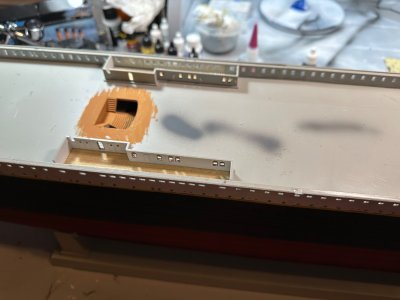
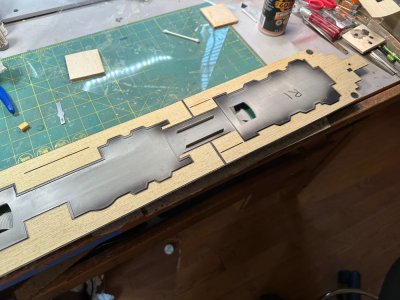
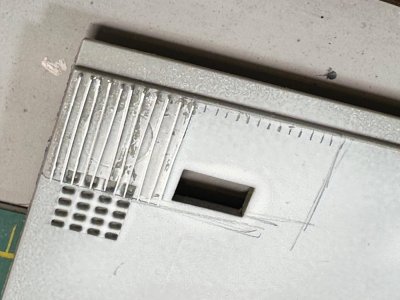
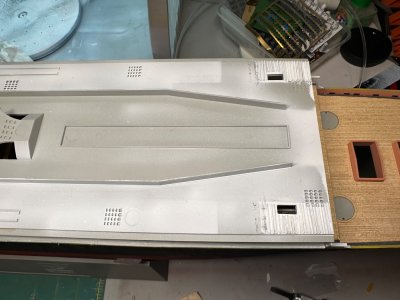
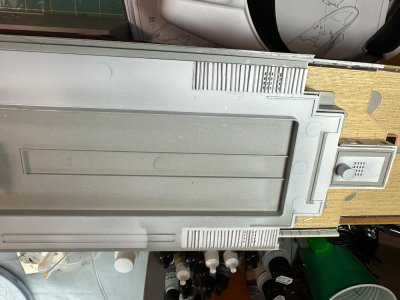
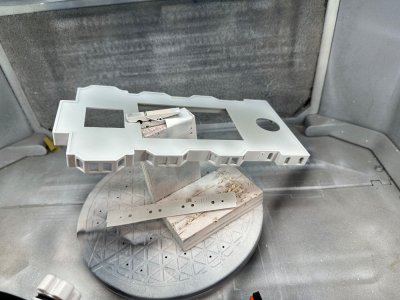
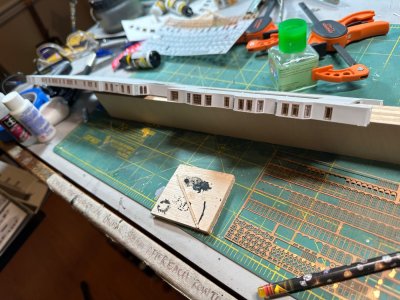
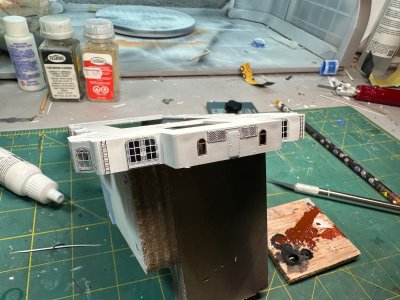
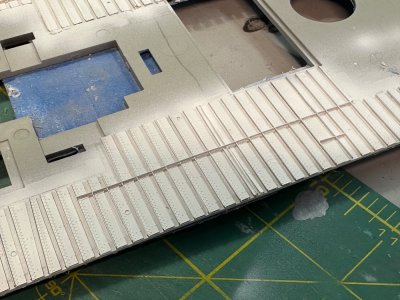
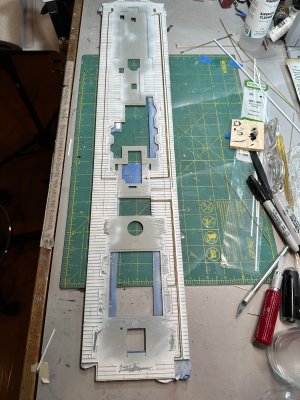
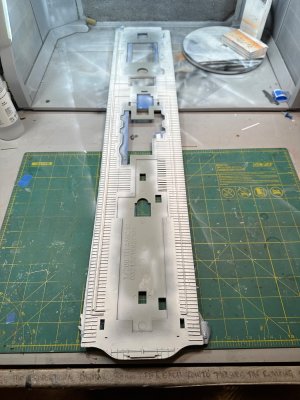
Not much to see here. All deck houses were primed and sprayed Vallejo Air Flat White. I do hit some parts of the superstructure with semi-gloss clear, but not the internal or harder to see stuff like this.
Making Window Glass
There are so many windows in the Titanic superstructure that you’ll have to adopt a strategy for making them since the kit only comes with a few stained glass panels. Hand-cutting them all out of acetate was a non-starter for me, so I went with the Midwest Model Shop suggestion to use a Cricut. I found a used Cricut on eBay for for about $250 USD. Cricut has a broad range of machines and they’ve been on the market for quite a while. This means that you’ll be faced with a lot of choices if you decide to grab a used one for your project. They’re basically classified by the size of their cutting area and the type of materials they can cut. You will need a model that will handle an area of about 25cm by 30 cm, capable of cutting acetate. I went with the first edition of the Cricut Maker (they’re up to v3, I think) because it can cut balsa wood, but you can easily use an older and cheaper model.
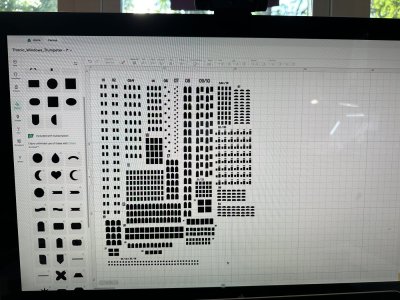
Cricut has a proprietary design environment that’s pretty simple to learn. Take the time to watch the numerous You Tube videos that Cricut publishes which will explain how everything works. The Cricut is a part maker, which means that it doesn’t care how you lay out your shapes because it’s just going to arrange them and cut them how it wants. So you’ll see plenty of video examples where they’re just stacking shapes on top of each other and it might not make sense for modelers who seek to manufacture a couple hundred windows and keep them organized by type. Once you make, duplicate and arrange all of your shapes (I added part numbers next to my groups), select all pieces and look for the “Attach” feature in the lower right of the frame. This tells the Cricut that you want all of your parts attached and arranged exactly as you’ve placed them. I’ve just saved you a few hours.
View attachment 551687
This picture shows the Cricut design software with all of my window shapes arranged just as I wanted them. Note the numbered groups.
View attachment 551714
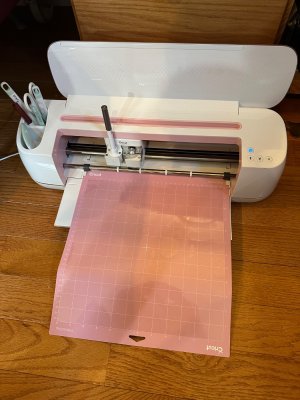
My Cricut Maker ready to cut out a few hundred Titanic windows
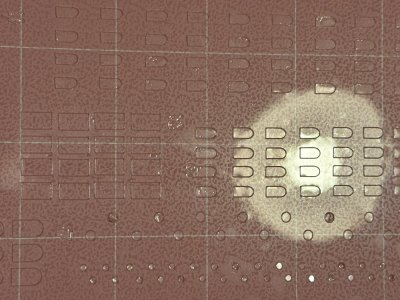
Cricut makes its own acetate that works with their machine. I haven’t tested any other kind, so I don’t know if regular plastic will work. I picked up a package of Cricut acetate at Michael’s. Their acetate has a thin plastic covering on BOTH sides. I suggest that you remove the top layer before you cut, keeping the bottom layer to hold your parts in place. The Cricut comes with plastic cutting sheets with a sticky surface that hold your material in place for cutting. You just need to align your acetate on this and install the cutting blade. The photo below shows what my windows looked like after cutting.
View attachment 551690
Cut windows sitting on top of the plastic cutting sheet.
Installing Windows
My process goes something like this:
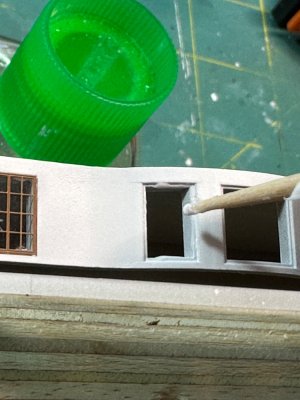
1. Coat window opening with Kristal Klear, using toothpick
2. Select window from sheet (I’ve also had success pealing off a bunch of the same window and dumping them in a small bowl for selection.) and peal off protective plastic
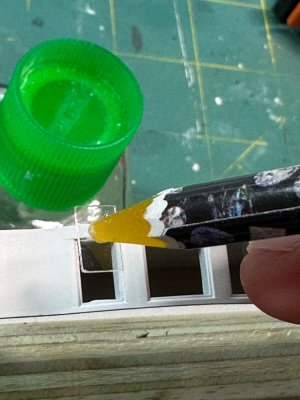
4. Pick up the window using a wax pencil, and insert it into window opening
5. Cut out window frame and pick up using wax pencil
6. Dip edges of window frame in CA glue and insert into window opening over top of window (NOTE all window frames are from the MK.1 Detail set, but you can do the same with the kit frames)
View attachment 551703
Applying Kristal Klear to window opening.
View attachment 551704View attachment 551705
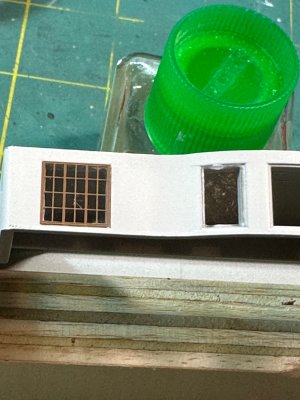
Inserting window using wax pencil. Blobs of Kristal Klear will disappear once they dry.
View attachment 551715
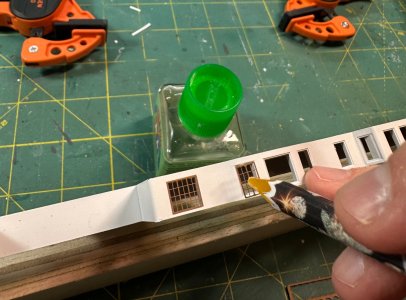
Installing the window frames (MK.1 Detail set ) using a wax pencil and CA glue
View attachment 551707
It’s a lot of factory work, but you eventually get all of the windows installed and then you can move on to the railings.
Installing Railings
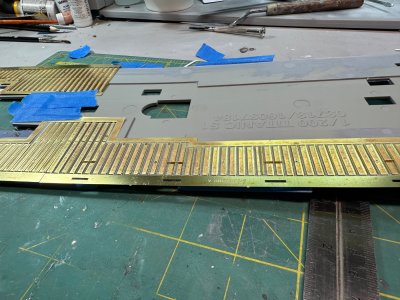
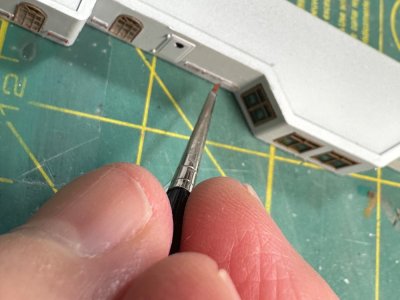
I used the points of my calipers to scribe some short guidelines for placing the railings. This allowed me to get a consistent height and alignment. I also pre-sprayed all of my railings white before cutting them from the PE. I used tweezers to dip each railing in CA and mount to the deck houses wall. I finished each railing with a thin line of dark brown along the top edge.
View attachment 551708
Applying a thin line of dark brown enamel on each railing.
View attachment 551709View attachment 551697
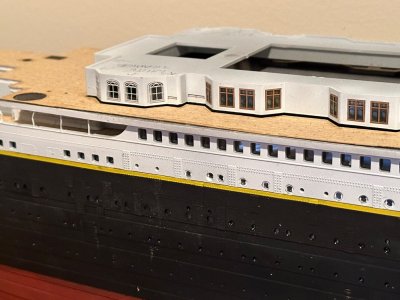
The deck houses set in place but not glued. You can see the windows (including the stained glass) and painted railings in place. Door windows were painted black. The MK.1 detail set includes replacement doors, but I used those only to add doors where the kit omits them and to upgrade the sliding doors on either ends of the deck house wall.
View attachment 551716
MK.1 doors and ladders in place. Note the ventilation grills are painted white. This is a mistake, I’ll change them to all black later.
Glueing Deck Houses to A Deck
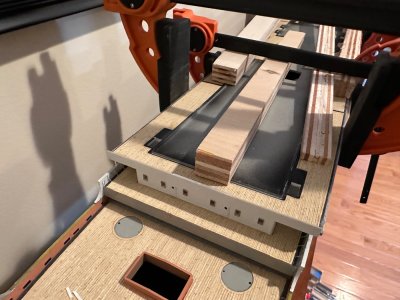
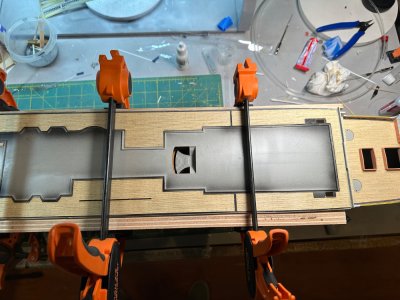
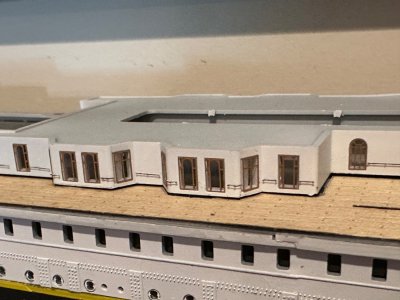
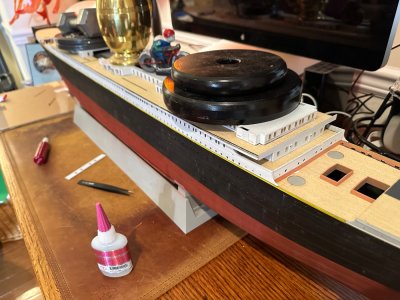
The deck house structures were glued in place using a combination of CA and Tester’s model cement…and a crap-ton of heavy weight to secure them in place. (See photos below)
View attachment 551712View attachment 551713