USS Constitution from Scientific Models

NO KIDDING! Now I'm trying to figure out how to fasten the breaching ropes to the bulwarks IF I decide to install them.

If you install the breeching ropes, put the eyebolts on each end of the length of rope, once you figure out how long they should be. Drill the holes in the bulwarks first. I drilled mine from the outside using a positioning jig that sticks into the gun port, and covered the holes out he outside of the hull with final planking later. The holes are so tiny, they can be filled with even paint. You glue the cannon carriage in place on deck first, then dab some CA glue on one of the eyebolt shanks using a toothpick and insert it into the bulwark hole using angled tweezers, and repeat on the other side. It's tiny work, but worth it appearance wise. You only have to do the guns on the weather deck, but I'm crazy, so I'm doing all 102 guns inside and out on my model.
1414 Finished Demi-Culverin Drakes for Gun Ports 10 & 11.jpg


1436 Install Last Gun Tackles on Guns .jpg
 
At 1:175 scale, I decided to glue the lines to the bulwark. Then I dabbed a bit of black paint on the ends of the ropes. Unless I’m wearing my 3.5 power glasses, I can’t even see anything but the basic shapes of the breeching lines. I can see the forest but not the trees. I think I was pushing it putting on the breaching lines, Kurt. But it does add a little to the overall look. By the way , Kurt, you’ve done a marvelous job on your SotS, but I still think you’re a little crazy not to have used fake guns for the lower decks. But it’s a good crazy.
 
I've built two of the Scientific models at the same scale. Using the clove hitch on the shrouds was not a problem. I used 3mm deadeyes not the beads provided in the kit. Dry dock on this site offers 2mm blocks that worked just fine.

View attachment 367004

View attachment 367005


View attachment 367008

View attachment 367011
Dave, I was wondering what those little black beads were. Are they really supposed to be single blocks? I may have to buy some new blocks. I’m also going to make my own sails. The provided sails are stiff and printed on only one side. The Admiral doesn’t like them and wants to use the originals for a template.
 
At 1:175 scale, I decided to glue the lines to the bulwark. Then I dabbed a bit of black paint on the ends of the ropes. Unless I’m wearing my 3.5 power glasses, I can’t even see anything but the basic shapes of the breeching lines. I can see the forest but not the trees. I think I was pushing it putting on the breaching lines, Kurt. But it does add a little to the overall look. By the way , Kurt, you’ve done a marvelous job on your SotS, but I still think you’re a little crazy not to have used fake guns for the lower decks. But it’s a good crazy.
Yeah.. you don't want to see BAD crazy. ROTF
 
At 1:175 scale, I decided to glue the lines to the bulwark. Then I dabbed a bit of black paint on the ends of the ropes. Unless I’m wearing my 3.5 power glasses, I can’t even see anything but the basic shapes of the breeching lines. I can see the forest but not the trees. I think I was pushing it putting on the breaching lines, Kurt. But it does add a little to the overall look. By the way , Kurt, you’ve done a marvelous job on your SotS, but I still think you’re a little crazy not to have used fake guns for the lower decks. But it’s a good crazy.
As long as you are gluing the tips of the breeching ropes to the bulwark, also tie and overhand knot at each end, trim the excess off right up to the knot, and glue that knot to the bulwark. The glue will have more purchase and the ball formed by the knot will have a similar physical volume as seized eye and eyebolt.
 
As long as you are gluing the tips of the breeching ropes to the bulwark, also tie and overhand knot at each end, trim the excess off right up to the knot, and glue that knot to the bulwark. The glue will have more purchase and the ball formed by the knot will have a similar physical volume as seized eye and eyebolt.
That’s a great idea, Kurt!
 
At 1:175 scale, I decided to glue the lines to the bulwark. Then I dabbed a bit of black paint on the ends of the ropes. Unless I’m wearing my 3.5 power glasses, I can’t even see anything but the basic shapes of the breeching lines. I can see the forest but not the trees. I think I was pushing it putting on the breaching lines, Kurt. But it does add a little to the overall look. By the way , Kurt, you’ve done a marvelous job on your SotS, but I still think you’re a little crazy not to have used fake guns for the lower decks. But it’s a good crazy.
Good morning Vic. I don't know how you do it working so small. Maybe get a tiny drill 0.03/4mm and drill holes into bulkwark. Add a little ca glue to the tip of the breech lines. insert the hardened end of the breech line into the hole with a little more ca. (not sure if this will even work being so small). Maybe you have gone too far to already. Cheers Grant
 
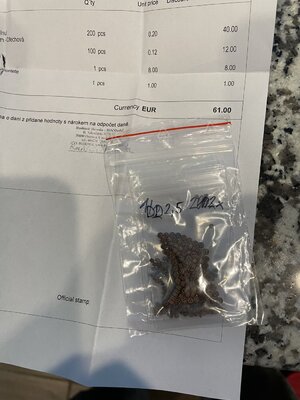
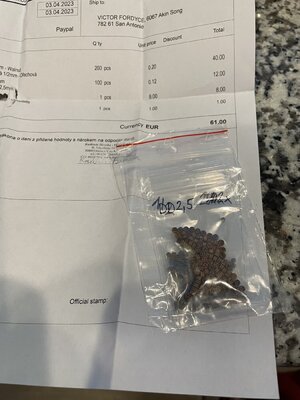
I decided to get some little bitty blocks and deadeyes. I started to contact Dry Dock, but I had forgotten they were closed for a trip. I hope they have a great time visiting the homeland. Ordered through HIS in Czech Republic. I've gotten some really nice flags from them in the past. I don't know if they'll be small enough or if I can handle something that small, but I'll try. If that doesn't work, I'll use the deadeye/lanyard piece of metal supplied in the kit. I think the blocks will work, though.
 
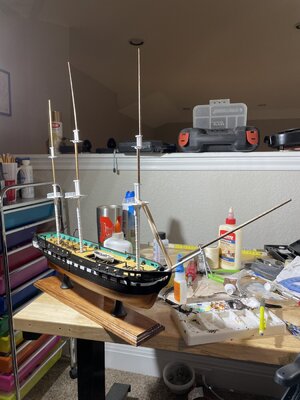
I needed a 0 degree rake for the foremast. The rubber band straightened it out for me. If @dockattner can use rubber bands to his advantage, so can I. View attachment 367733
Excellent progress. Make sure to check the angles of your masts after rigging every over pair of shrouds to ensure that the shroud tension does not pull them right or left. To prevent the masts from being pulled to the rear, take some strong, non-stretching heavy line and tie a temporary stay line to the bowsprit just like you have your rubber band in your photo. Each time you add a pair of shrouds, more stress will be added to the mast. Tension must not be too tight, nor too loose. A tiny bit of stretching in the shroud is desirable, since if moisture conditions from change in seasons causes some slacking, the shroud will have enough residual tension to stay straight and not go slack. Put a little bit of stretch in each shroud, and make that tension even for all of them. Continue to check the mast angles until all the shrouds and backstays are rigged.
 
If I go with the kit supplied contents, the shrouds are supposed to be glued to the masts. So are the back stays. I’ll see if I can find some different line. There’s not enough here to do the loops around the tops.
 
Back
Top