• LUCZORAMA SHIPWRECK SCAVENGER HUNT GIVEAWAY. 4 Weeks of Fun • 1 Legendary Prize ((OcCre’s Fram Ship)) • Global Crew Welcome!
    **VIEW THREAD HERE**

USS Constitution MS2040

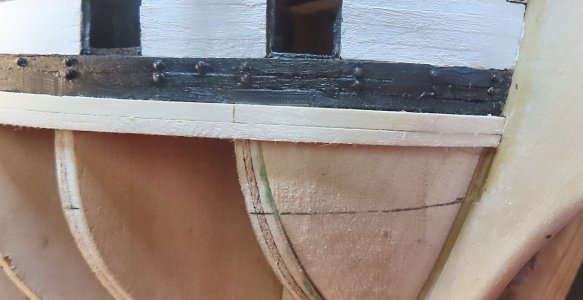
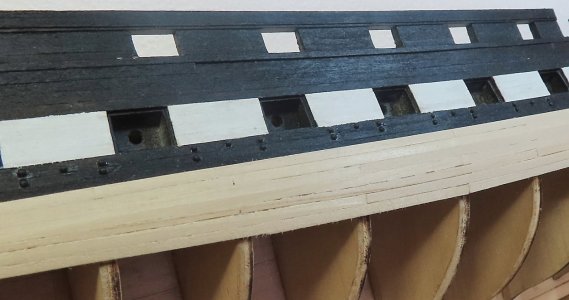
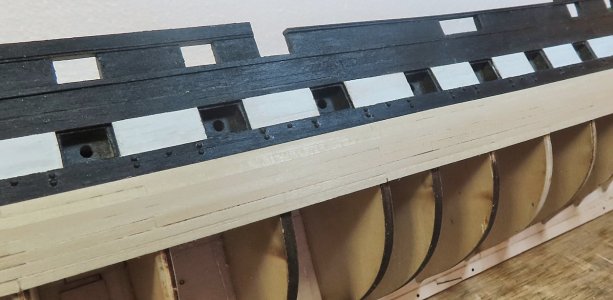
These rivets would be a later addition to the ship. Her 1920’s rebuild? The pattern does not resemble late Eighteenth Century early Nineteenth Century hand forged wrought iron fasteners.

Roger
 
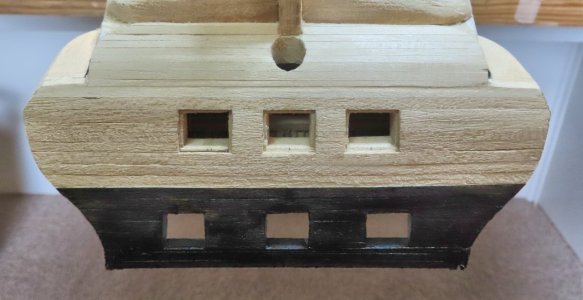
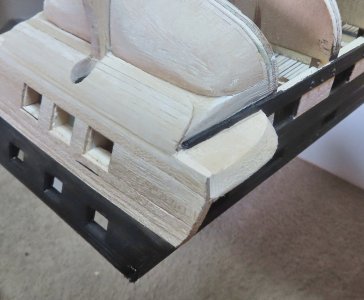
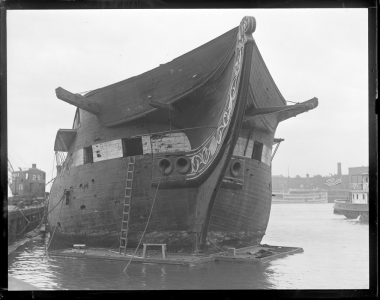
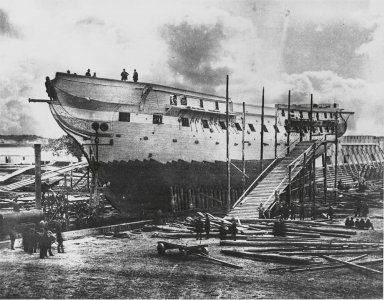
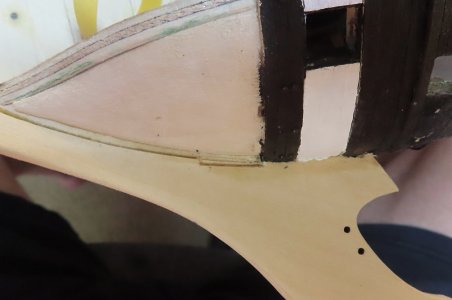
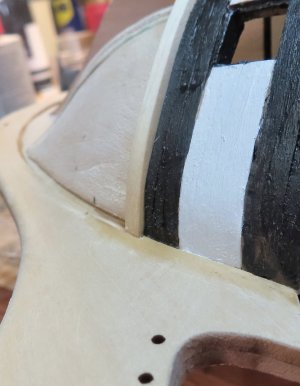
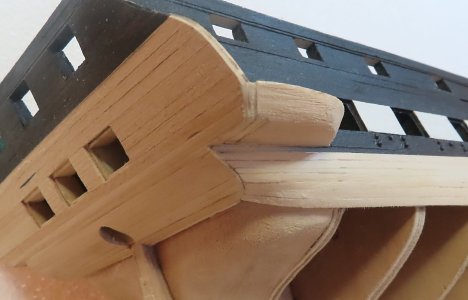
So, the Gallery is my biggest problem coming up. I will say hands down that if it were not for Bob Hunt's Practicum, I would have a very difficult time figuring this out. MAINLY due to the lack of views of the Stern Gallery section on the plans. Also, having real ship images helps.

I also had to buy some more 1/4" x 3" x 12" basswood stock, as the kit only includes one piece to make one side of the Lower Gallery section.

I could also have provided an ongoing list of the lack of building materials in this kit - it needs a MAJOR update (my opinion). This kit also needs to have some ISOmetric 3D drawings done in CADD instead of some hand-drawn images.

Ok, I am over my rant - Thank you Bob !!!


gallery01.jpg


gallery02.jpg


gallery03.jpg


gallery04.jpg


gallery05.jpg


gallery06.jpg

 
Great blog. I appreciate how you explain what you’re doing and why. I’m building my first ever model and I’m still trying to figure out basic things - like how to attach yards to the masts (the instructions are lacking to say the least). My goal is to one day build a museum quality ship like this so watching your build is really helpful. I look forward to watching your progress.
 
So, the Gallery is my biggest problem coming up. I will say hands down that if it were not for Bob Hunt's Practicum, I would have a very difficult time figuring this out. MAINLY due to the lack of views of the Stern Gallery section on the plans. Also, having real ship images helps.

I also had to buy some more 1/4" x 3" x 12" basswood stock, as the kit only includes one piece to make one side of the Lower Gallery section.

I could also have provided an ongoing list of the lack of building materials in this kit - it needs a MAJOR update (my opinion). This kit also needs to have some ISOmetric 3D drawings done in CADD instead of some hand-drawn images.

Ok, I am over my rant - Thank you Bob !!!

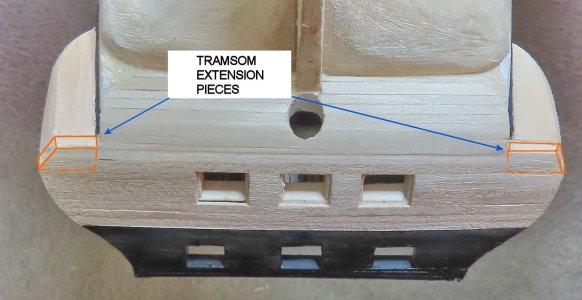
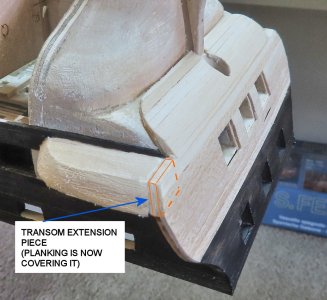
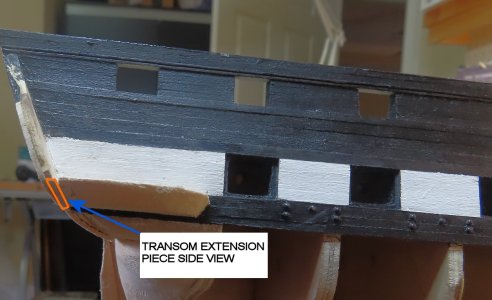
that transom extension piece was a nightmare to figure out. I had to contact Lauck street.
 
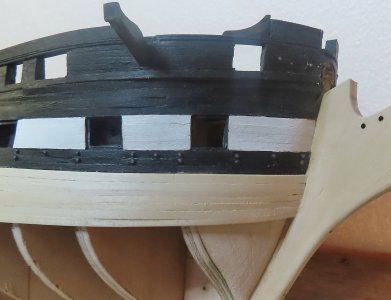
This is the first time I have seen an actual ship where the hull planking appears to follow the sheer of the gun deck and thus the ports as does your model. It seems it would be much easier than the British ships where the outboard planking sheer has no relation to the deck sheer. Very interesting.
Allan
1749124432059.png1749124459741.jpeg
 
Thank you all for tuning in -
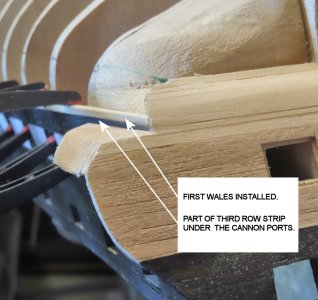
So, onward with the Wales. I decided to cut out more rabbet so the Wales would fit better. I wanted the same thickness vs. the thickness of the regular planking to be pronounced from stem to stern.

Yes, the first Wales is not tapered - I am leaving it alone. It will be painted over, and not worried about it. The remaining 6 will be tapered.

I just told the Admiral that this ship is probably going to be the last for a long time - it is wearing me out, mostly from trying to figure things out is the main problem, and not having any good direction. Again, thankful for Bob Hunt's practicum. However, it is just a guide, and a good one, but there are some steps I might have done a little differently. I would have planked the Wales before planking the lower stern.


wales02.jpg

wales03.jpg

wales04.jpg

 
After today, I am thinking about giving up on the constitution. If anyone is interested in taking up the cause, let me know and a price can be negotiated- however - with some soul searching done as well before I throw in the towel.
It can be shipped in USA.
 
I haven't decided to throw in the towel, but rather I am moving at a snails pace as I figure things out. It is a very difficult build, in my humble opinion.
 
Hang in there Donnie. I too have had the same feelings over the years. When I was a kid I loved making plastic ship models. All we had to do is assemble the pieces, paint and you had a ship. My how things have changed. With the Constitution, you have to make the pieces and assemble them. Almost each piece in itself is a mini model, the ships boats, the masts, the deck furniture, the decking, and so on and so on. Truly, I wish I would have stopped and just made the Conny an Admiralty Style model and be done with it. Even using Bob's practicum needs a lot of interpretation. It seems like every time you are off just a little bit it comes back to bite you hard. I found the build logs on this group to be a great help. It is nice to see how another modeler worked through a difficult problem for us. Maybe take some time away from modeling and come back with a fresh and new approach. I feel your pain and would love to see you hang in there and kick some Conny butt. What ever happens I enjoyed your journey and you have done a great job. I will even confess that I scrapped by first attempt at the Conny and started all over. All the mistakes I made the first time, helped me be a better modeler on the second attempt. I am really hung up on the rigging process right now and need to get back at it. So....... give it a second chance my friend.
 
After today, I am thinking about giving up on the constitution. If anyone is interested in taking up the cause, let me know and a price can be negotiated- however - with some soul searching done as well before I throw in the towel.
It can be shipped in USA.
Hi Donnie
I know how you feel and I have considered scraping mine a few times. At the beginning I Knew it was going to be a challenge but it's the most difficult ship I've attempted so far.
This is a no compromise kit the drawings include details I could not build into my model so some things on my Constitution are not quite right but I'm OK with that. The way I look at it it's very frustrating at times but I'm learning a lot.

Tony
 
Back
Top