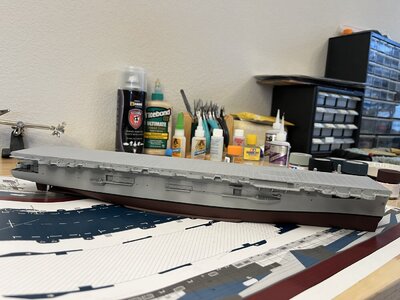
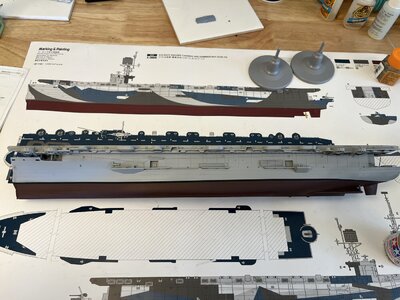
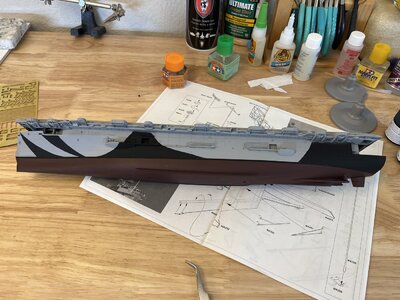
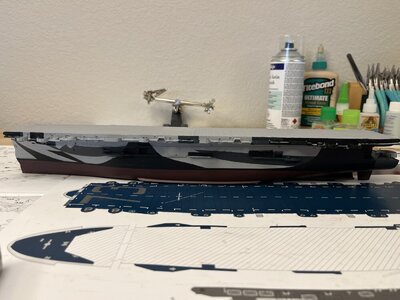
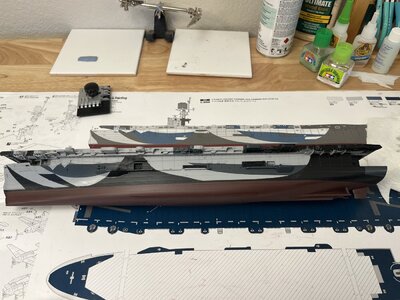
I got a very interesting video from Rob444 that I'll try on a latter job and not here since I had already started filling the gaps.
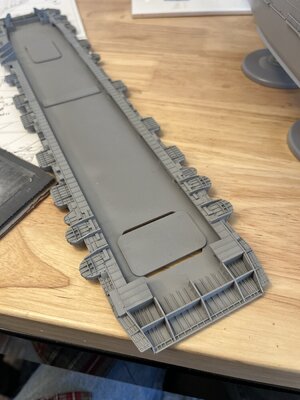
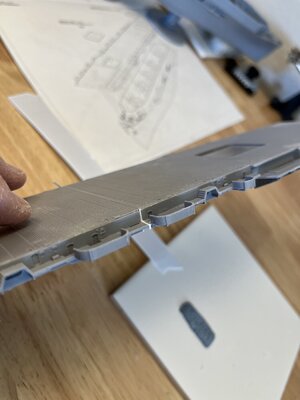
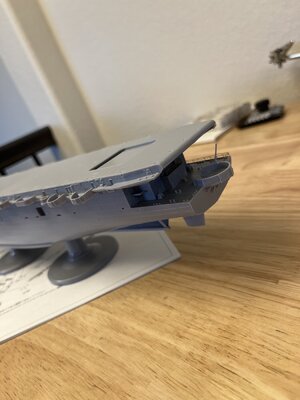
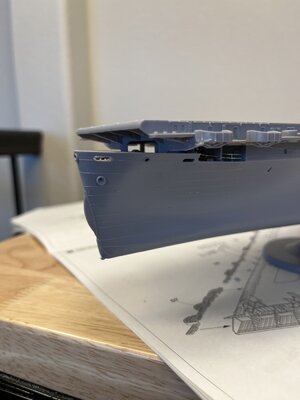
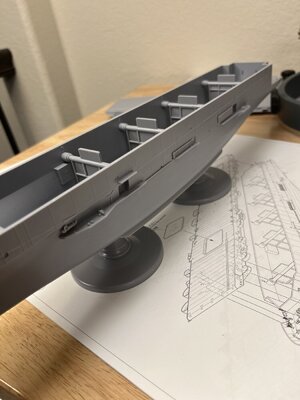
I have a sheet of .025 styrene that will work to fill the gaps with a little fiddling. First was to finish the gaps so the edges were parallel and sand the gap until the styrene slid into the gap without any force. I wanted to make sure the gap was small enough to hold the shim but loose enough for thin cement to penetrate.
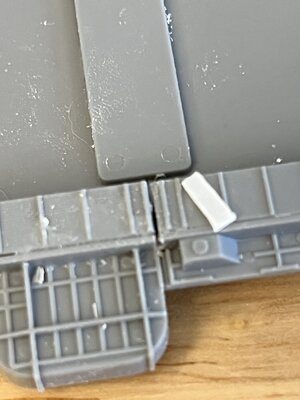
shim in place
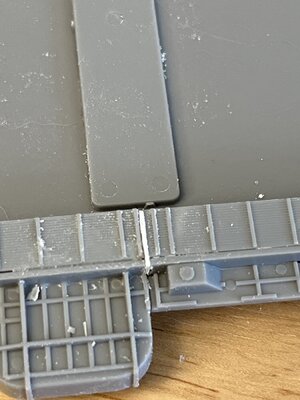
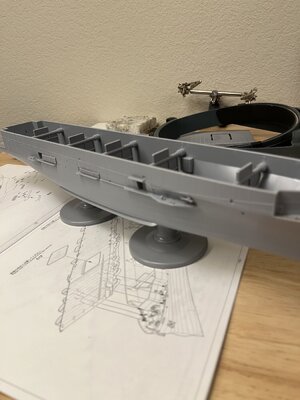
The other side was a little more demanding due the aa tub. So Inserted the styrene strip in the gap and marked the shape outline with a #11 knife point.
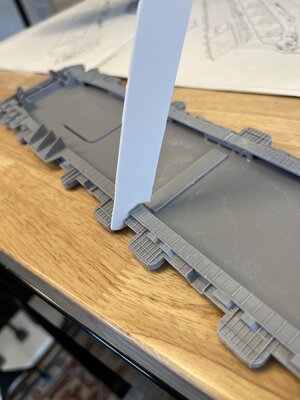
Cut the part out leaving a slight overhang to be shaved after glue sets. Inserted the part and again used extra thin cement. Once in place and glued about an hour later the parts were melted together like welding.
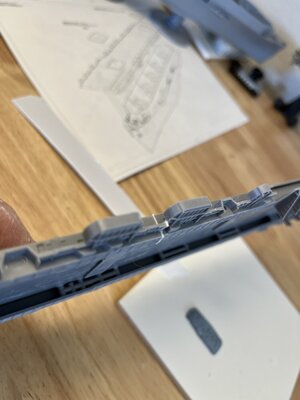
The picture really shows the shape outline of the shim.
Finished the day painting the parts that will be sky grey.
First making certain that all the parts have been assembled
Next finding the parts still on the sprue that need to be painted sky grey
I have some 3" double sided tape that I attach to a cardboard strip
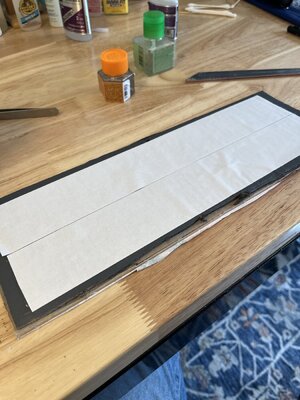
The backing is a vinyl material and very east to remove from the tape
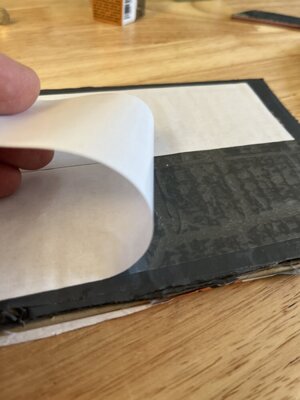
With sticky side up I placed all the loose parts ready for painting.
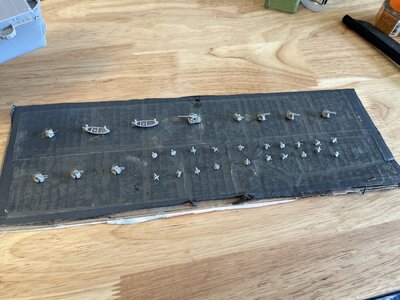
parts ready for painting. You can see I've used this cardboard before and the last paint was flat black
Painted parts
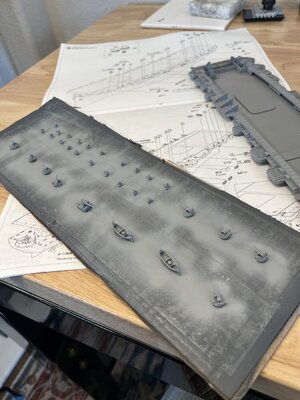
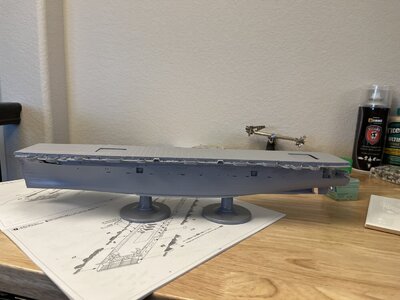
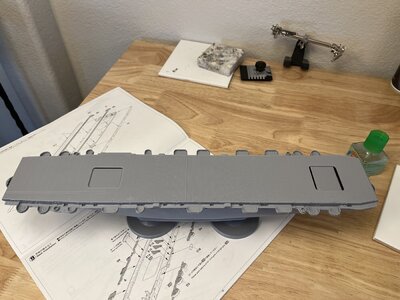
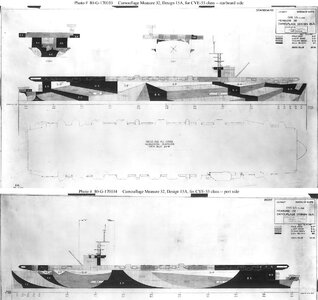
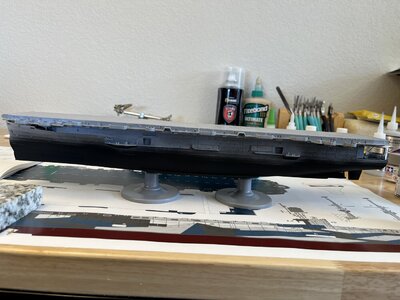
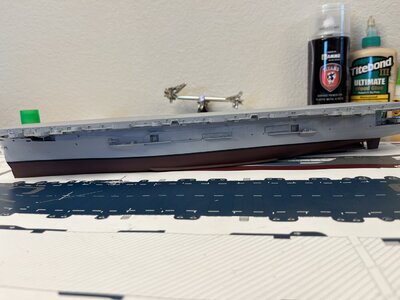
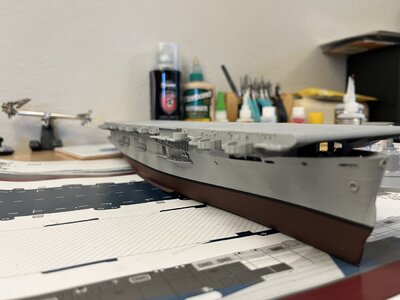
Bottom of flight deck and aa tubs the top will be the navy blue as all upper horizontal surfaces.
Next step is attaching the flight deck to the hull. Should be interesting as I also have the wooden flight deck to add at this step. Big day tomorrow
