Vasa - 1:65 DeAgostini [COMPLETED BUILD]

Hi Paul,

I have been away from your build recently, but on return I see I have missed an enormous amount. Your progress is outstanding and clearly you will end up with a fine, detailed and accurate FIRST model. Having the Vasa available to us in the museum and in so many build logs/pictures etc helps enormously, but your build is exceptional.

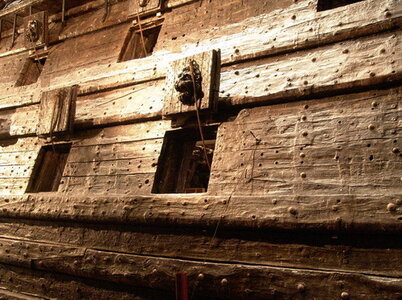
I noticed your hull image in post #894 and noted the tree nailing and nail heads. The tree nailing using the description method from Maarten is inspired. It is SOOO simple and yet so fast and effective. Obviously care is required, but it is extremely effective with the right sized syringe.

Now, regarding your nailing - this has taken you a significant amount of time obviously, but I am wanting to know whether you have made the nails or have purchased them, blackened and then inserted into pre-drilled holes. The making of nails with the exposed nailheads using copper wire is not a difficult method, but it is time consuming. Different wire sizes can be used for different head sizes and using Birchwood Brass Black, the heads are quickly and easily blackened. So, my question to you is, what was the source of your nails?

Inspired work,

PeterG
Hello Peter,

Thank you so much for your overly kind review of my work. I consider your BB Vasa a standard to aspire to - and I'm so glad you returned to her after a break.

Yes, I have many reasons to be thankful for @Maarten's tutelage - he and several others have been helpful beyond words both within this build log as well as offline. Much of what people find appealing about my model can be directly attributed to them.

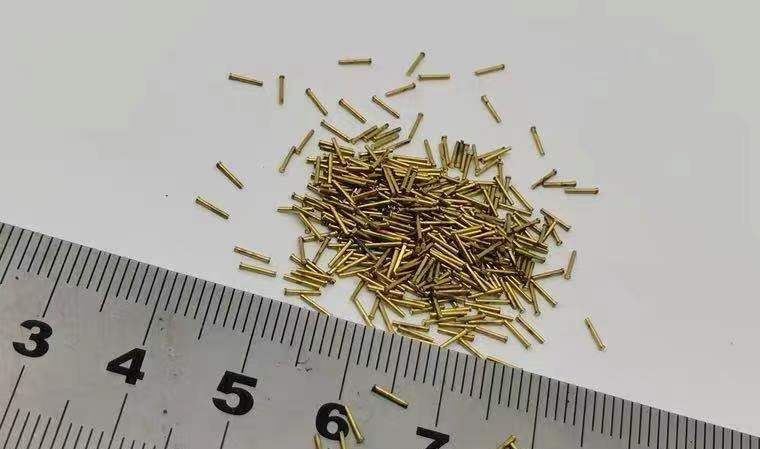
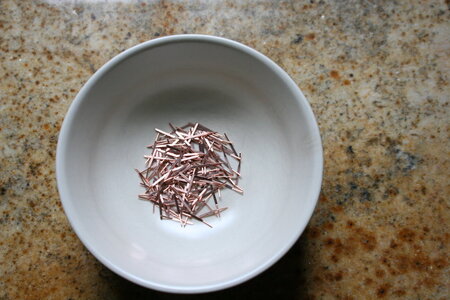
As for the nails - a few (the larger ones) are just spikes for N/HO gauge trains. The abundant tiny ones come from MicroMark. These were the smallest I could find. In my opinion they are seriously overpriced (especially at the rate I was burning through them). But for anyone interested: https://www.micromark.com/Miniature-Nails-Package-of-100_2. These are so thin that no predrilling is needed; but they do take a steady hand to insert. Birchwood Black was used as you surmised.

Thanks for sharing your excellent work - I will be keeping close tabs as you commence with rigging.
 
Hi Dockattner--
We have something in common--you have 1 ship built, 35 years ago. Likewise, I have only 1 ship built (the Great Harry), 43 years ago (I wish I still had it, it was stolen). You've got a challenge ahead of you with the Vasa. Likewise, I have a challenge ahead of me, the HMS Victory (Caldercraft).
I'll be keeping an eye on your build and anticipate lots of good photographs.
Andy from Kenosha
Hey Andy,
We're practically neighbors! The Caldercraft Victory was on my short list before the tide shifted and I ended up with the Vasa. How about a build log?
 
Hello Peter,

Thank you so much for your overly kind review of my work. I consider your BB Vasa a standard to aspire to - and I'm so glad you returned to her after a break.

Yes, I have many reasons to be thankful for @Maarten's tutelage - he and several others have been helpful beyond words both within this build log as well as offline. Much of what people find appealing about my model can be directly attributed to them.

As for the nails - a few (the larger ones) are just spikes for N/HO gauge trains. The abundant tiny ones come from MicroMark. These were the smallest I could find. In my opinion they are seriously overpriced (especially at the rate I was burning through them). But for anyone interested: https://www.micromark.com/Miniature-Nails-Package-of-100_2. These are so thin that no predrilling is needed; but they do take a steady hand to insert. Birchwood Black was used as you surmised.

Thanks for sharing your excellent work - I will be keeping close tabs as you commence with rigging.
If you need truly SMALL nails, these are REALLY SMALL. I bought a bunch of the smallest nails they make, and they are incredibly small and well made. link to eBay auction: Small Copper Nails on eBay
 
@dockattner Paul, Zoly's shop has very tiny nails check them out! Very fast shipping to us (USA)

 
I bought DeAgostini Vasa kit in the installment plan a couple years ago. I let it sit to allow the wood to get used to the house. Now I am building. The online instruction manual and You Tube are very helpful.
 
bought DeAgostini Vasa kit in the installment plan a couple years ago. I let it sit to allow the wood to get used to the house. Now I am building. The online instruction manual and You Tube are very helpful.
This is good news. You may consider a build log of yours, perhaps. What do you think? It doesn't have to be from the begging, you can start at any stage of your build progress. We would be happy to see your model as you advance in the kit.
 
I bought DeAgostini Vasa kit in the installment plan a couple years ago. I let it sit to allow the wood to get used to the house. Now I am building. The online instruction manual and You Tube are very helpful.
Hello @Spars. That's great news. I agree with Jim - a build log would be interesting for the members of the forum and helpful to you as well. I have received lots of help from members.
 
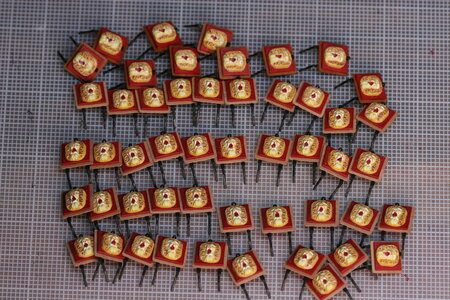
It's been a while since I have posted anything resembling a progress report. Hobby time has been hard to come by recently - and I also launched myself into a project that is taking far longer than I had anticipated: fabricating gun port covers.

First, let me say that I have gained a new level of respect for modelers working on first rate ships of the line. I only had to make 52 covers (there are 14 more guns on the weather decks that do not have square ports) and the thought of making 100+ makes me cringe.

Let's begin with the goal:

433.jpg

I'll mention at this point that I have made the decision to show all gun ports open. Of course actual ships would not present themselves this way unless they were battle ready. But if you know the story of the Vasa you know she floundered on her shake down cruise with gun ports wide open so I'll show her that same way. Plus, I already painstakingly painted a small pile of lion's heads and I'm going to show that work!

My next announcement (and this one will probably get me kicked out of the club) is that I have chosen to not make hinges for the covers. Yes, I get that this is a badge of honor for modelers and all the best models present hinges - but in reviewing the image above I don't see hinges. Of course they are there - but if I can't see them at 1:1 I can't imagine how I could possibly reproduce them at 1:65. Plus, the hardware tucks up fairly snugly under the wale making it even harder to discern (or appreciate) hinges. Please, no hate mail!

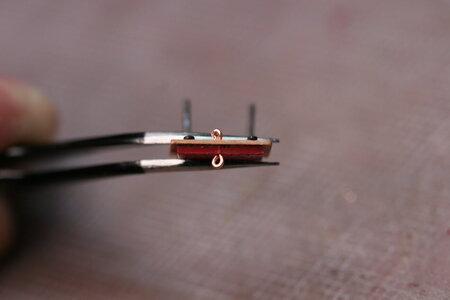
With those decisions in my wake I set out to find the best possible hack for making non-functional port cover hardware. I reached out to a few SOS members and renewed my research on other build logs. My solution was to flatten a section of copper wire and then to bend that wire at the junction of the flat portion and the round portion (at the appropriate presentation angle)...

IMG_6718.JPG IMG_6719.JPG

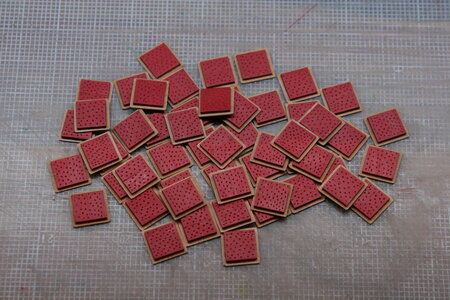
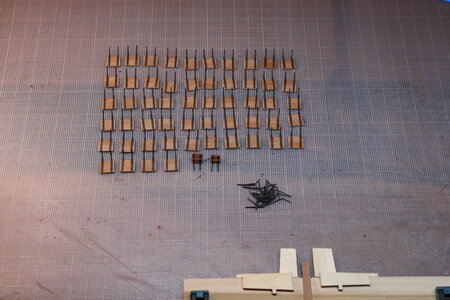
I then made a bunch of port covers...

IMG_6705.JPG

IMG_6707.JPG

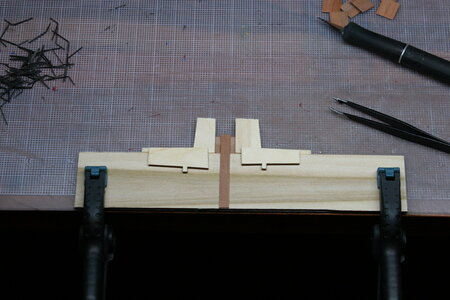
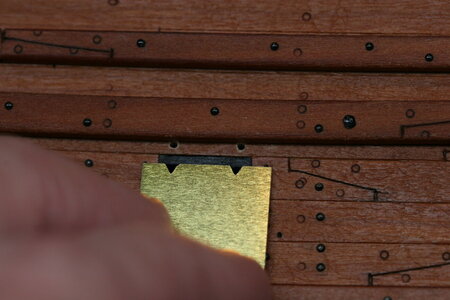
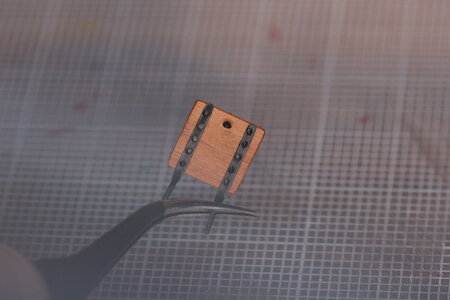
Next up, I made a simple jig to standardize gluing the hardware to the covers and then drilled corresponding holes above each gun port.

IMG_6726.JPG IMG_6729.JPGIMG_6732.JPG

I then added some "rings"...

IMG_6747.JPG IMG_6749.JPG

And while no one will ever see them - I added some faux nails to the hardware just because...

IMG_6758.JPG

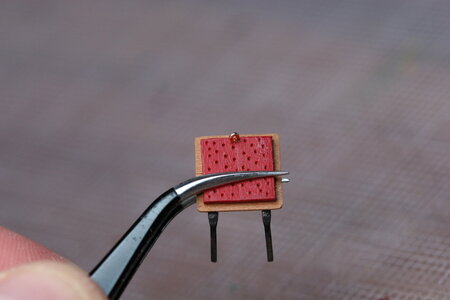
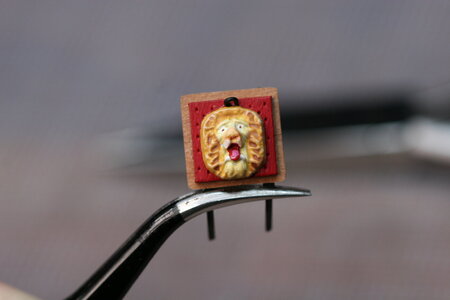
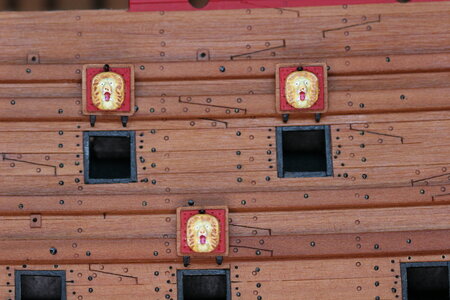
Finally, I glued on the lion's heads and test fit a few to see if this was going to work...

IMG_6745.JPG IMG_6764.JPG

IMG_6755.JPG

I still need to clean these up and add an oil treatment to the wood - but I'm almost there. I'll postpone adding these to the hull until later in the build...

As always I am humbled that you might take the time away from your own projects to stop by and see what I have been working on.
 
It's SO hard to make a comment when the work is at this level of supreme awesomeness, Paul, but are you going to leave the gun port lids open and laying against the hull like that, or is this where they will stay so they are out of the way, until you finish them by adding the ropes that pull them open, and bending the hinged to a more correct angle like this? Just commenting on the details. Like you, I appreciate all comments from members if they help make the model better.

1621736951726.png
 
It's been a while since I have posted anything resembling a progress report. Hobby time has been hard to come by recently - and I also launched myself into a project that is taking far longer than I had anticipated: fabricating gun port covers.

First, let me say that I have gained a new level of respect for modelers working on first rate ships of the line. I only had to make 52 covers (there are 14 more guns on the weather decks that do not have square ports) and the thought of making 100+ makes me cringe.

Let's begin with the goal:

View attachment 234973

I'll mention at this point that I have made the decision to show all gun ports open. Of course actual ships would not present themselves this way unless they were battle ready. But if you know the story of the Vasa you know she floundered on her shake down cruise with gun ports wide open so I'll show her that same way. Plus, I already painstakingly painted a small pile of lion's heads and I'm going to show that work!

My next announcement (and this one will probably get me kicked out of the club) is that I have chosen to not make hinges for the covers. Yes, I get that this is a badge of honor for modelers and all the best models present hinges - but in reviewing the image above I don't see hinges. Of course they are there - but if I can't see them at 1:1 I can't imagine how I could possibly reproduce them at 1:65. Plus, the hardware tucks up fairly snugly under the wale making it even harder to discern (or appreciate) hinges. Please, no hate mail!

With those decisions in my wake I set out to find the best possible hack for making non-functional port cover hardware. I reached out to a few SOS members and renewed my research on other build logs. My solution was to flatten a section of copper wire and then to bend that wire at the junction of the flat portion and the round portion (at the appropriate presentation angle)...

View attachment 234958 View attachment 234959

I then made a bunch of port covers...

View attachment 234953

View attachment 234954

Next up, I made a simple jig to standardize gluing the hardware to the covers and then drilled corresponding holes above each gun port.

View attachment 234961 View attachment 234962View attachment 234963

I then added some "rings"...

View attachment 234967 View attachment 234968

And while no one will ever see them - I added some faux nails to the hardware just because...

View attachment 234970

Finally, I glued on the lion's heads and test fit a few to see if this was going to work...

View attachment 234966 View attachment 234971

View attachment 234969

I still need to clean these up and add an oil treatment to the wood - but I'm almost there. I'll postpone adding these to the hull until later in the build...

As always I am humbled that you might take the time away from your own projects to stop by and see what I have been working on.
One word: INCREDIBLE!
 
It's SO hard to make a comment when the work is at this level of supreme awesomeness, Paul, but are you going to leave the gun port lids open and laying against the hull like that, or is this where they will stay so they are out of the way, until you finish them by adding the ropes that pull them open, and bending the hinged to a more correct angle like this? Just commenting on the details. Like you, I appreciate all comments from members if they help make the model better.

View attachment 234978
Would the Victory not be a museum of sorts, presented for show and not for go? I would think that in battle, the port covers would be all over the place, as long as they were not covering the ports. If I were a member of the gun crew, I would probably give the rope a quick yank to get the cover out of the way, tie the rope off, and start aiming. Or perhaps those sailors would have been much more fastidious than I in the fog of war. I’m so impressed by Paul’s work as well. I tip my hat.
 
Stunning Paul, the gun ports just very well executed. My guess is the gun ports would be full open under battle or parade conditions, why else would the lions heads have been there?
 
First of all my thanks to everyone who has shared likes and encouraging comments. It really does help.

Let me see if I can address a few questions:

@Dematosdg - I just used a PVA that dries clear Daniel. The black is an illusion though there would be no reason you couldn't dab a little paint on the nail heads. No one does this better than @Dean62 https://shipsofscale.com/sosforums/threads/yuanqing-bluenose-pof-dean.6738/post-155789. That said, you can find black PVA glue or you can tint your own.

@DARIVS ARCHITECTVS - thank you for asking this question Kurt. I'm not sure I can fully answer your question since I haven't thought that all the way through. But having now been prompted...

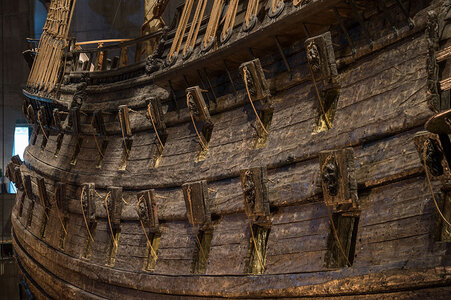
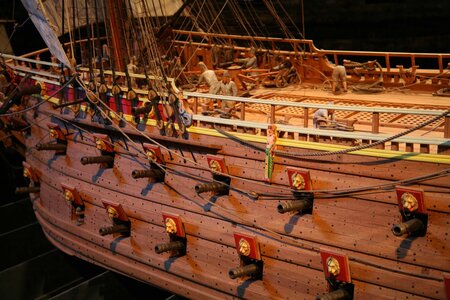
The museum ship shows these ports fully raised against the wale (or at least nearly so) as does the 1:10:

kanonportar-babord-nara.jpggIMG_6286.jpg

I gather from your question and the posted image of the Victory that this might have been unusual?

Perhaps the tension can be resolved in the notion that the Wasa was commissioned by King Gustav to be the show-pony of the Swedish Navy. Well, you can't be the show-pony with your skirt pulled down below your knees (I just made that up ;) ). To show the best assets of these port covers the lid would need to be fully open (who even puts lion heads on gun port covers anyway?!?).

As a side note - I have learned that most gun port covers use combo blocks and tackle to make it easier to lift the heavy covers. No such advantage was provided to the Wasa crew - brute force or teamwork was their only remedy.

Kurt, thank you very much for asking your question. Without your help and the help of many others I would have tossed this model into Stockholm Harbor long ago. If this build is soaked in anything - it is soaked in humility. As I have mentioned before I simply do not know what I do not know. I am eager for correction and guidance. Let 'er rip everyone - I need your help when you see things that are off.
 
Back
Top