Victory Models Kit Revenge 1577 Race Built Galleon scale 1/64

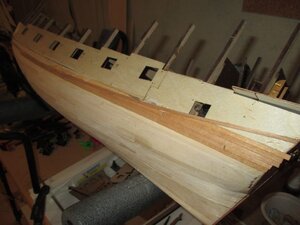
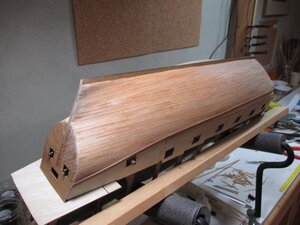
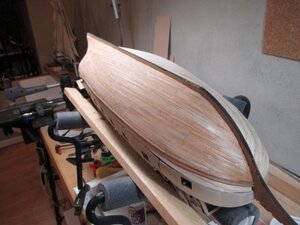
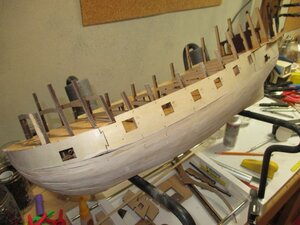
The first layer of planking is finished and mostly sanded. There are a few spots that need more work...especially around the bow area. We have to love how digital photos show up all the flaws! It looks "rough" but it really is smooth and ready for the finish layer which should lay down nicely. My concern is the transition between the plywood template and the strip wood planking. Next is marking out the hull for the wales and the finish planking. We start the finish layer with the stern transom area.

IMG_1577.jpg
 
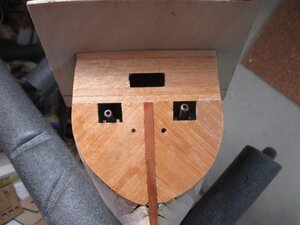
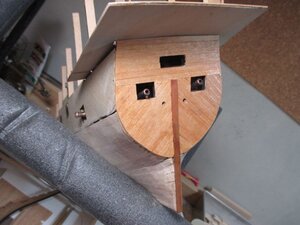
The stern transom finish layer of planking. I just applied poly and it is still drying. But it is nice to start the finish planking even if it is the stern transom. Next is marking the hull for the curve of the wales. This is done by taking the measure from the gun ports to the wales on the plan sheet and transferring it to the hull of the model. Once marked, the wales can be applied to the proper curve. Then off and running with the finish layer of hull planking! The second photo makes everything look crooked...just the weird perspective...all is straight and true...I think!

IMG_1578.jpg


IMG_1579.jpg
 
The lower wale strake is in place and it follows the curve of the hull. I started the second planking below the wale to the keel. I decided to run the planks parallel with the keel rather than follow the curve of the wale. I also decided to use scale plank lengths of 30 feet which is 6 inches at 1/64 scale (well...technically 5.63 inches but I rounded up for convenience). It is early in the process so we will see how it turns out...

IMG_1581.jpg
 
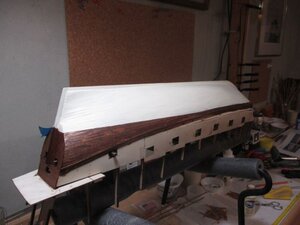
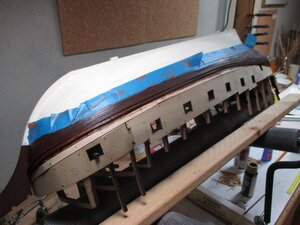
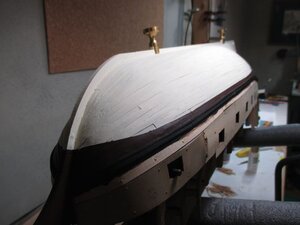
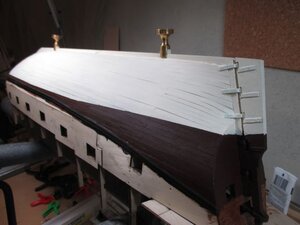
Here are three photos of the first half of the hull second or finish layer of planking. The first two show the planking unfinished. The plan set calls for applying a white paint to simulate the "white stuff" anti-fouling coating of the period. So I started with the first coat at the waterline. The photo still has the tape on so it looks a bit messy still. I decided to stain the planking from the white paint up to the lower wale a darker tone to provide separating contrast to the planking above the wale to the bulwarks which will remain the natural color of the planking (note the first two photos). So we are progressing...now to start all over again on the other side of the hull. Once both sides of the hull are planked I will apply several more coats of white before I move on. From the plan set the next step is the rudder assembly...

IMG_1583.jpg

IMG_1584.jpg

IMG_1586.jpg
 
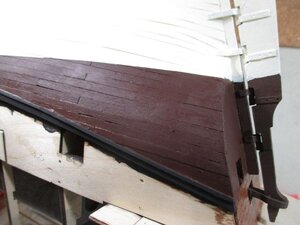
Progress on the lower hull. I painted the lower hull from the water line to the keel an antique white. I use craft acrylics for my paints as I have found them to be very good quality and I have a diverse selection of color palate. Next is to paint the planking from the water line to the lower wale. I decided to paint this area a burnt umber because the type wood used by the kit did not take a dark stain evenly. Made a mess actually. Burnt umber will blend in the hull planking nicely and take care of the mess. Not shown but next is to paint the lower wale black. Then mount the rudder assembly. The first photo shows the white and the stain. You might be able to discern the mottled stain towards the stern. The second photo shows the burnt umber applied.

IMG_1587.jpgIMG_1589.jpg
 
So...the hull from lower wale down to keel is mostly finished. Rudder assembly attached. In these photos you can see how I used Burnt Umber acrylic to paint the area below the wale to the water line as a fix for a messy stain application. This will blend in nicely once I proceed with the hull from the lower wale up to the bulwarks. Antique white on the lower hull, burnt umber next, and the lower wale painted black. Also in the photos you can see where I have put in place the brass pedestals. At this point in the build I like to mount the model on its display base. It makes it easier to move it around for progress. I will put another coat of white on the rudder assembly, mount to the display base, and start on the upper hull and deck furniture.

IMG_1590.jpg

IMG_1591.jpg

IMG_1592.jpg
 
Last edited:
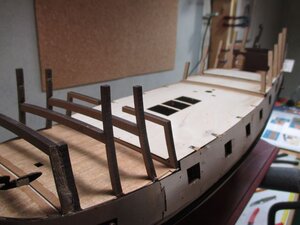
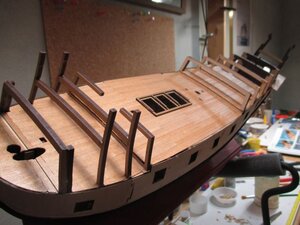
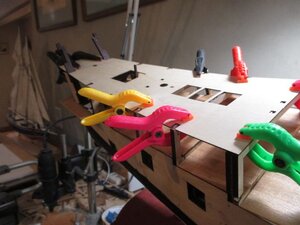
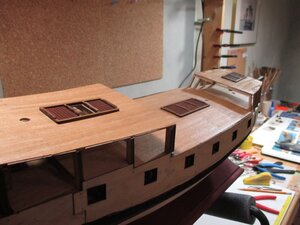
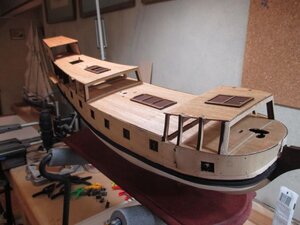
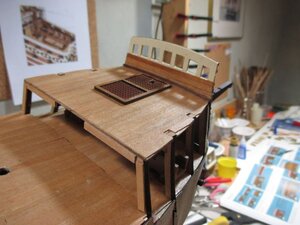
Working on the decks now. The decks use the plywood templates that are then planked. These photos show the main deck templates in place and the main deck planked. The last photo shows the template for the quarter deck clamped in place. Once the glue sets I can plank it. Templates are OK to use but they do have some issues. Fitment is a struggle. I had to clip slots and juggle uprights to get a proper fit. In the case of the quarter deck I cut off the bulkhead supports prior to setting the quarter deck template. The instructions suggest setting the template in place and then cutting off the uprights. But cutting them first was the only way I could get a fit. In the photo you can clearly see where I cut off the bulkhead supports. In the end things will look good but it is a process getting there!

When using templates such as in the Victory Models kit the build structure must be very precise to get a good fit for the templates. In this case relationships are critical. That is just not going to happen in the average build...too many variables. Lastly, there is a decided lack of support structures for the templates to attach to, so you will end up needing to secure the templates to what structures there are by adding pins into the supports.


IMG_1594.jpg

IMG_1595.jpg

IMG_1597.jpg

IMG_1599.jpg
 
Working on the decks now. The decks use the plywood templates that are then planked. These photos show the main deck templates in place and the main deck planked. The last photo shows the template for the quarter deck clamped in place. Once the glue sets I can plank it. Templates are OK to use but they do have some issues. Fitment is a struggle. I had to clip slots and juggle uprights to get a proper fit. In the case of the quarter deck I cut off the bulkhead supports prior to setting the quarter deck template. The instructions suggest setting the template in place and then cutting off the uprights. But cutting them first was the only way I could get a fit. In the photo you can clearly see where I cut off the bulkhead supports. In the end things will look good but it is a process getting there!

When using templates such as in the Victory Models kit the build structure must be very precise to get a good fit for the templates. In this case relationships are critical. That is just not going to happen in the average build...too many variables. Lastly, there is a decided lack of support structures for the templates to attach to, so you will end up needing to secure the templates to what structures there are by adding pins into the supports.


View attachment 169234

View attachment 169235

View attachment 169236

View attachment 169237
Jim
It looks really beautiful
 
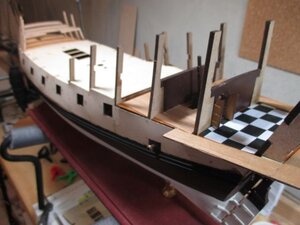
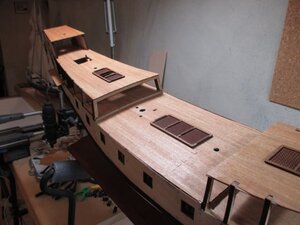
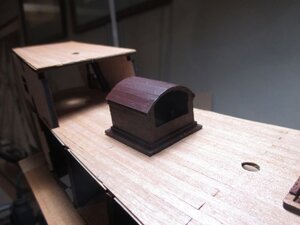
All of the primary decks are now installed and planked with a coat of poly. The basic shape of the ship is definitely taking form. From this point we build up the bulwarks using templates again and start adding deck furniture and decoration. I have dry fitted some of the bulwark templates and they won't be easy to apply. Again the same problems as the deck templates...fitment needs a lot of fussing and poor under structures to attach them too. The templates will not fit "tight" so some creative planking will take place! But, a lot of detail work coming up! The rough edges of the deck planking will definitely be covered by bulwark planking. Now I need to construct a set of gangway stairs for the quarter deck hatchway.

IMG_1602.jpg

IMG_1603.jpg

IMG_1604.jpg
 
Question for the group. I am looking for a source for a 16th century ship's boat kit for the Revenge. Or...making it simple, a ship's Jolly boat POF kit at size range 90mm to 110mm or 1/64 scale. I once had a source of ship's boat kits but darn if I can find it now...if I can't find a good kit I will scratch build it. Any thoughts??
 
Last edited:
Hello Jim, definitely build from scratch! but if you really wants something nice from kits manufacturers, check this out


or here

Got it...thanks! These sites give some options but I agree...either scratch build what I need or do a serious kit bash. Thanks for the info!
 
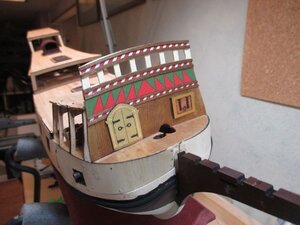
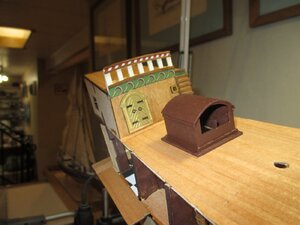
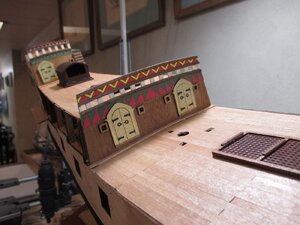
Some of the colorful detail starting to emerge. The forward forecastle bulkhead in place. Note the typical color decorations of a 16th Century Galleon. There are four such bulkheads to assemble and place before the upper hull bulwarks are fitted. These are detailed with doors, window frames, etc. Thus they are assembled off model and then placed. The color decorations are printed on heavy paper. To give them a better, less "paper" look, I applied a few coats of poly. The poly not only protects and seals the paper but adds texture to the decorations. The first photo shows the steerage canopy detail in place.

IMG_1605.jpg

IMG_1606.jpg

IMG_1607.jpg
 
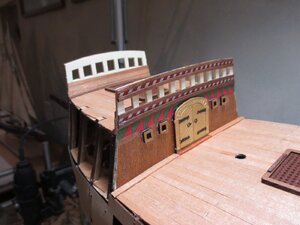
I have completed the primary cabin bulkheads structures and they are in place. Again the colour is emerging. There are several modellers choices for these. For example, many would paint the doors some colour such as a dark brown. The doors could also be shown open as the kit provides covers for the inside of the doors if they are shown. I decided to keep the doors closed and leave the bright brass to simulate the gold decoration highlighting. Maybe a bit unrealistic but oh well.

IMG_1609.jpeg

IMG_1610.jpeg

IMG_1611.jpeg

IMG_1612.jpeg
 
Back
Top