Victory Models Kit Revenge 1577 Race Built Galleon scale 1/64

Joined
Sep 9, 2017
Messages
1,007
Points
393

Location
Fredericksburg, VA
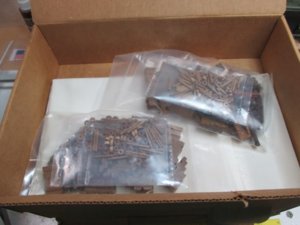
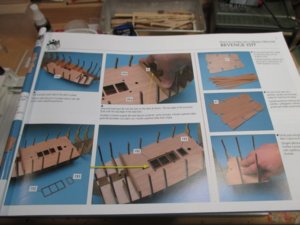
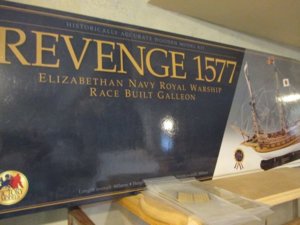
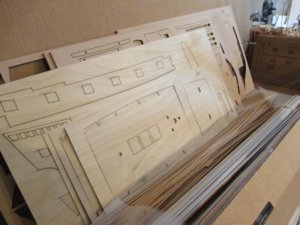
I have not posted a build log for some time so I thought it was time. I have started the Victory Models Kit Revenge 1577. It is a classic Race Built Galleon Warship of the Elizabethan Navy. I started the model six months back and set it aside to build a smaller model for my Granddaughter. She asked for a specific model. How could I say no. So this build log is starting after the typical keel and bulkhead construction is complete. Two decks are planked and installed. However, from here we can pick up the concept of the Victory Models kit construction and start progress comments and photo support. The kit itself is well stocked with parts, billets, and small parts. The wood is of high quality. Victory Models uses thin fiber board and plywood shapes as the base or "first planking." One then applies a second planking on the shape and install that on the model. The instruction booklet is photo driven. Short instructions with a photo of where and how the part is attached. There are also 20 sheets of plans that focus on specific sections and the build.

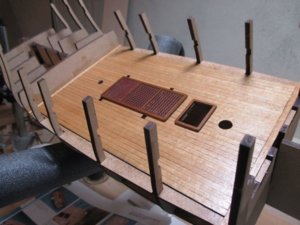
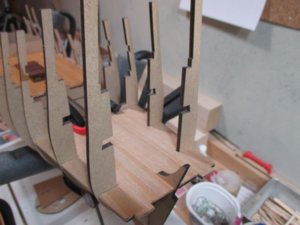
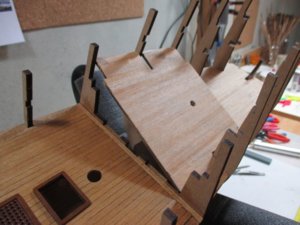
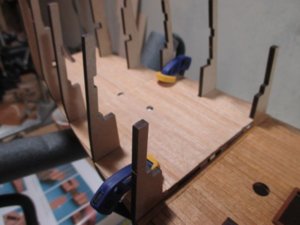
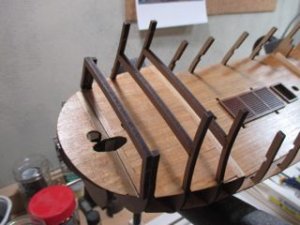
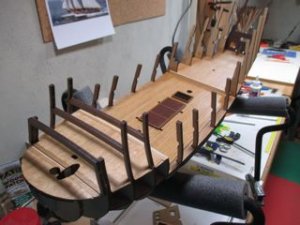
To get started here are a few introductory photos to illustrate the kit I am working with. Victory Models kits are high quality and they have a unique approach to model building.
IMG_1524.jpg

IMG_1522.jpg

IMG_1525.jpg

IMG_1533.jpg
 
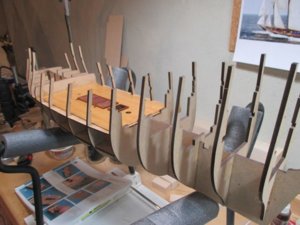
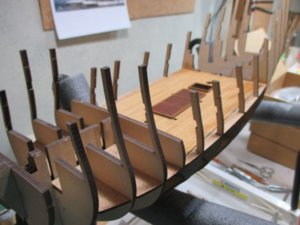
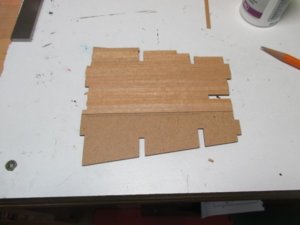
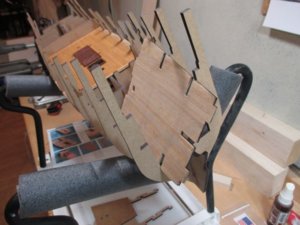
As I indicated I have already made some progress on the model. To note, I have completed the normal keel and bulkhead assembly and two of the midship decks. The model uses fiber board and plywood base template parts that are then second planked. One photo below shows an aft deck section template being planked. I will start regular progress reports and build commentary from this point. This is a complex model so we will be having fun for quit awhile!

IMG_1526.jpg

IMG_1527.jpg

IMG_1532.jpg

And this is where I am at the moment. Second planking an aft deck section. Note the base template that Victory Models uses to assist in the build.

IMG_1528.jpg
 
I've recently finished this kit - a bit of a challenge but very worthwhile - rigging was a real mind bender in places but done in sequence is very doable - ended up a very nice looking model - probably one of my favorites. Just one small piece of advice - when you build the tiller arm and mechanism be sure to tape it securely to something - mine fell through when near completion of the decks and I had the devil of a job fishing it out.
 
I've recently finished this kit - a bit of a challenge but very worthwhile - rigging was a real mind bender in places but done in sequence is very doable - ended up a very nice looking model - probably one of my favorites. Just one small piece of advice - when you build the tiller arm and mechanism be sure to tape it securely to something - mine fell through when near completion of the decks and I had the devil of a job fishing it out.
Thanks for the tip! I will remember it!
 
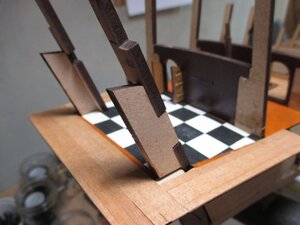
The two aft lower deck sections planked and set in place. Again note the use of the thin plywood templates. The next step is to poly these deck sections. I use a semi-gloss poly on the decks. Note the contrast between the mid deck section which has the poly applied and the new aft deck sections which do not have poly applied.

IMG_1538.jpg

IMG_1539.jpg

IMG_1542.jpg

IMG_1543.jpg
 
Last edited:
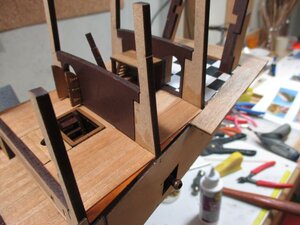
Some more progress on decking. Here is the forward lower deck in place with a start on the cross beams for the upper forward deck. Next is the main midship capstan while there is room to work before the bulwarks close in the decks. There is still sanding and bulkhead fairing that needs to be done. Perhaps a word of caution...the fiber board used in the bulkhead parts (actually called MDF) is delicate...easy to break off the uprights above the deck...I speaketh from experience! :)
IMG_1545.jpg

IMG_1546.jpg
 
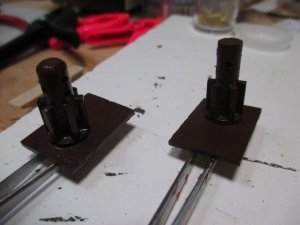
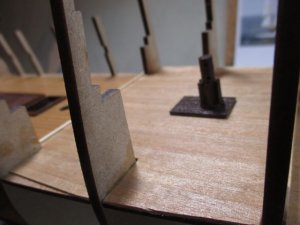
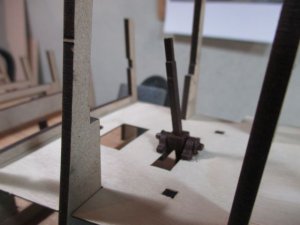
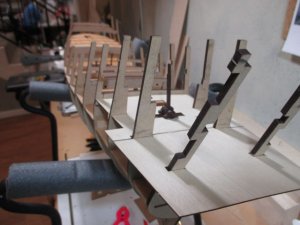
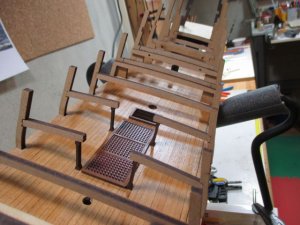
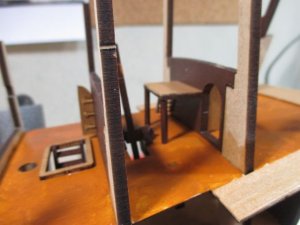
First are photos of the two capstan assemblies. They will be mounted on the mid-aft lower and upper decks. Next is a photo of the rudder swing tiller in place. This was a swing tiller linked to the rudder and mounted on the aft lower deck. The next photo shows the aft deck templates in place. They will be planked but first planking lines need to be drawn along the bulwark templates. If you go back to one of the first photos you will se billets with some of these bulwark templates. The bulwark templates will sit directly on the aft deck templates thus the deck planks need to be slotted to allow for these templates. This is why they were not planked before installed. These aft deck templates will actually be the more difficult to plank at this point. The last photo show the main deck beams in place.

IMG_1547.jpg

IMG_1549.jpg

IMG_1552.jpg

IMG_1553.jpgIMG_1551.jpg
 
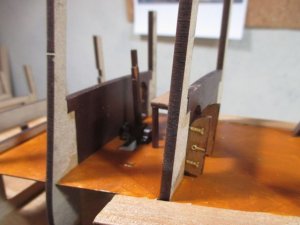
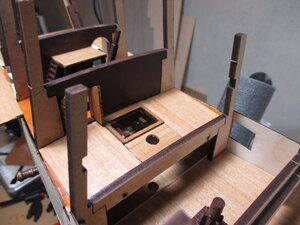
I agree with the MDF comments. Nice to work with and has enough strength to support the model build. And yes...very easy to sand the bevels. Here we have some of the aft lower deck bulkheads in place. They will be hard to see once the hull is built. The aft bulkhead includes a platform for the swing tiller. This part was misaligned by the plans. I had to take it apart and kit bash a new platform. The original uprights fell right into the swing tiller base. So I shortened the width and used dowels for the upright posts. These decks were not planked as they will not be seen.

IMG_1555.jpg

IMG_1556.jpg
 
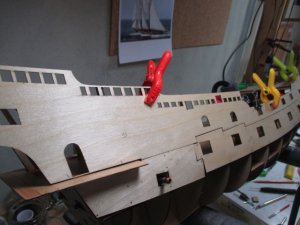
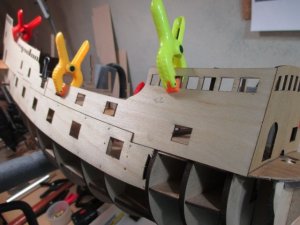
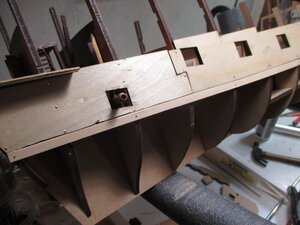
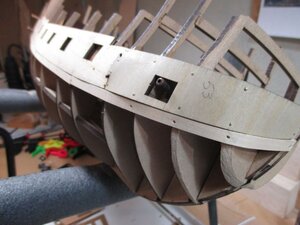
Here we see the first major use of templates that Victory Models kits use. The deck templates were easy to position and straight forward to us. The hull templates are more difficult. The advantages include accurate placement of windows, hatchways, and gun ports. The primary disadvantage is they are difficult to position, pin, and glue. Even with sanding and careful positioning the templates do not lay flat and smooth. We will see how this affects the hull build later on. In these photos the lower set of templates are in the process of being glued and pinned in place. The upper set are clamped in place to guide the positioning process. You can see a cannon pocking out...this one had to be set in place early because the hull template blocked access. I am not sure I like the use of these templates...will reserve judgement once I get to the outer planking. It does make positioning of gun ports easy peasy.
IMG_1557.jpg

IMG_1558.jpg
 
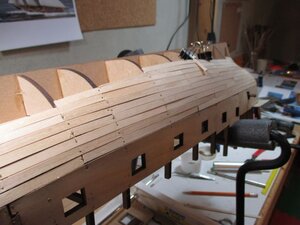
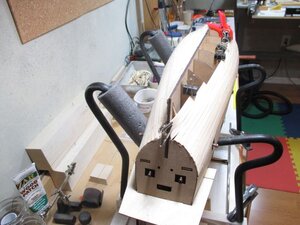
Here are two photos that illustrate the start of the first layer planking below the lower hull templates. I trimmed the bottom of the aft template to allow for a straight run of the first plank. The bow section shows the difficulty in getting the template to lie flat and smooth around the bow bend as well as the downward curve of the bulkhead. You can see how the template lifts out slightly in relation to the first plank. The first layer of planking goes from the bottom of the templates to the keel. The templates themselves are the first layer of "planking." Once the first layer is in place there will be a lot of sanding, filling, and shaping to get the smooth base needed for the finish layer. At this point in the build the only real complaint I have is the design of the templates and the underlying structures do not match, thus no solid underlying structures to attach the templates. (If I had thought of it I would have abandoned these lower templates and used regular strip wood planking. Then I would have used the templates to locate the gun ports. But I am committed to the kit process now.) So next is to complete the first layer planking down to the keel. Finally, I am taking the time to pin the first layer planks to the bulkheads. You can see where I pinned the templates in place as well. This first layer is going to look really ugly!
IMG_1559.jpg

IMG_1560.jpg
 
Good stuff Jim. So do these templates serve as a bottom layer of planking so to speak? Sorry if you already explained it.
No apologies necessary. Yes...the templates are considered a first, or bottom layer "planking." The planking using wood strips begins at the bottom of the lower template down to the keel. As I said previously, the biggest problem with the plywood templates is it is difficult to get them to lay down on the compound curves of the bulkheads. So a lot of filling, sanding, and smoothing will be necessary for a finished first layer that blends at the point of the templates and the strip wood planks meet. Then the second layer will cover the mess.

So, I went back and cleaned up the lower aft decks. Planked up each of the forward sections and put down a painted canvas like floor covering in the Great Cabin area. The squares on the painted canvas floor are a whee bit large for scale but these deck areas will be mostly hidden once the hull, bulwarks, and upper deck sections are installed. But who knows, someone will deign to squint through a door or window to see what is in there! :)

IMG_1561.jpg

IMG_1562.jpg


IMG_1563.jpg
 
Last edited:
Just letting everyone know I am working on the first layer planking. Not much to show and not much to post. The first layer is rough as is normal at this stage. Filling, shaping, and sanding will clean things up. This first layer planking uses strip wood that is thicker than what I would use for a finish layer. The rough look is due in part to the thickness of the planking being used. This photo does illustrate that the plywood template acts as a first, or base, layer planking. The strip wood starts at the edge of the plywood template down to the keel. I am not concerned about the edge gaps in the planking...they will be filled and sanded and the finish layer will cover all nicely. Notice that I have decided to pin the planks in place with small brass pin nails.


IMG_1564.jpg
 
Yes...I am making progress on the first layer planking. Looks rough but actually it will sand out well enough to apply a nice second layer of walnut. As I said previously I used the planking material that came with the kit...it was a bit thicker than what I would prefer which makes it more difficult to lay down a smoother first layer. But almost done, then the sanding and a whee bit of filling. Just letting everyone know I am still fussing...

IMG_1571.jpg
 
Back
Top