- Joined
- Jan 9, 2020
- Messages
- 10,566
- Points
- 938

Hello Everyone
Once again, I would like to start this posting by thanking all of you for your tremendous support during this build. The fact that this is such an enjoyable build for me is made all the more special by your wonderful contributions. Thank you All!
After the first two coats had been applied and properly absorbed, it was time to move onto the third coat. Now at this point you have to make a call. Do you want a shiny or a matte finish?
SHINY:
If you go for the former, the whole hull can now be “sanded down” or rubbed down with 000-grade (@Dean62 Dean even uses 0000-grade steel wool) before applying the next coat.
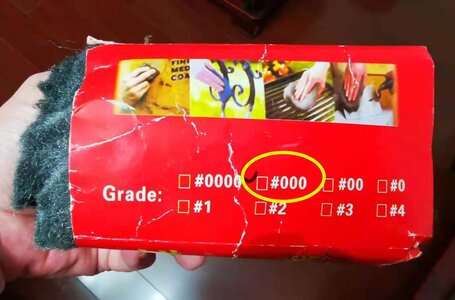
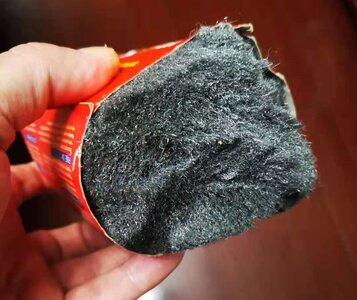
For a shiny finish, the next coat will also be thinly applied with a cotton rag and subsequently rubbed vigorously with another, coarser-textured rag. This process would then be repeated for each subsequent coat.
MATTE FINISH:
However, for the sampan, a shiny finish was not what I was going for, so I just reapplied the following coats with a brush as per normal. Whether the wood was more porous than normal (it didn’t look so because it really is an exceptionally fine-grained wood) or whether it was very dry (it didn’t look or feel like that either), I don’t know, but it just soaked up the third layer in no time. At this point, I was also surprised to see that not much darkening in color had taken place. At this point I changed my ratio to 50% Tung and 50% mineral turpentine.
And … when that fourth coat went on … Bam!
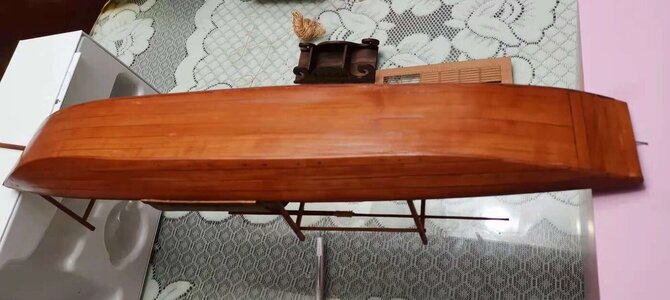
The fourth coat was the first one that gave a real indication that the Tung Oil was slowly beginning to saturate the wood and brought with it a definite change in colour. This picture still showed the wood relatively "wet" with oil.
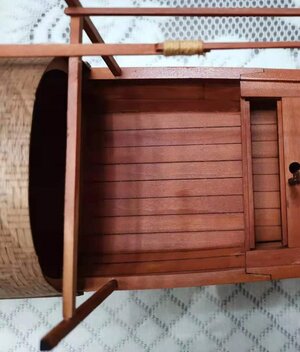
Note that the glossy or whitish spots indicate where the oil has not penetrated fully and is actually sitting on top of the wood. This has to be wiped off immediately otherwise it will leave white spots on the wood.
And then it was case of playing the waiting game of allowing the wood to dry thoroughly, all over.
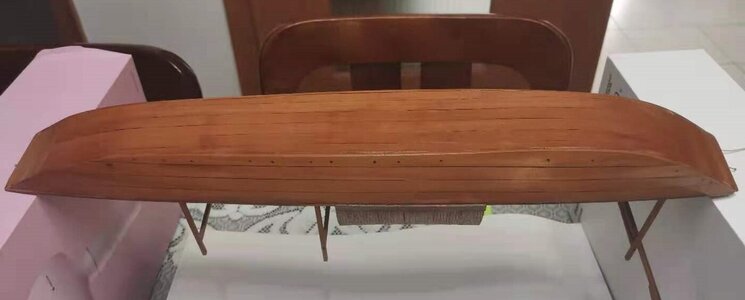
The picture above shows the hull after it had dried more thoroughly. It was still not ready at this point for a next coating, but the wood had now assumed a more brownish/honey-like color than before. Here you can also see the nailing on the bottom part of the hull. This had to be done (in fact it was all-important) in order to secure the bottom plank to the hull and luckily my earlier boxing of the hull with Pauwlina wood allowed me to do this. The bulkheads are, however, simply too thin continue the nailing process on the rest of the planking. On the next sampan where I will be using rib frames into which the horizontal slats of the bulkheads can be inserted (see @Schrader Hellmuht's wonderful build of the Quanzhou Treasure ship), treenailing can be carried out on the whole hull.
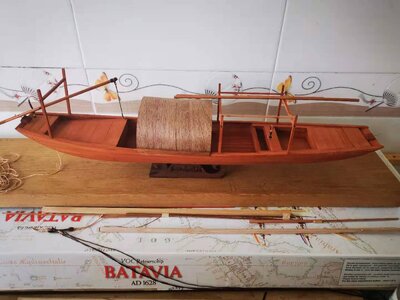
This picture was taken in natural light with the fourth coat still in the process of drying. I was surprised to see that it had once more assumed a "reddish" color in natural light.
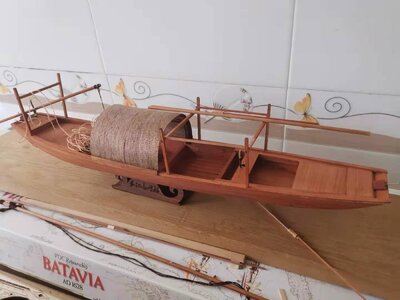
However, with the wood completely dry, the color had turned into a more wooden tone. This wood was really playing tricks with my eyes and cellphone camera!
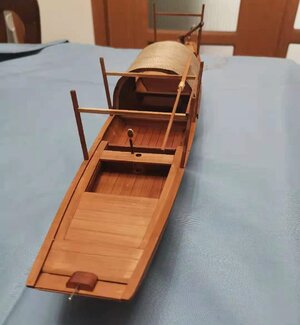
And now a definite honey/orangy brown after the four coats had completely dried.
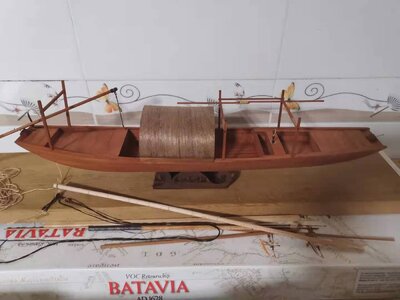
After the fifth coat had completely dried.
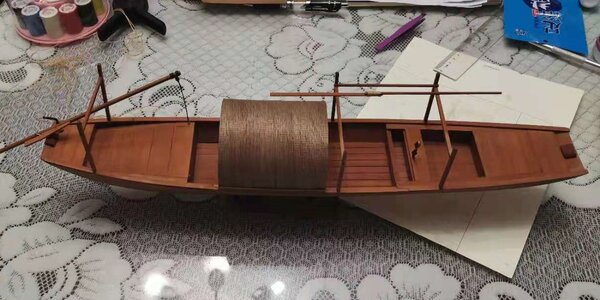
And after the sixth coat (Top and Bottom)
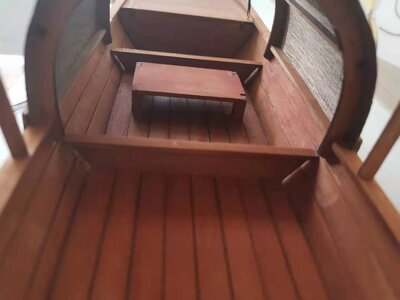
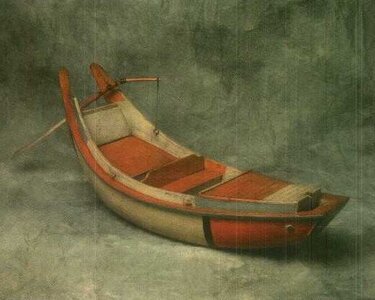
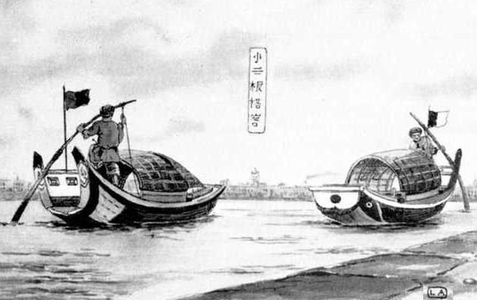
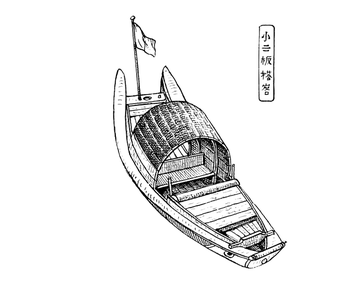
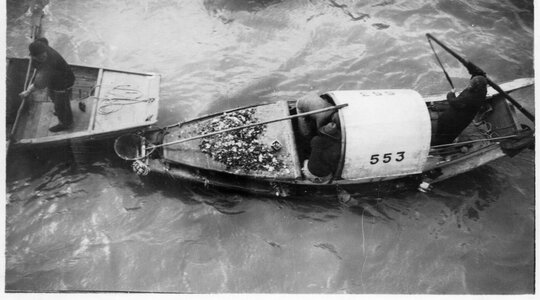
As u rule of thumb, for decorative items, 2 to 5 coats will generally suffice , while functional utensils and certain surfaces (Such as Unicorn Sampans! ) may require up to 7 coats depending on the finish. This step would be finished when 80% of the surface would remain glossy for at least 40 minutes, which means the wood has now been completely saturated.
So, it is a slow process, but we are getting there!
This is all for now - in my next posting I will include more historical items and while waiting for the Tung to dry, start the rigging.
Thank you all for looking in, the likes and the comments - It is wonderful!
Warm regards - Heinrich
Once again, I would like to start this posting by thanking all of you for your tremendous support during this build. The fact that this is such an enjoyable build for me is made all the more special by your wonderful contributions. Thank you All!
After the first two coats had been applied and properly absorbed, it was time to move onto the third coat. Now at this point you have to make a call. Do you want a shiny or a matte finish?
SHINY:
If you go for the former, the whole hull can now be “sanded down” or rubbed down with 000-grade (@Dean62 Dean even uses 0000-grade steel wool) before applying the next coat.


For a shiny finish, the next coat will also be thinly applied with a cotton rag and subsequently rubbed vigorously with another, coarser-textured rag. This process would then be repeated for each subsequent coat.
MATTE FINISH:
However, for the sampan, a shiny finish was not what I was going for, so I just reapplied the following coats with a brush as per normal. Whether the wood was more porous than normal (it didn’t look so because it really is an exceptionally fine-grained wood) or whether it was very dry (it didn’t look or feel like that either), I don’t know, but it just soaked up the third layer in no time. At this point, I was also surprised to see that not much darkening in color had taken place. At this point I changed my ratio to 50% Tung and 50% mineral turpentine.
And … when that fourth coat went on … Bam!

The fourth coat was the first one that gave a real indication that the Tung Oil was slowly beginning to saturate the wood and brought with it a definite change in colour. This picture still showed the wood relatively "wet" with oil.

Note that the glossy or whitish spots indicate where the oil has not penetrated fully and is actually sitting on top of the wood. This has to be wiped off immediately otherwise it will leave white spots on the wood.
And then it was case of playing the waiting game of allowing the wood to dry thoroughly, all over.

The picture above shows the hull after it had dried more thoroughly. It was still not ready at this point for a next coating, but the wood had now assumed a more brownish/honey-like color than before. Here you can also see the nailing on the bottom part of the hull. This had to be done (in fact it was all-important) in order to secure the bottom plank to the hull and luckily my earlier boxing of the hull with Pauwlina wood allowed me to do this. The bulkheads are, however, simply too thin continue the nailing process on the rest of the planking. On the next sampan where I will be using rib frames into which the horizontal slats of the bulkheads can be inserted (see @Schrader Hellmuht's wonderful build of the Quanzhou Treasure ship), treenailing can be carried out on the whole hull.

This picture was taken in natural light with the fourth coat still in the process of drying. I was surprised to see that it had once more assumed a "reddish" color in natural light.

However, with the wood completely dry, the color had turned into a more wooden tone. This wood was really playing tricks with my eyes and cellphone camera!

And now a definite honey/orangy brown after the four coats had completely dried.

After the fifth coat had completely dried.

And after the sixth coat (Top and Bottom)

As u rule of thumb, for decorative items, 2 to 5 coats will generally suffice , while functional utensils and certain surfaces (Such as Unicorn Sampans!
 ) may require up to 7 coats depending on the finish. This step would be finished when 80% of the surface would remain glossy for at least 40 minutes, which means the wood has now been completely saturated.
So, it is a slow process, but we are getting there!
This is all for now - in my next posting I will include more historical items and while waiting for the Tung to dry, start the rigging.
Thank you all for looking in, the likes and the comments - It is wonderful!

Warm regards - Heinrich


