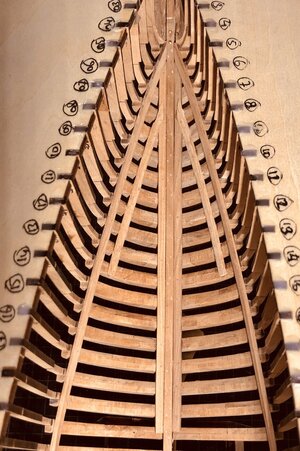
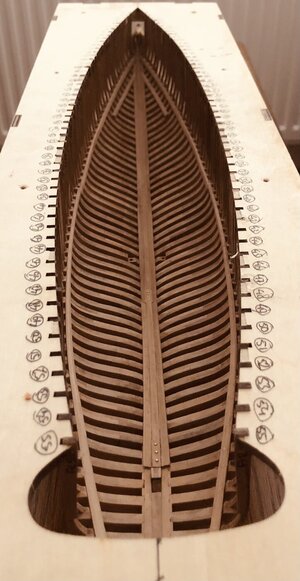
After a busy weekend, preparing for a service where I was to play the organ, enjoying Hans Zimmer's concert Sunday night and being busy at work yesterday, today saw some building activity on the Bluenose.
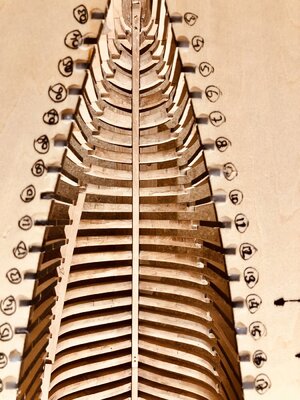
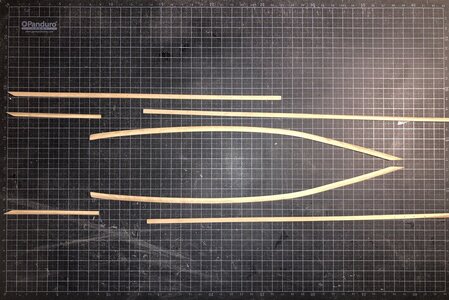
All four upper clamps are now bonded to the frames. It was a nerve wrecking experience. One has to apply about 27 dots of adhesive per clamp, then position the appropriate clamp, followed by adding a number of clamping devices to ensure proper seating of the clamp against the frames. Both the bow and the stern are the areas of concern, the stern more so than the bow. Towards the stern, the clamps need to warp in order to follow the contours of the frames, but not only that; the top side of the chamfer of the aft clamps has to align with the frame notches ánd it would be nice if one could maintain some symmetry between the left- and right hand side.
View attachment 299504
After installation of the clamps, I shifted my attention to the sister keelsons and the lower deck clamps.
For the sister keelsons I followed
@Peter Voogt 's stunning build, in the sense that I will add the sister keelsons from the bow to the end of the keelson in the stern.
The sisters will consist of three separate pieces each, with splices in the vicinity of the keelson splices.
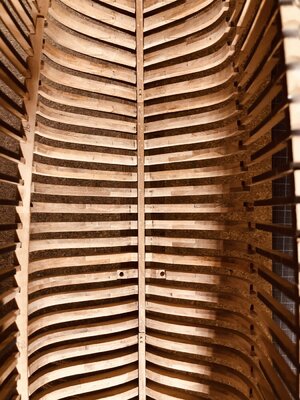
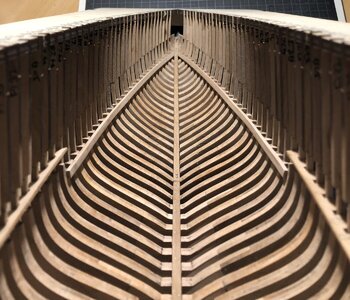
The picture below shows the dry-fitted forward twin sisters.
View attachment 299505
Since I already had the fwd lower clamps already prepared, I decided to install both sister keelsons and forward lower deck clamps in one sequence. In itself the tasks are not overly complex, but having to use two hands, or one hand and a pair of tweezers, makes the bow area to be overly populated.
Luckily, after a couple of hours, I could declare succes.
As a very wellknown build log pointed out, it is beneficial to check whether or not the upper- and lower clamps are parallel to one another and to check whether the hull is warped or, very much preferred, still straight.
In the event of the clamp positions are not parallel to one another, it means removal and re-installation of the lower deck clamps. A royal pain, but doable, probably requiring the manufacturing of one or two new parts and some sanding.
A warp would prove to be more bothersome. To be honest, I wouldn't know what to do in that case, applying tension in the opposite direction of the warp while simultaneously moisturizing the keel is probably the way forward. If that would yield the required results, I don't know. Maybe some of the more experienced modelers have come across this phenomenona.
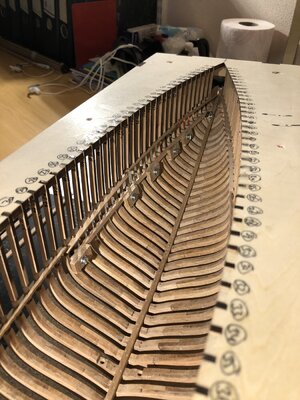
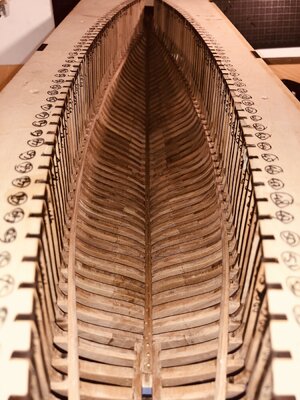
This is the picture cure I took to check parallellism and warp. For me, good enough.
View attachment 299507
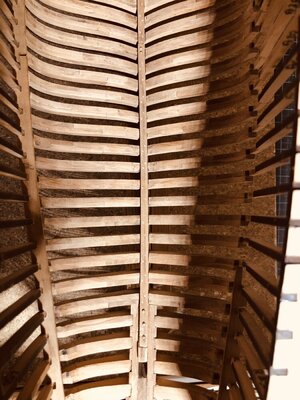
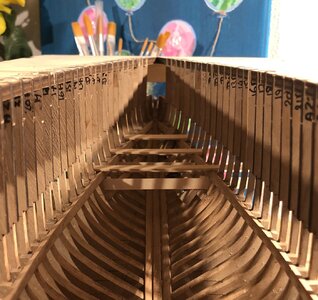
And this is the completed installation of the fwd sister keelsons and the fwd lower deck clamps.
View attachment 299509
Now dinnertime. After that, we'll grab our bikes and go for an evening ride, thanks to daylight savings time.
Till next time!


