- Joined
- Sep 3, 2021
- Messages
- 5,198
- Points
- 738

Thanks Shota.very nice, acupuncture and beautiful work
 |
As a way to introduce our brass coins to the community, we will raffle off a free coin during the month of August. Follow link ABOVE for instructions for entering. |
 |
 |
The beloved Ships in Scale Magazine is back and charting a new course for 2026! Discover new skills, new techniques, and new inspirations in every issue. NOTE THAT OUR FIRST ISSUE WILL BE JAN/FEB 2026 |
 |

Thanks Shota.very nice, acupuncture and beautiful work

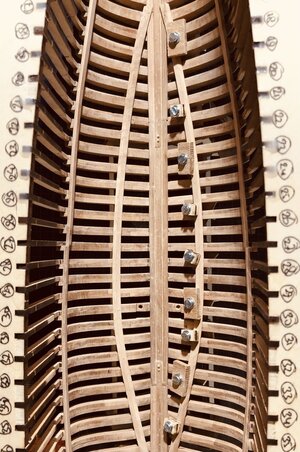
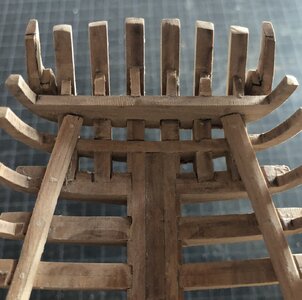 Transom seen from the outside, the end horns still need some trimming, but otherwise I'm quite happy with the end result.
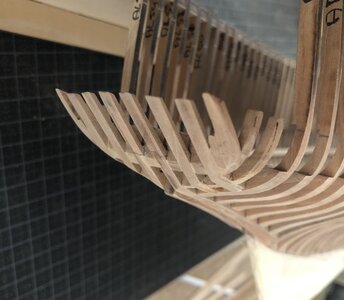
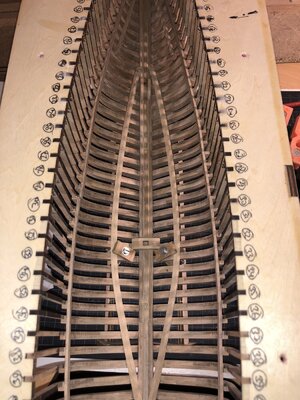
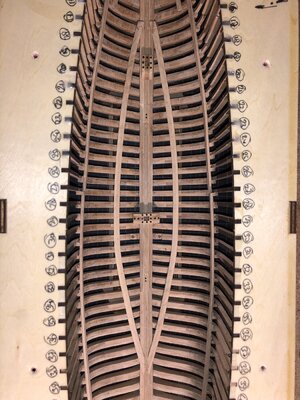
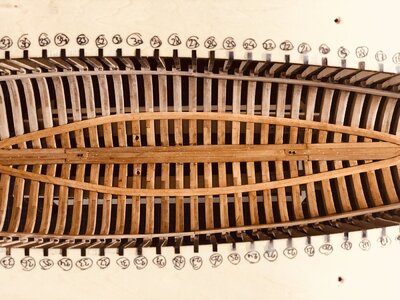
Step by step, the hull is filled with all the parts and it also gains more and more sturdiness. It takes some time, but the result is worth it.Although I initially decided to push back for as long as I could on completing those rather fragile transom parts, after again breaking the already repaired (bonded) spiderlegs, I changed my mind... So I took out the gussets, parts 185 through 187, to provide some much needed support for those spiderlegs, do I hate those things, and added the two end horns. After some TLC the transom looks oké, but will need some final treatment prior to planking.
I also processed the mast bases for both forward- and main masts and did a dry fit installation of the fishdeck clamps. Next step is to recess both clamps to allow for the sister keelson thickness, followed by bonding the clamps to the frames. So far, so good...
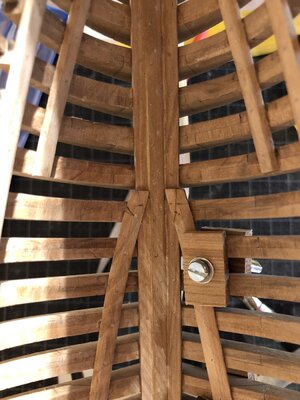
Inside view in the transom, still need some clean up, but that will have to wait till the deck beams are available. Then I will dry fit all relevant parts, to check what parts still need to be adjusted.
(Those close-up pictures are killing me; too much detail and too many deviations...)
View attachment 300298Transom seen from the outside, the end horns still need some trimming, but otherwise I'm quite happy with the end result.
View attachment 300299
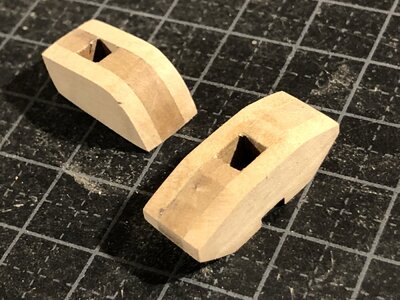
The two mast bases, no big deal, only a lot of char removal...
View attachment 300313
Dry fit of the fishdeck clamps and the mast bases. I used some sticks to check proper alignment of the two clamps; looking good. Some more material removal to accomodae for those sisters, then dry fitting again, marking on the frames and the some bonding action.
View attachment 300301

Thanks Peter!Step by step, the hull is filled with all the parts and it also gains more and more sturdiness. It takes some time, but the result is worth it.
And building up the stern is triggering all your skills, Johan. It's looking nice!
Regards, Peter.





Nice to have you on board!Hi Johan, I'm ashamed to say that I have only just come across your build today. I had followed your Bluenose I rebuild last year and had no idea that you had got stuck into another one! Especially since you have taken time to comment on my own log. Anyway I have pulled up a chair and caught up with your build this morning, which is all looking spot-on by the way, and I look forward to following the remainder of your progress. Good luck

Like some of my predecessors in this group build I am planning to add ballast to the keel.Preparing for the next step:
View attachment 300886
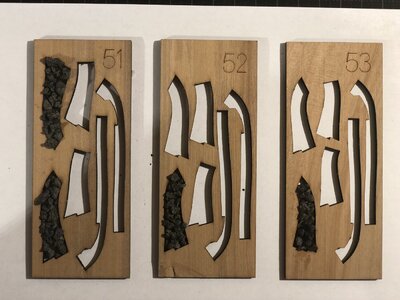
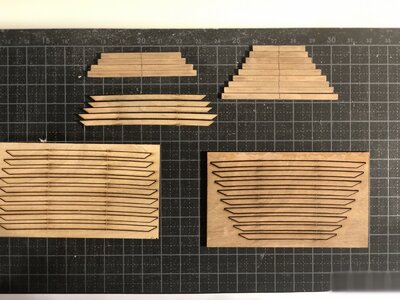


Hey Piero,Johan, as very few people know, volcanic lava, especially that from Lanzarote, comes back to life after some time ... I advise you to place your She, once finished, in a resistant "sealed chamber" just to avoid future problems ... I used pebbles from the Ligurian sea, but that is its environment ...

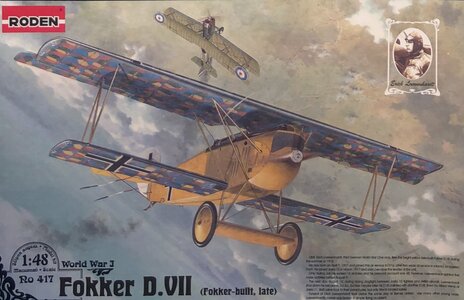


Hopefully they realize the DVII would be a popular kit!Off topic, but that's how it has to be.
Tonight I informally said my goodbyes to my former productgroup collegues. Due to all the imposed corona restrictions of the past two years it happened a year and a half late, but not due to lack of trying...
A while ago I expressed my wish on this site to build an aircraft after completing my Bluenose build, preferably a Fokker DVII. Unfortunately, a kit like the one @Dean62 is building of the Shopwith Camel is not around for this Fokker specific aircraft. But lo and behold, one of the goodbye gifts I received from my collegues was a (plastic) model kit of... drumroll... the Fokker DVII!
So looking forward to building this nice little model.
View attachment 301235


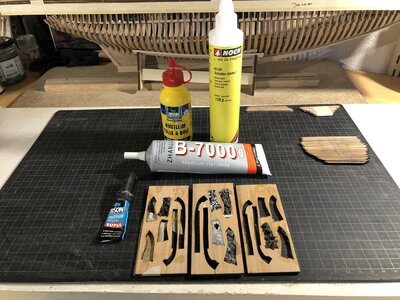
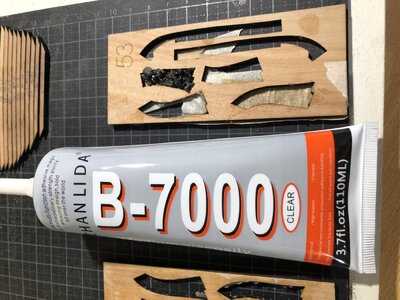
I tried to get my hands on the glue Peter used on his BN, but I couldn't find it, unfortunately.I am watching the ballast/glue outcome with interest, Johan I wish I could have sent you the glue that I am using to try. It is a Chinese brand of PVA, but it's different to all PVA's I have tried. It takes longer to dry, but dries absolutely colorless, can be diluted (almost as much as you want without losing adhesion) and once it has fully cured, is very very strong.
