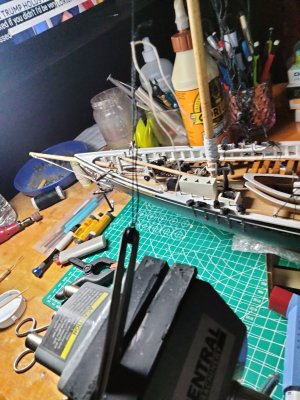
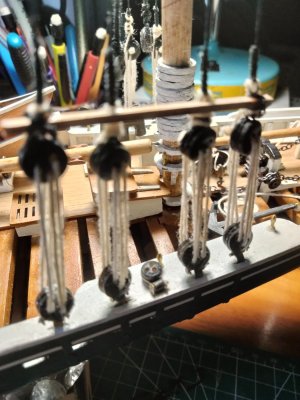
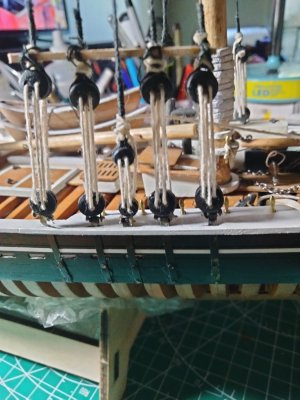
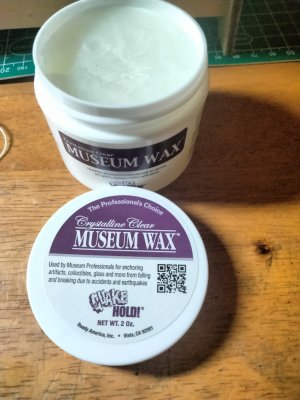
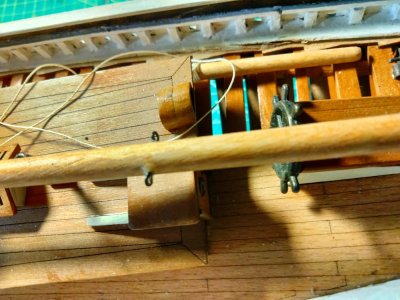
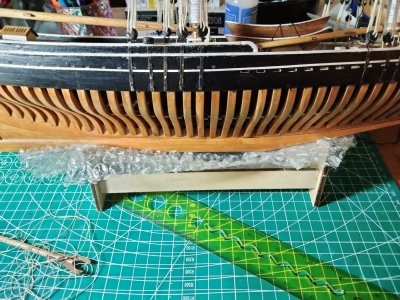
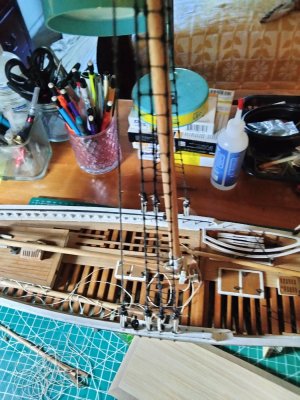
Hello Ted, the challenges this ship presents just keep coming but that's the fun of it. When you talk about stretching the backstays it sounds as if you are going to put a great amount of force in the line. Be careful it is actually fairly easy to pull the mast out of plumb without realizing it. For me only I have a rule of pulling a line whether it be backstay or shroud line taught but not tight.I intend to stretch the back stay,
-

Win a Free Custom Engraved Brass Coin!!!
As a way to introduce our brass coins to the community, we will raffle off a free coin during the month of August. Follow link ABOVE for instructions for entering.
- Home
- Forums
- Ships of Scale Group Builds and Projects
- Bluenose PoF Group Build
- Bluenose Group Build Logs
You are using an out of date browser. It may not display this or other websites correctly.
You should upgrade or use an alternative browser.
You should upgrade or use an alternative browser.
YQ Bluenose Ted R (COM PLETED)
- Thread starter Ted Robinson
- Start date
- Watchers 19
-
- Tags
- bluenose
- Joined
- Oct 1, 2023
- Messages
- 1,659
- Points
- 488

Thank you Hank and Happy Holidays to you and your family.Hello Ted,
I read your posts from the past
If I follow you, it seems like you want to start with the shrouds, but maybe I'm wrong.
I would advise you to follow the plans.
On page 8-5, the lines are shown to get the masts in a stable position, I would do that first.
Johan also explained this in his post what the reason is for this
YQ Bluenose by Johan [COMPLETED BUILD]
Hi Johan, naturally the hardest block to make is the best looking one (to me) with the wire strop.shipsofscale.com
# 1136
Rigging is also new to me and I encountered many unknown things.
What I did to make it my own:
I read all the posts from fellow builders several times and tried to understand how they did this and in what order and why.
A good source is:

Rigging Begins
Day 448. Fact check…I’m not great at rigging. Rigging is a pretty specific skill, unique to model ship building, and this is only my second build. On my Phantom build, I kinda rushed …suburbanshipmodeler.com
It also (I think) clearly explains how you can make the shrouds.confirm
There are more lines shown there than the YQ plans but it does give a good idea of the rigging
It is explained in several sources that rigging the BN is not easy, which I agree with
I have a lot of respect for your perseverance, and not everyone shows their mistakes on the forum and you do
There is a Dutch saying::”Waar een wil is een weg”
Where there is a will there is a way
(Translated) If you if you want to achieve something there is a way to achieve it
Happy holidays Ted
Regards
Henk
I appreciate the resource you sent me and have saved it to my home page for constant reference.
Best regards
Ted
- Joined
- Oct 1, 2023
- Messages
- 1,659
- Points
- 488

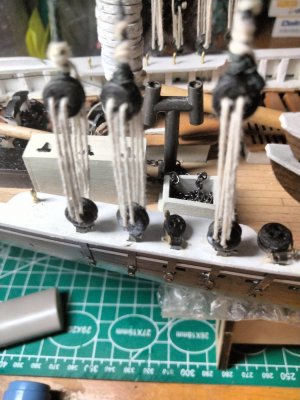
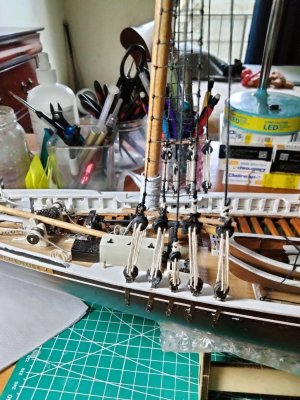
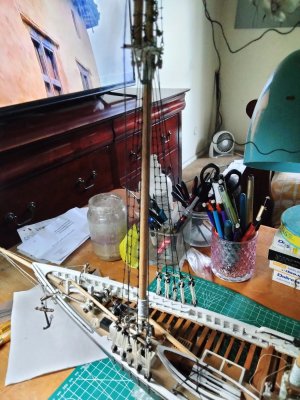
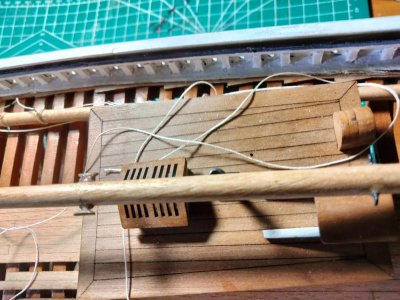
Thank you @Daniel20. Installed all the shrouds on the fire mastorior to putting the mast on the model. I started assembling the upper deadeyes connection and rand into aproblem on the first two. I have to rethink the tool in using for the spacing.Hello Ted, the challenges this ship presents just keep coming but that's the fun of it. When you talk about stretching the backstays it sounds as if you are going to put a great amount of force in the line. Be careful it is actually fairly easy to pull the mast out of plumb without realizing it. For me only I have a rule of pulling a line whether it be backstay or shroud line taught but not tight.
Merry Christmas to you and your family.
Best regards
Ted
Merry Christmas to you and yours Ted.
- Joined
- Oct 1, 2023
- Messages
- 1,659
- Points
- 488

The little tool I made initially didn't work.
When I tied the second leg if the first pair of shrouds I wasn't able to tie the upper deadeye in place. So, I glued the shroud to the upper deadeye as it was in the fixture. Long story short, they came out uneven. Since I had glued the upper part of the shrouds in place,and of course the one I picked first was on the bottom. The result was a big mess.
My new plan of attack is to cut off the shroud pair that is the wrong length and install a new pair. The plans show this pair to be on the bottom at the crosstree.
The new ones will be on top, my compromise.
In addition, I made a new tool that will lock the upper and lower deadeyes in place until they are properly tied.
Fingers crossed,
Ted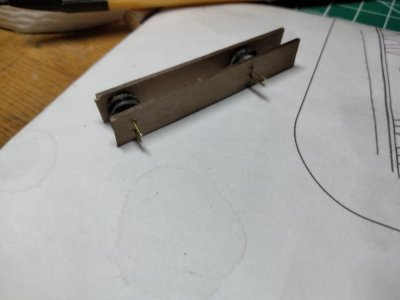
It was a little fiddley but I got it in place.
I think the deadeye is well located this time.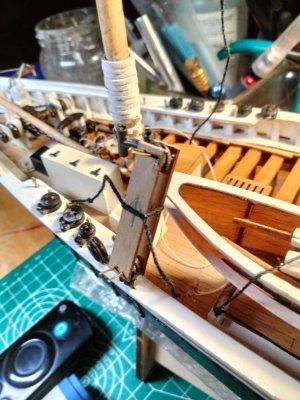
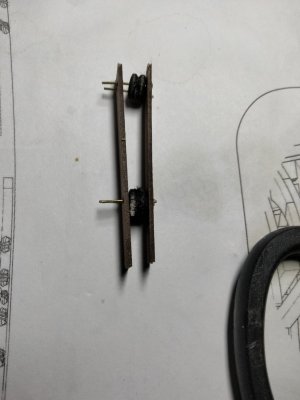
When I tied the second leg if the first pair of shrouds I wasn't able to tie the upper deadeye in place. So, I glued the shroud to the upper deadeye as it was in the fixture. Long story short, they came out uneven. Since I had glued the upper part of the shrouds in place,and of course the one I picked first was on the bottom. The result was a big mess.
My new plan of attack is to cut off the shroud pair that is the wrong length and install a new pair. The plans show this pair to be on the bottom at the crosstree.
The new ones will be on top, my compromise.
In addition, I made a new tool that will lock the upper and lower deadeyes in place until they are properly tied.
Fingers crossed,
Ted

It was a little fiddley but I got it in place.
I think the deadeye is well located this time.


Last edited:
- Joined
- Oct 1, 2023
- Messages
- 1,659
- Points
- 488

My little device has worked out wonderfully. I'm easily installing the upper deadeyes with very accurate spacing and little effort.
I just love when things work out as planned.
Happy modeling,
Ted
I just love when things work out as planned.
Happy modeling,
Ted
Good afternoon Ted. Clever little tool. It makes a load of difference (especially visually) when all the deadeyes are in line. Have an awesome Christmas on Wednesday. Cheers GrantThe little tool I made initially didn't work.
When I tied the second leg if the first pair of shrouds I wasn't able to tie the upper deadeye in place. So, I glued the shroud to the upper deadeye as it was in the fixture. Long story short, they came out uneven. Since I had glued the upper part of the shrouds in place,and of course the one I picked first was on the bottom. The result was a big mess.
My new plan of attack is to cut off the shroud pair that is the wrong length and install a new pair. The plans show this pair to be on the bottom at the crosstree.
The new ones will be on top, my compromise.
In addition, I made a new tool that will lock the upper and lower deadeyes in place until they are properly tied.
Fingers crossed,
TedView attachment 490575
It was a little fiddley but I got it in place.
I think the deadeye is well located this time.View attachment 490578
View attachment 490576
- Joined
- Oct 1, 2023
- Messages
- 1,659
- Points
- 488

Nothing better than when a plan comes together….I was dreading doing the upper deadeyes and serving the ends but this has turned into one of the most pleasurable parts of the build. I can't overstress how easy it was to get the deadeyes absolutely even to with the little tool presented above
Happy modeling
Ted View attachment 490934

I agree with Grant. And pleasure is the most important by making a model.I was dreading doing the upper deadeyes and serving the ends but this has turned into one of the most pleasurable parts of the build. I can't overstress how easy it was to get the deadeyes absolutely even to with the little tool presented above
Happy modeling
Ted View attachment 490934
Regards, Peter
- Joined
- Sep 3, 2021
- Messages
- 5,048
- Points
- 738

You're not smoking cigars by any chance, do you?Nothing better than when a plan comes together….
- Joined
- Oct 1, 2023
- Messages
- 1,659
- Points
- 488

No my wife smokes cigarettes.You're not smoking cigars by any chance, do you?
- Joined
- Oct 1, 2023
- Messages
- 1,659
- Points
- 488

That seems to be the opposite result of what is supposed to happen using beeswax. Beeswax is supposed to reduce fuzz. Many kits include string, not miniature rope and many builders feel it is best to put it in a drawer to use for something else. Some is so bad no amount of beeswax will fix it. Miniature rope is fun to make, but readily available from aftermarket suppliers if you don't want to make your own and does not need to be treated, in my experience. The following does not explain beeswax and rigging but hopefully will be found to be a little interesting. I see no differences that would affect the ability to reduce fuzz.The ropes supplied in the kit look fine until I use the beeswax then î gets fuzzy.
Allan
- Yellow beeswax: The natural, unrefined wax that comes from the honeycomb. It's often used in candle making and skincare because of its color and scent.
- White beeswax: Made by filtering, purifying, or bleaching yellow beeswax. It's often used in cosmetics, pharmaceuticals, and food preparation because it's stable at high temperatures and has a consistent appearance.
- Beeswax absolute: Made by treating yellow beeswax with alcohol.
- Cappings wax: A light-colored wax that comes from the thin layer bees use to seal honey in the honeycomb. It has a delicate honey scent.
- Honeycomb wax: A deeper-colored wax that comes from the honeycomb and has a richer fragrance.
- Brood comb wax: A dark brown or black wax that comes from the "nursery" where the bees hatch. It doesn't have the same sweet honey aroma as honeycomb wax.
- Joined
- Oct 1, 2023
- Messages
- 1,659
- Points
- 488

That just about tells the whole story.That seems to be the opposite result of what is supposed to happen using beeswax. Beeswax is supposed to reduce fuzz. Many kits include string, not miniature rope and many builders feel it is best to put it in a drawer to use for something else. Some is so bad no amount of beeswax will fix it. Miniature rope is fun to make, but readily available from aftermarket suppliers if you don't want to make your own and does not need to be treated, in my experience. The following does not explain beeswax and rigging but hopefully will be found to be a little interesting. I see no differences that would affect the ability to reduce fuzz.
Allan
- Yellow beeswax: The natural, unrefined wax that comes from the honeycomb. It's often used in candle making and skincare because of its color and scent.
- White beeswax: Made by filtering, purifying, or bleaching yellow beeswax. It's often used in cosmetics, pharmaceuticals, and food preparation because it's stable at high temperatures and has a consistent appearance.
- Beeswax absolute: Made by treating yellow beeswax with alcohol.
- Cappings wax: A light-colored wax that comes from the thin layer bees use to seal honey in the honeycomb. It has a delicate honey scent.
- Honeycomb wax: A deeper-colored wax that comes from the honeycomb and has a richer fragrance.
- Brood comb wax: A dark brown or black wax that comes from the "nursery" where the bees hatch. It doesn't have the same sweet honey aroma as honeycomb wax.
I tried a sample and ran a cigarette lighter under it trying to melt the wax buildup.
The ropes became stiffer. Maybe I was getting to the melting point of the polyester.
Thank you for the information
Happy modeling
Ted
- Joined
- Oct 1, 2023
- Messages
- 1,659
- Points
- 488

- Joined
- Oct 1, 2023
- Messages
- 1,659
- Points
- 488

- Joined
- Oct 1, 2023
- Messages
- 1,659
- Points
- 488

- Joined
- Oct 1, 2023
- Messages
- 1,659
- Points
- 488

- Joined
- Oct 1, 2023
- Messages
- 1,659
- Points
- 488


