Don, that looks great. 
.
.
 |
As a way to introduce our brass coins to the community, we will raffle off a free coin during the month of August. Follow link ABOVE for instructions for entering. |
 |
 |
The beloved Ships in Scale Magazine is back and charting a new course for 2026! Discover new skills, new techniques, and new inspirations in every issue. NOTE THAT OUR FIRST ISSUE WILL BE JAN/FEB 2026 |
 |

Hello Don, Great results with the mast hoops, I have heard of this idea before but never gave it a try. For sure the pear will bend much easier than the walnut.Well this was supposed to be my week of working on the HMS Ontario and I was doing good until today.
I asked a simple question to @PT-2 about mast hoops then @Canoe21 cuts in and shows pictures of his homemade mast hoops! It was if they were both daring me to stop work on the Ontario and go back to the Bluenose for a day. The dare worked and I did stray away for a bit:
View attachment 203964
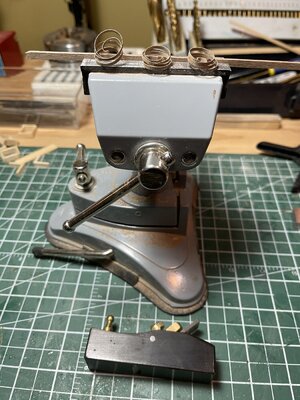
This not originally my idea, I seen this somewhere a long time ago. What you do is to take plane shavings, in this case I used walnut, and use these to make mast hoops. The piece I used was 15 cm long which ended up being the perfect length to give the proper thickness.
View attachment 203965
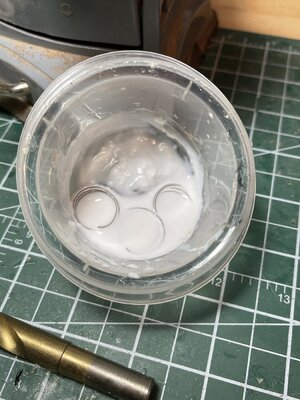
Drop the shavings into a diluted mixture of pva glue, I use Weldbond, within seconds they will double in diameter size and are flexible enough to use.
View attachment 203966
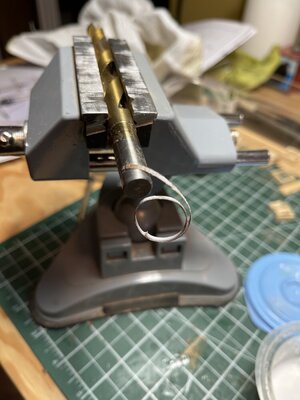
I am using a 13/32" bit here, which ended up being a almost perfect fit. On the bit I have put a tiny drop of ca glue to help hold the strip in place then it is a matter of gently wrapping the strip around the bit on top of itself.
View attachment 203967
Sorry for the poor picture but I was rushing before the glue dried. On the very end of the strip I added a little bit more ca glue in order to hold it in place and to speed things up.
View attachment 203968
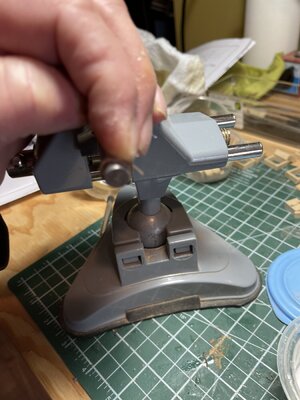
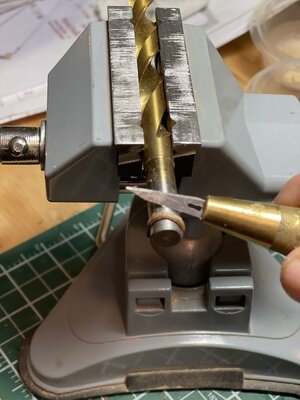
As soon as the ca glue is applied start removing the hoop. Gently go around the hoop with the back of your blade pushing the hoop off the drill bit. Doing this also helps align the wraps of strip.
View attachment 203969
Put aside to dry
View attachment 203970
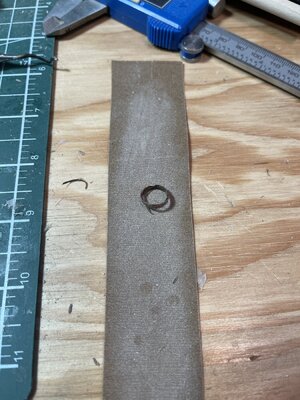
When dry I used my forefinger to sand each side smooth and to bring the thickness down to around 1.2 mm from the 1.5 mm original thickness. I used 320 grit sandpaper for this. To be right on scale the width should be .07 mm which would equal 2 " in real life.
View attachment 203971
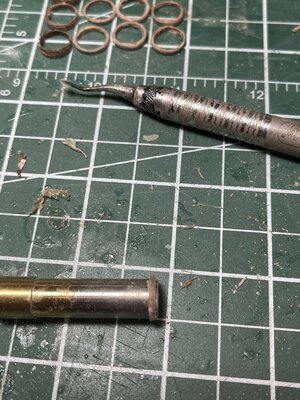
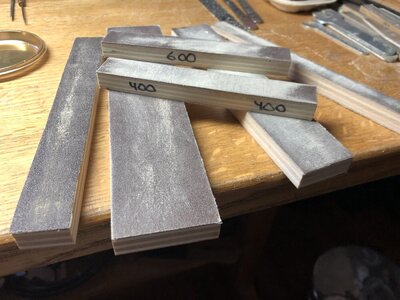
After sanding the edges I put the hoop back on the drill bit to do the final sanding with a 600 grit sanding stick. I did the face and also rounded off the edges a slight bit.
View attachment 203972
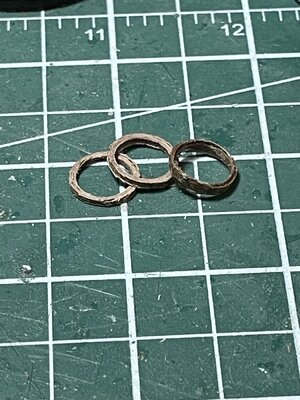
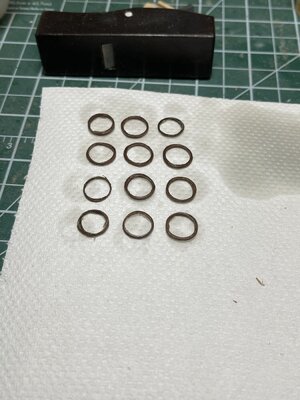
Gave them a quick soak in some boiled linseed oil. You can notice two of these are not quite as thick, as this was all just a test I used some shorter pieces of shavings too see how they looked.
These are not perfectly cleaned up but this is just a practice run to see if this technique is worthwhile.
View attachment 203973
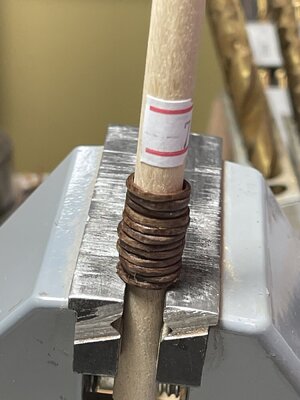
And here is the final result. I am happy with the results. This is the actual mast from the kit I am using, so you can see the fit is not too bad. Have any of you noticed that all the masts, booms and spars are already tapered for us? What a bonus!!
I spent a lot of time on the first few until I finally got the final procedure down right. After that I was easily completing one hoop in approx fifteen minutes, excluding drying times. If you decide to go this route just think of it as one hoop is less work than a carriage assembly which you are not building for the Bluenose!!!Now that I know the results are satisfactory I'll be making the real ones from pear.
Hope you enjoyed. Back to the Ontario for me.
This is essentially the same procedure that I took a year or so ago with the same results. Well done!!! They are far better than the laser cut hoops in the MS2130 kit which I cut out but will probably abandon. There was another question that came in as to how many hoops were used in the original Bluenose. From the specifications for that schooner I found quantities for the two diameters: 36 24" and 24 13". I found that two were set below the tack as spares for each mast taking four out from the lower mast count of 36 leaves 32 between the fore and main masts or 16 hoops on each (if this assumption is correct). I have not found that spares were provided at the top masts but for replacement needs they were very likely there, at leas during the long fishing season runs, OK four out of 24 leaves 20 between the fore top and main top masts or 10 per top mast. I cannot guarantee this but it is from the original specs quantities for sizes and having found the placement of 2 spares below, just above the jaws of the boom and top sails. Borrowing from the sail/rigging drawings for Bluenose II I counted: Lower main 15, 14 lower fore; and 14 top main including 5 above the cross trees and 10 on the top main mast itself; 5 on the fore above the cross trees and 9 on the fore top mast itself. I may have made an error in my visual count on both in the area of the main above the cross trees to the top of that mast to the transition to the top mast itself where the hoops are very plain for both main and fore. As the book Bluenose II Saga of the Fishing Schooners with measured drawings is under copyright I don't want to make additional images. I do again highly recommend acquisition of the book which is by Nimbus Publishing, nimbus.ca, copyright 1994. It contains information and drawings for both Bluenose schooners and is a highly insightful resource. RichWell this was supposed to be my week of working on the HMS Ontario and I was doing good until today.
I asked a simple question to @PT-2 about mast hoops then @Canoe21 cuts in and shows pictures of his homemade mast hoops! It was if they were both daring me to stop work on the Ontario and go back to the Bluenose for a day. The dare worked and I did stray away for a bit:
View attachment 203964
This not originally my idea, I seen this somewhere a long time ago. What you do is to take plane shavings, in this case I used walnut, and use these to make mast hoops. The piece I used was 15 cm long which ended up being the perfect length to give the proper thickness.
View attachment 203965
Drop the shavings into a diluted mixture of pva glue, I use Weldbond, within seconds they will double in diameter size and are flexible enough to use.
View attachment 203966
I am using a 13/32" bit here, which ended up being a almost perfect fit. On the bit I have put a tiny drop of ca glue to help hold the strip in place then it is a matter of gently wrapping the strip around the bit on top of itself.
View attachment 203967
Sorry for the poor picture but I was rushing before the glue dried. On the very end of the strip I added a little bit more ca glue in order to hold it in place and to speed things up.
View attachment 203968
As soon as the ca glue is applied start removing the hoop. Gently go around the hoop with the back of your blade pushing the hoop off the drill bit. Doing this also helps align the wraps of strip.
View attachment 203969
Put aside to dry
View attachment 203970
When dry I used my forefinger to sand each side smooth and to bring the thickness down to around 1.2 mm from the 1.5 mm original thickness. I used 320 grit sandpaper for this. To be right on scale the width should be .07 mm which would equal 2 " in real life.
View attachment 203971
After sanding the edges I put the hoop back on the drill bit to do the final sanding with a 600 grit sanding stick. I did the face and also rounded off the edges a slight bit.
View attachment 203972
Gave them a quick soak in some boiled linseed oil. You can notice two of these are not quite as thick, as this was all just a test I used some shorter pieces of shavings too see how they looked.
These are not perfectly cleaned up but this is just a practice run to see if this technique is worthwhile.
View attachment 203973
And here is the final result. I am happy with the results. This is the actual mast from the kit I am using, so you can see the fit is not too bad. Have any of you noticed that all the masts, booms and spars are already tapered for us? What a bonus!!
I spent a lot of time on the first few until I finally got the final procedure down right. After that I was easily completing one hoop in approx fifteen minutes, excluding drying times. If you decide to go this route just think of it as one hoop is less work than a carriage assembly which you are not building for the Bluenose!!!Now that I know the results are satisfactory I'll be making the real ones from pear.
Hope you enjoyed. Back to the Ontario for me.
With your younger eyes you will be better able to read the small handwritten script.. I read an old article describing Bluenose II and the drawings that were originally on large 40x48 inch boards which explains their reduction in size for the book. It is well worth the cost for the insights. Enjoy. RichThanks again Rich, book is on order!
I accidentally stumbled/scanned across a microscopic note that the mast hoops are spaced 30 inches apart up luff side of the sails with the bolt rope hem on the starboard side The scale drawings and graphic scale match that the seams of the sail canvass are 20 inches apart, following the spec for 22 inch canvass, and the hoops grommet holes are 30 inches apart. The fisherman's staysail is always set on the windward side but this may not be relevant if there are no sails set in the presentation. Clew lines and associated blocks are always on starboard opposite with Europe where they are on port. Lastly, if anyone has noticed the blocks and tackle on the bottom of the main and fore boom they are used to hold the booms outboard when running before the wind in rolling seas; however, I don't see those rigging elements in the YQ model's generally simplified rigging and lack of sails. So. . . this is just to whet your curiosity and perhaps satisfy some questions as I am able to cast a fly over the water waiting for a rise from below. None of this is guaranteed but only as I understand it as of this point in time. RichThis is essentially the same procedure that I took a year or so ago with the same results. Well done!!! They are far better than the laser cut hoops in the MS2130 kit which I cut out but will probably abandon. There was another question that came in as to how many hoops were used in the original Bluenose. From the specifications for that schooner I found quantities for the two diameters: 36 24" and 24 13". I found that two were set below the tack as spares for each mast taking four out from the lower mast count of 36 leaves 32 between the fore and main masts or 16 hoops on each (if this assumption is correct). I have not found that spares were provided at the top masts but for replacement needs they were very likely there, at leas during the long fishing season runs, OK four out of 24 leaves 20 between the fore top and main top masts or 10 per top mast. I cannot guarantee this but it is from the original specs quantities for sizes and having found the placement of 2 spares below, just above the jaws of the boom and top sails. Borrowing from the sail/rigging drawings for Bluenose II I counted: Lower main 15, 14 lower fore; and 14 top main including 5 above the cross trees and 10 on the top main mast itself; 5 on the fore above the cross trees and 9 on the fore top mast itself. I may have made an error in my visual count on both in the area of the main above the cross trees to the top of that mast to the transition to the top mast itself where the hoops are very plain for both main and fore. As the book Bluenose II Saga of the Fishing Schooners with measured drawings is under copyright I don't want to make additional images. I do again highly recommend acquisition of the book which is by Nimbus Publishing, nimbus.ca, copyright 1994. It contains information and drawings for both Bluenose schooners and is a highly insightful resource. Rich

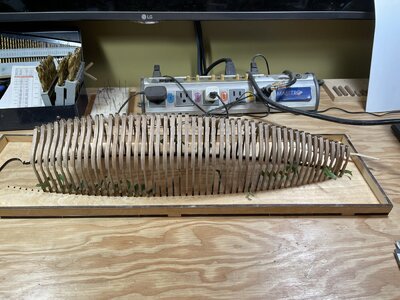
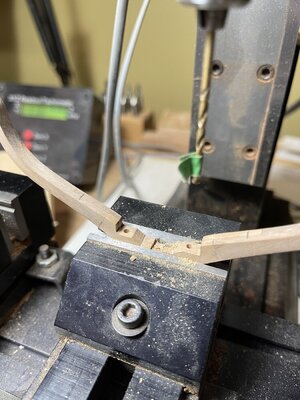
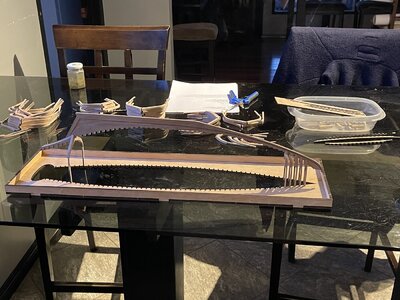
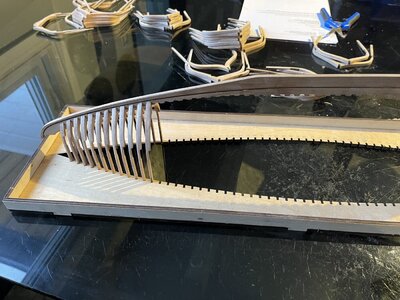
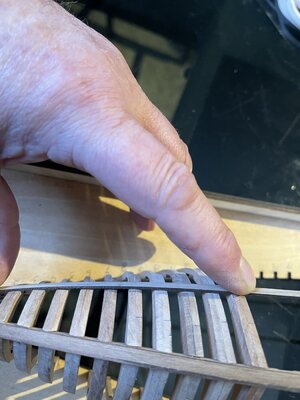
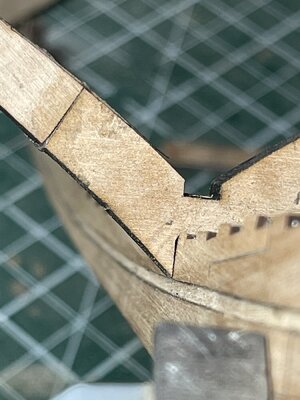
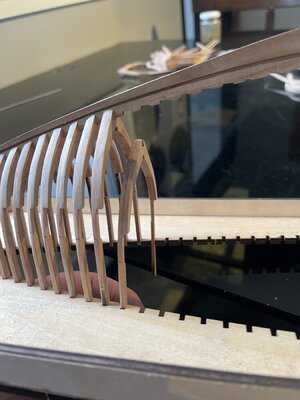
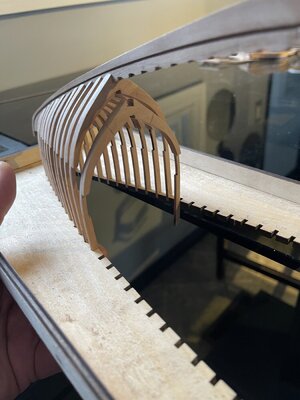
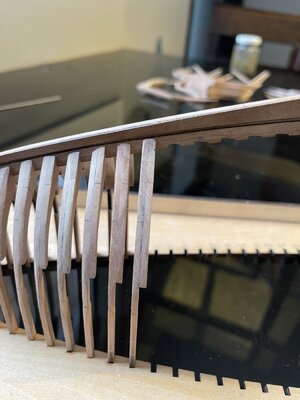
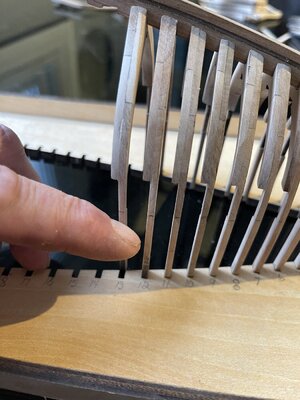
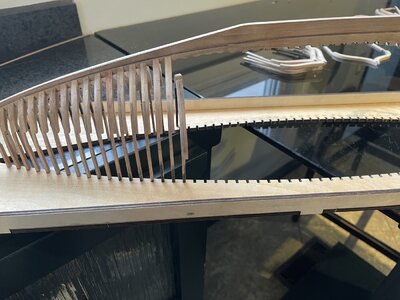
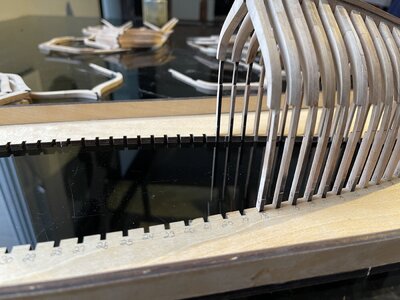
Hello Don, You have answered answered a lot of the questions that I have been thinking of in the instillation of the Bluenose Rib Frames. Your Bluenose sure looks good, Well Done. One question and that is how much glue do you add to your keel and what type?Thanks EJ.
Another quick tip is to sand the tops of the frames enough that they slide through the jig notches easily.


