YUANQING BLUENOSE - Peter Voogt [COMPLETED BUILD]

The Bow and Stern .....
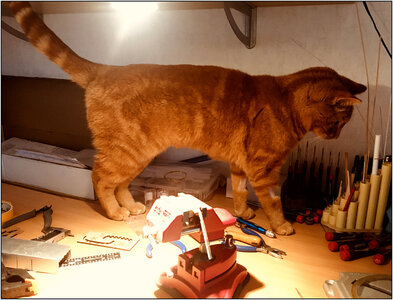
..... Also by an occasional observer :):
114 Help.jpg

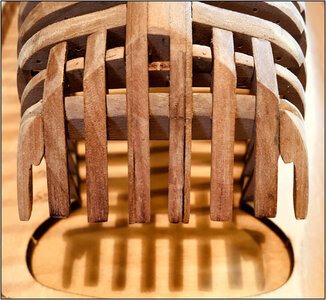
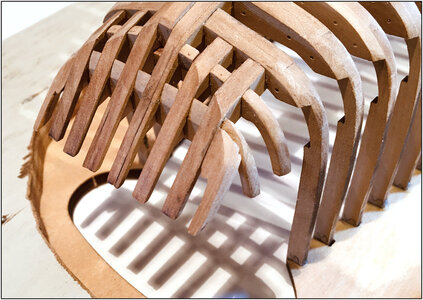
Fitted all the parts of the stern:
116 Stern.jpg
117 Stern.jpg
With the unforgivable macros ;).
When I am at the stage of the hull planking, everything got there final shape by sanding.

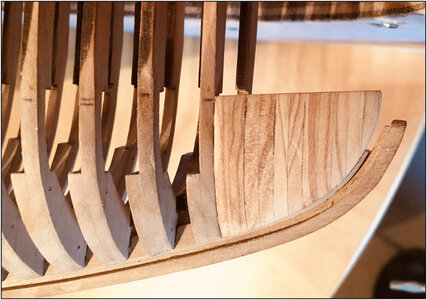
The 6x2 tiny parts for the bow glued together and a dry fit on the bow:
119 Bow.jpg

Several stages of sanding in- and outside:
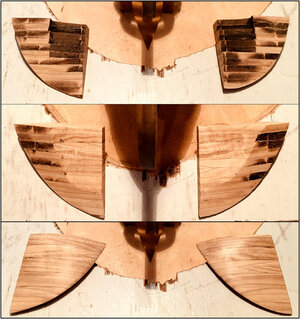
120 Bow.jpg

Fittet on the keel:
121 Bow.jpg
Also here, her final shape when I am going to sand the outside.

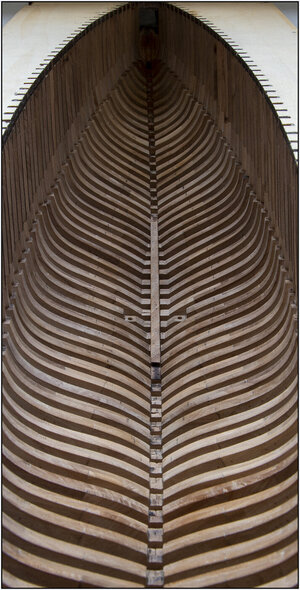
And from the inside:
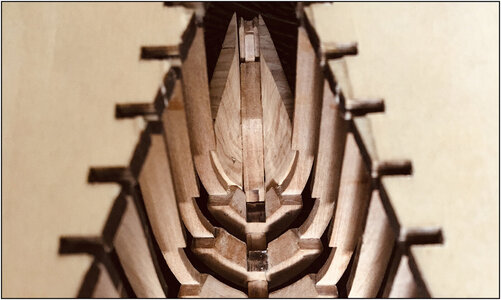
122 Bow.jpg
And here, final sanding when I am fitting the keelson and frame boards.
Regards, Peter
 
Last edited:
The ST. Bavo Church in Haarlem of course plays a big role in the stern decorations of my Haarlem build. The two bells refer to the Damiaatjes which were given to the St Bavochurch of Haarlem. These two bells ring every night between nine and nine-thirty, to signal the closing of the city’s gates and to commemorate the conquest of the Egyptian city of Damietta during the Siege of Damietta in 1218. Significantly, not only the bells, but also the sword and the Jerusalem cross owe their appearance on the coat of arms of Haarlem to the Siege of Damietta.
 
The ST. Bavo Church in Haarlem of course plays a big role in the stern decorations of my Haarlem build. The two bells refer to the Damiaatjes which were given to the St Bavochurch of Haarlem. These two bells ring every night between nine and nine-thirty, to signal the closing of the city’s gates and to commemorate the conquest of the Egyptian city of Damietta during the Siege of Damietta in 1218. Significantly, not only the bells, but also the sword and the Jerusalem cross owe their appearance on the coat of arms of Haarlem to the Siege of Damietta.
Haha Heinrich, so we made the link between in BN and the Haarlem :).
Regards, Peter
 
I am not entirely 100% satisfied, with the stern connections in particular. It is difficult to make it neat and tidy by hand. Most of it is later planked, but still ……
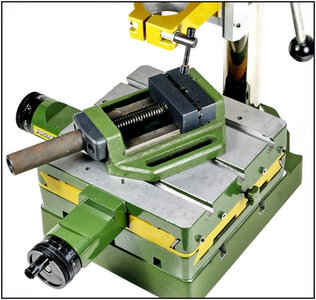
That is why I ordered the cross table KT150 with some different clamps and mounting material from Proxxon.
Kruistafel.jpg
For a not too crazy price to experiment a bit more.
Then I can hopefully make the connections between the beams a little tighter with the drill and milling cutters.
Renards, Peter
 
Last edited:
I am not entirely 100% satisfied, with the stern connections in particular. It is difficult to make it neat and tidy by hand. Most of it is later planked, but still ……
That is why I ordered the cross table KT150 with some different clamps and mounting material from Proxxon.
View attachment 233918
For a not too crazy price to experiment a bit more.
Then I can hopefully make the connections between the beams a little tighter with the drill and milling cutters.
Renards, Peter
And how can anyone resist buying a new neat looking toy in rationalization that it was just missing from the kit to continue the assembly? :-) Rich
 
The ST. Bavo Church in Haarlem of course plays a big role in the stern decorations of my Haarlem build. The two bells refer to the Damiaatjes which were given to the St Bavochurch of Haarlem. These two bells ring every night between nine and nine-thirty, to signal the closing of the city’s gates and to commemorate the conquest of the Egyptian city of Damietta during the Siege of Damietta in 1218. Significantly, not only the bells, but also the sword and the Jerusalem cross owe their appearance on the coat of arms of Haarlem to the Siege of Damietta.
Very interesting Heinrich, I didn’t know and Haarlem is my place of birth a long time ago
 
The advantage of repairing the keelson while working the frames, is you can continue building right away.
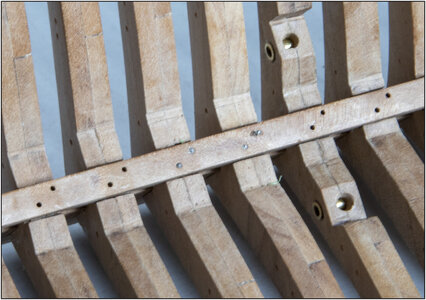
Pre-drilled the holes for the nails / bolts in the middle part of the keelson with 0.7 mm.
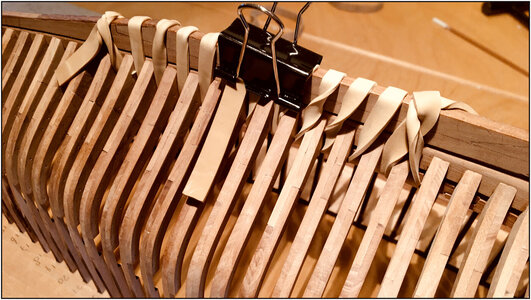
Assembled and immediately tried a different way of clamping:
125 Keelson.jpg
With 2 thick elastics, the postman uses for post. Worked inward from both ends. The pressure is distributed nicely and it does not cause any notches in the wood.
126 Keelson.jpg
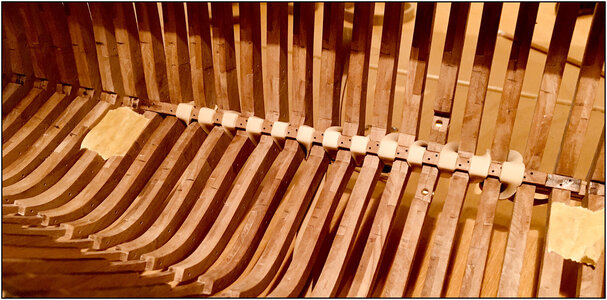
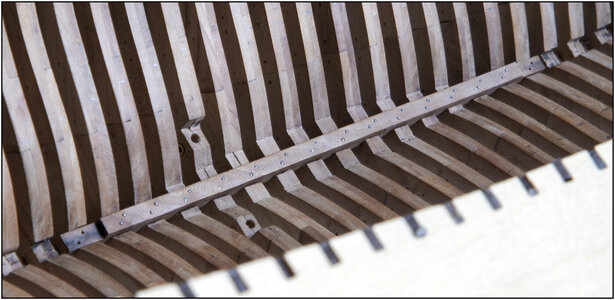
The divided pressure seen from the inside.

After drying, this part is there like this:
127 Keelson.jpg
These photos were taken with daylight, so no color shift from the artificial light.
And as a test, 4 cup burred nails placed. It's quite solid wood, so increase the holes to 0.75mm:
128 Keelson.jpg
It takes a few steps, but I am satisfied for the time being :)
Regards, Peter
 
Last edited:
Back
Top