YUANQING BLUENOSE - Peter Voogt [COMPLETED BUILD]

After a few hours of cleaning the glass plates, during which I kept forgetting dirty spots :confused:, I started with the test placement.
First glued an frame of 1x1mm on the mirror:
32 Kader.jpg
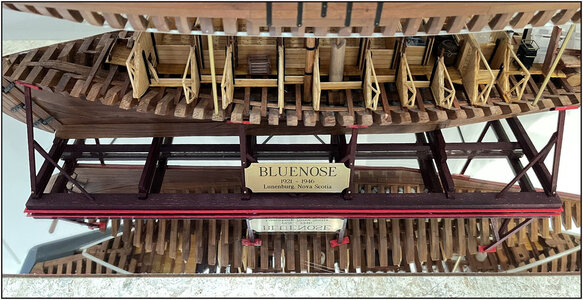
To fit the trestle exactly:
33 Plaatje.jpg
So that everything doesn't shift when I'm going to transport the model.
Also immediately attached the copper name plate that I had ordered.
There will be extra temporary reinforcement of the part 'above the waterline'. Because the 4 small brass rods will not absorb the forces during transport.

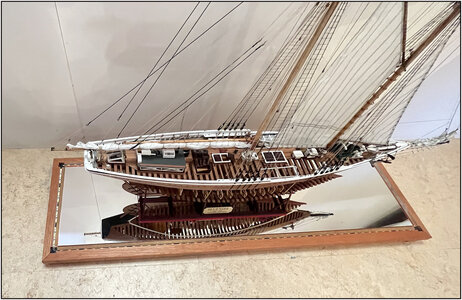
The mirror laid loose on the base plate:
34 Plaatsing Spiegel.jpg
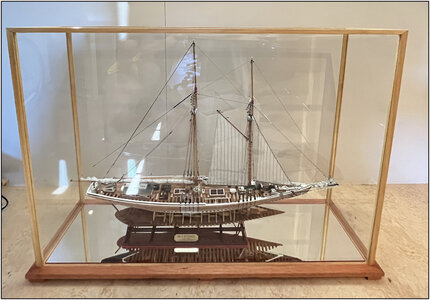
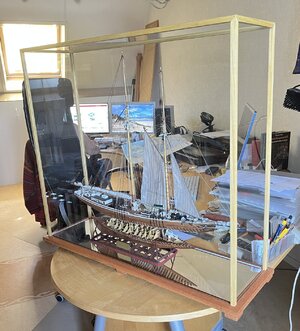
The glass over it:
35 Plaatsing Glas.jpg
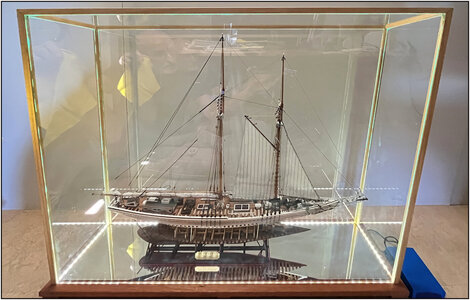
And the LEDs on to see if theory goes back together with practice:
36 Licht test.jpg
Now with too bright light, but that can be dimmed and with softer light.
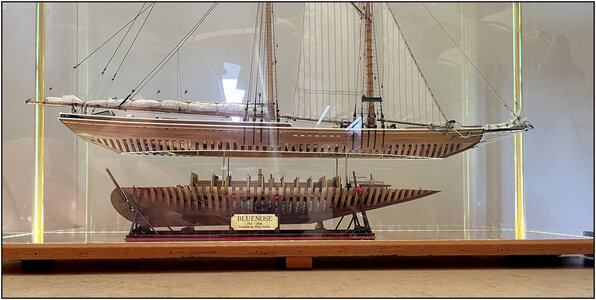
I still have to clean up a bit more, but seen from the side it doesn't look too bad:
37 Zicht.jpg
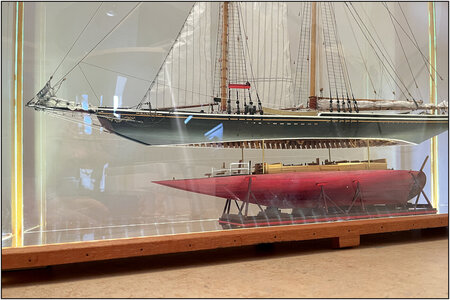
The Black-Red side:
38 Zwart-Rood.jpg
Now to find a spot for the 100th anniversary Canadian Dollars and Cents.
So a lot te do .........
The final pictures will be made with a polarization filter to get rid of the reflections.
Regards, Peter
 
Last edited:
After a few hours of cleaning the glass plates, during which I kept forgetting dirty spots :confused:, I started with the test placement.
First glued an frame of 1x1mm on the mirror:
View attachment 383576
To fit the trestle exactly:
View attachment 383577
So that everything doesn't shift when I'm going to transport the model.
Also immediately attached the copper name plate that I had ordered.
There will be extra temporary reinforcement of the part 'above the waterline'. Because the 4 small brass rods will not absorb the forces during transport.

The mirror laid loose on the base plate:
View attachment 383578
The glass over it:
View attachment 383579
And the LEDs on to see if theory goes back together with practice:
View attachment 383580
Now with too bright light, but that can be dimmed and with softer light.
I still have to clean up a bit more, but seen from the side it doesn't look too bad:
View attachment 383581
The Black-Red side:
View attachment 383589
Now to find a spot for the 100th anniversary Canadian Dollars and Cents.
So a lot te do .........
The final pictures will be made with a polarization filter to get rid of the reflections.
Regards, Peter
Good morning Peter. Wow! Brilliant. Cheers Grant
 
Started working on the 'transport mode' in the meantime. Because in September she will go to Amsterdam. And as I wrote, with both parts apart on the 4 thin brass rods, that doesn't go well with all the forces while driving.

From 1mm thick Evergreen plate, cut 2 triangles:
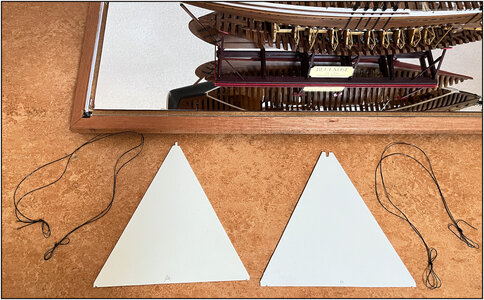
39 Transport.jpg
-the left one comes at the rear and the protruding tip fits in the rudder passage;
-the right one comes at the front and the clevis falls over the attachment of the lower stay;
- 2 'lashing straps' made to measure from elastic thread.

On the back side:
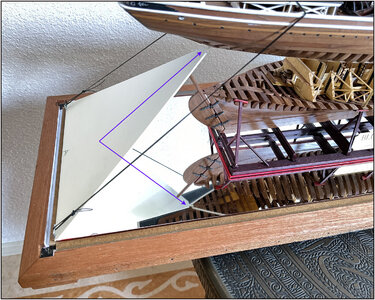
40 Transport Achter.jpg
The blue arrows point to the tip of the support in the rudder passage. When applying, I bend the support a little. Then the tip falls into the hole and when released the support is just under a very small amount of tension.
Filed 2 small recesses in the underside of the support that fit exactly around the two screw hooks. These are located in both corners, just outside the mirror. I had already taken that into account when determining the size of the mirror.
The upper part is then pulled back and down with the elastic strap that runs over the railing from both screw eyes and gets caught behind 2 eyes in the railing. I had already placed this ones with a view to transport.

In the front:
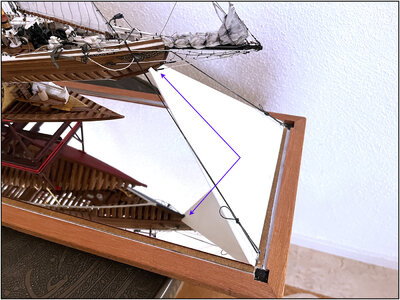
41 Transport Voor.jpg
The blue arrows point to the clevis that fits around the attachment of the lower stay. Here too I bend the support a bit, which clamps just a little here after applying it.
The elastic strap runs through the two railing cleats that are already there anyway.

The screw hooks next to the mirror and the support with the 2 small recesses that just fall around it:
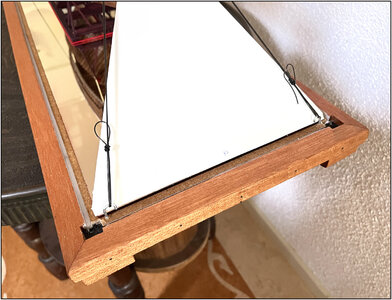
42Transport.jpg
The bottom plate was shaken back and forth ............ I think the transport will be fine.:)
I don't have to remove the screw hooks when I put the glass over them.
I cut paper strips in the grooves for the glass. That makes the brightness of the LEDs slightly more diffuse. I still have to test it experimentally ...... ;)
Continue with polishing the glass plates.......
Regards, Peter
 
Last edited:
Back
Top