Thanks, Johan. Also here thinking a few steps ahead ……..Not surprisingly as well planned and build as the model this casing will be sheltering...
Regards, Peter
 |
As a way to introduce our brass coins to the community, we will raffle off a free coin during the month of August. Follow link ABOVE for instructions for entering. |
 |
 |
The beloved Ships in Scale Magazine is back and charting a new course for 2026! Discover new skills, new techniques, and new inspirations in every issue. NOTE THAT OUR FIRST ISSUE WILL BE JAN/FEB 2026 |
 |
Thanks, Johan. Also here thinking a few steps ahead ……..Not surprisingly as well planned and build as the model this casing will be sheltering...
Haha ……. You found the place, now find the guy who is willing, Stephan ………Great, now we have a place where we can order a showcase for our model.

This is going to look good Peter. Can we see the Mirage?Thanks. Daniel. It’s the experience from making the case for my Mirage many years ago ...
Thanks for your interest, Mark.This is going to look good Peter. Can we see the Mirage?
Thanks, Dean. Today a step further:The display case is looking very promising, I am certain it will be beautiful.
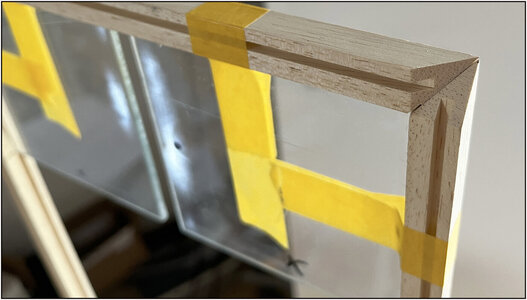
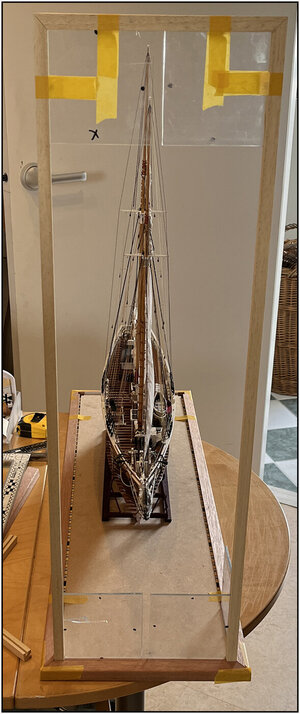
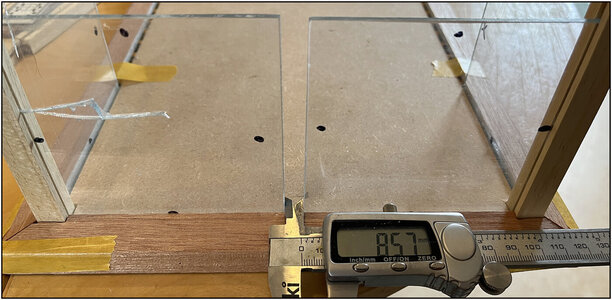
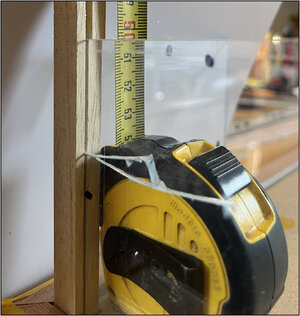
True storyPeter, your display case is becoming as interesting a build as your ship is
Peter, your display case is becoming as interesting a build as your ship is
Thanks, Mark and Grant. It was more easy to glue 5 parts of perspex together ……… but my Bluenose deserves a better case.True story


A true golden oldie!Nice piece of craftsmanship that you show Peter,
You know it, right
Craftsmanship is Mastery
From the Dutch masters, the weather is suitable for it now .....
Regards
Henk
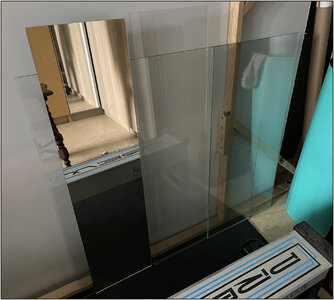



Have fun in Scotland and drive safe!The glass plates and mirror are in:
View attachment 380142
Now I could finally make the frames around the base plate to size, so that the groove above the LED lights is slightly wider than the thickness of the glass. I need to be able to take the display case off and put it back in place easily. A little slack is in order then.
After gluing and nailing the 4 edge profiles, first tested the LEDs to see if they still worked:
View attachment 380143
1 side had a bad contact, but everything designed in such a way that I can still reach the corner connections. So take the soldering iron in hand.
Blocks applied on the 4 corners and in the middle of the long sides:
View attachment 380144
Because with all the weight you want to be able to get your fingers under it to lift the display case.
Painted the inner edge white for some extra reflection.
Also blackened the nails. As a reference and corresponding to the nails in the frames and shelves.
Now I can give the profiles some layers of linseed oil.
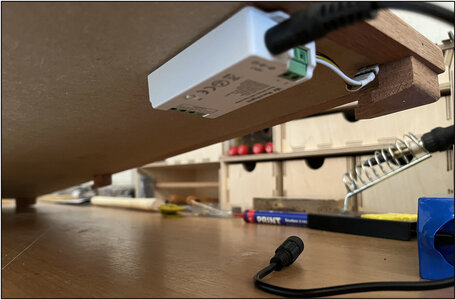
And the blocks were needed to neatly hide the switch block for the LEDs:
View attachment 380145
For connecting the battery or the transformer.
Now first touring Scotland with some friend on the motorcycle for a week and then continue with the glass.
Regards, Peter
Thanks, Johan. And all the time in my head: KEEP LEFT!Have fun in Scotland and drive safe!
Thanks, Dean. Looking forward to ride it through the Scottish scenery.Looking good Peter! Enjoy your trip on your new beauty!
Good morning Peter. Your display is almost as intricate as your BN.The glass plates and mirror are in:
View attachment 380142
Now I could finally make the frames around the base plate to size, so that the groove above the LED lights is slightly wider than the thickness of the glass. I need to be able to take the display case off and put it back in place easily. A little slack is in order then.
After gluing and nailing the 4 edge profiles, first tested the LEDs to see if they still worked:
View attachment 380143
1 side had a bad contact, but everything designed in such a way that I can still reach the corner connections. So take the soldering iron in hand.
Blocks applied under the 4 corners and in the middle of the long sides:
View attachment 380144
Because with all the weight you want to be able to get your fingers under it to lift the display case.
Painted the inner edge white for some extra reflection.
Also blackened the nails. As a reference and corresponding to the nails in the frames and shelves.
Now I can give the profiles some layers of linseed oil.
And the blocks were needed to neatly hide the switch block for the LEDs:
View attachment 380145
For connecting the battery or the transformer.
Now first touring Scotland with some friend on the motorcycle for a week and then continue with the glass.
Regards, Peter
Thanks, Grant. And especially when it’s with some friends. The same as last year through the French Alps.Something special about bike time in a beautiful place- enjoy.

Vreemde jongens, die Engelsen: aan de verkeerde kant rijden...Thanks, Johan. And all the time in my head: KEEP LEFT!
What’s up Johan, you guys are on the wrong side…..Vreemde jongens, die Engelsen: aan de verkeerde kant rijden...
(Strange birds, those English; driving on the wrong side of the road...)
 .
.