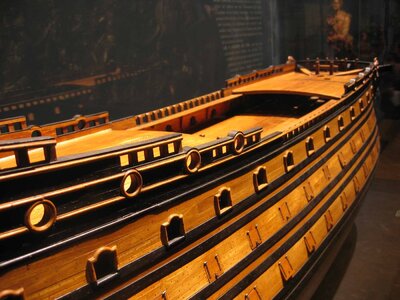
ZHL Le Soleil Royal

The URL Vic is referring to is the internet web address where you presumably have your build log or photos stored, if you have any. Most of us use computers, and we take the pictures stored on our computers and copy them to some site on the internet where others can access them. The link, or URL, is a text address that other people use with their internet browser to download or view those pictures or web pages.

For example, I copied all my build log pictures to a free file storage website called IMGBB.com. All my pictures are stored there where others can view them. The ULR or address is here: https://ibb.co/album/r3rs8m
Now, Instead of typing "https://ibb.co/album/r3rs8m" in my signature on this forum, I use the link View attachment 401793 to create a name for that address, and that name happens to be: All La Couronne Build Pictures

Here's how to create that for yourself.
First, you need to store your pictures on the internet somewhere like IMGBB or other service. Basically, I am storing copies of my pictures on someone's computer somewhere else on the planet. Then to create a TEXT that links to them either 1) in one of your posts, or 2) in the signature editor, click on the View attachment 401793

This requestor window will pop up:

View attachment 401794

Paste the internet web address (URL) in the top, and the TEXT you want to name it in the bottom.

Now when other click on that TEXT, their internet browser will send them to the web address URL. That URL could be 1) a website, or 2) a link directly to a picture, which will then be displayed to them.
Kurt, great info. Thanks for the detailed answer. Looks like I am out of luck once again as my build logs are the only place I have my pictures.
 
Good afternoon Jay. I’m with Kurt here. This would work. Remembering the amount of detail which will be added here, any deviation will get lost in all this detail. Cheers Grant
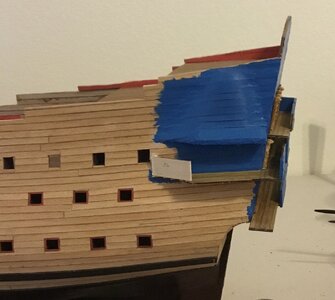
Back to the build. Well I tried but this was the best I could do. That’s why I appreciate the amazing work all of you do on this forum.

IMG_1841.jpeg
 
Back to the build. Well I tried but this was the best I could do. That’s why I appreciate the amazing work all of you do on this forum.

View attachment 401861
Looks great, like the gallery is really part of the ship now and not just some attachment. You get better at these sorts of details only by attempting them. Some people look at their first try and think it such a mess that they never try scratch detailing ever again, and so they prevent themselves from getting good. Don't be that guy. Know that your next ship will be at least 5 times better than your first, and move on. Be bold.
 
Looks great, like the gallery is really part of the ship now and not just some attachment. You get better at these sorts of details only by attempting them. Some people look at their first try and think it such a mess that they never try scratch detailing ever again, and so they prevent themselves from getting good. Don't be that guy. Know that your next ship will be at least 5 times better than your first, and move on. Be bold.
Kurt, kind of you to say.
 
Back to the build. Well I tried but this was the best I could do. That’s why I appreciate the amazing work all of you do on this forum.

View attachment 401861
Good morning Jay. This will work. Once the decorations etc start going on I think the planked effect will look good. From what I understand about this ship is - there is a lot more blue to be painted and this will blend in really well. Good one. Cheers Grant
 
Good morning Jay. This will work. Once the decorations etc start going on I think the planked effect will look good. From what I understand about this ship is - there is a lot more blue to be painted and this will blend in really well. Good one. Cheers Grant
Grant, yes, a lot of blue and a lot of bling. A lot of stuff in this kit. I noticed you are from Cape Town. When I was surfing in the ‘50’s and ‘60’s Cape Town was on my list. Only made it to Hawaii.
 
Grant, yes, a lot of blue and a lot of bling. A lot of stuff in this kit. I noticed you are from Cape Town. When I was surfing in the ‘50’s and ‘60’s Cape Town was on my list. Only made it to Hawaii.
Good afternoon Jay. I’m am inverse- would have loved to surf Hawaii, plenty here in Cape Town. Freezing cold this side so Hawaii definitely sounds a better optionROTF.
 
Good afternoon Jay. I’m am inverse- would have loved to surf Hawaii, plenty here in Cape Town. Freezing cold this side so Hawaii definitely sounds a better optionROTF.
Hey Grant, yep water and air was warmer but when I wiped out and I did that plenty the sandy floor in Southern California was better than the sharp coral on Oahu.
 
Hey Grant, yep water and air was warmer but when I wiped out and I did that plenty the sandy floor in Southern California was better than the sharp coral on Oahu.
True story. Got the scars of a reef wipe out in Vic Bay. Now days I SUP surf on the sandy beaches of Melkbosstrand- too unfit and way wiser to do much else ROTF . Cheers Grant
 
  • Like
Reactions: Jay
True story. Got the scars of a reef wipe out in Vic Bay. Now days I SUP surf on the sandy beaches of Melkbosstrand- too unfit and way wiser to do much else ROTF . Cheers Grant
I’m with you there Grant. There’s a channel on my tv that is surfing 24 hours a day. I don’t know how the short boarders do it. Us old longboarders used to call that hotdogging.
 
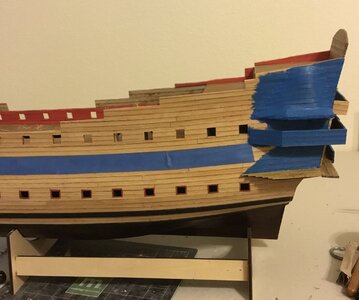
Did a couple things today. Put on a couple of the balcony fences and put planking on the starboard bell.

IMG_1848.jpeg

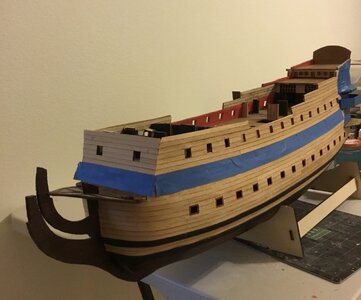
Taped off the ship where I wanted the blue paint to go. Dry fitted the platform with the grates on the front of the ship, needs a bit more trimming to sit more level.

IMG_1849.jpeg

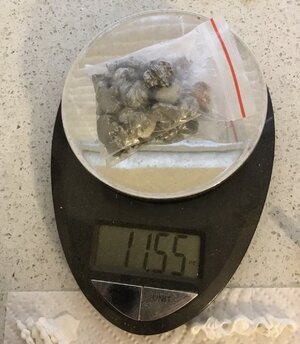
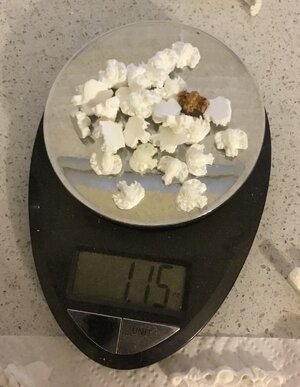
Getting the decorations for the gun ports and between the gun ports ready for attachment. The 30 metal pieces that go between the gun ports weighed 11.55 ounces. The 30 resin ones weighed 1.15 ounces.

IMG_1844.jpeg

IMG_1846.jpeg

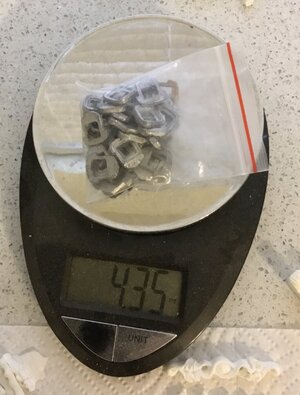
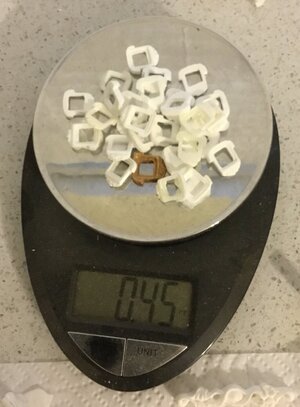
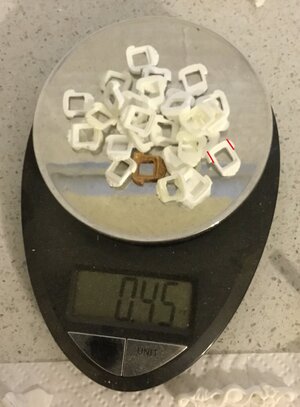
The 30 metal gun port decoration’s weighed 4.35 ounces and the 30 resin pieces weighed 0.45 ounces.

IMG_1845.jpeg

IMG_1847.jpeg
 
Did a couple things today. Put on a couple of the balcony fences and put planking on the starboard bell.

View attachment 402630

Taped off the ship where I wanted the blue paint to go. Dry fitted the platform with the grates on the front of the ship, needs a bit more trimming to sit more level.

View attachment 402631

Getting the decorations for the gun ports and between the gun ports ready for attachment. The 30 metal pieces that go between the gun ports weighed 11.55 ounces. The 30 resin ones weighed 1.15 ounces.

View attachment 402633

View attachment 402634

The 30 metal gun port decoration’s weighed 4.35 ounces and the 30 resin pieces weighed 0.45 ounces.

View attachment 402635

View attachment 402636
Good morning Jay. I love the planking on your model, it is very effective. Wow I wonder how many resin parts you have made so far….definitely a better option than all that brass. Cheers Grant
 
Hello Jay. Little suggestion from me,if you want add some realism.On Tanneron's Soleil those frames aren't so big. You just need to cut a little bit. I would also thinn down coats of arms to 2mm maybe 3mm. Despite being lightweight they look clumsy, buuut it's only my suggestion. Cheers


IMG_1847+.jpg
g1669_Soleil_Royal_060.jpg
 
Back
Top