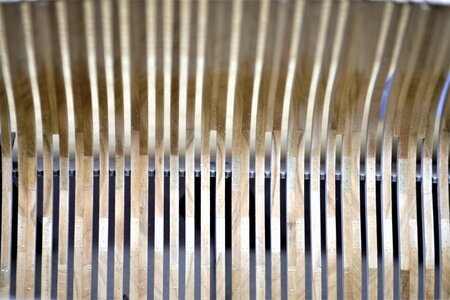
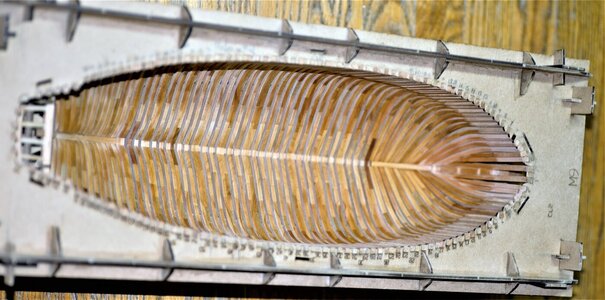
Putting a finishing touch and wrapping up assemble\installing frames...
One more thing I'd like to touch upon is double-frames. They do assemble the same ways as a single in the MDF jig. The difference, however, how you glue them on the rising wood as the final destination. So...what are those double-frames? Every second, or third frame - is a double-frame. It consists of two single frames joined together using bolts as the fastening. At first, I thought to imitate bolting on my Alert, I even made some test. But in the end, opted out an left as is 'bare naked'
Here is the test frame.
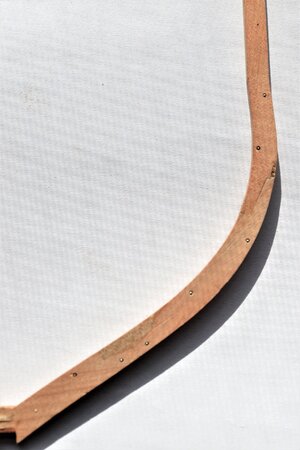
Two single frames joined together will make a double-frame. But wait, DO NOT glue them all in advance! Here are the steps I outlined and follow while working on double-frames. Later, I will refer to double-frame as the set, with frame 'a' and frame 'b'
1. obviously, assemble both single frames
2. position (dry fit) frame 'a' on the corresponding recess on rising wood. Make sure the frame 'sits' in the slot. If you didn't widen too much the notches in the berth (top) for the end frames they should hold the frame in place.
3. dry-fit the frame 'b' (from this set) and make sure it 'sits' in the recess. Observe if there any gaps between the two frames. Get the flashlight inside the frame and look from the opposite side. Hopefully, you won't discover any...They should make one solid frame. If you see gaps, remove frames (both) and sand on the flat\even surface until the frame perfectly flat. Check against the glass.
4. Once both frames fit and there are no gaps, put the glue on the frame 'a'
WARNING:
a. DO NOT glue the recesses slots. Make sure there is no glue on either recess of the frame and\or the rising wood. We gluing the frame 'a' and 'b'
together.
b. Identify the area of the frame where the railing will be installed and mark it with a pencil. Do not glue this area. Later, when you will put railings,
it will save your time and nerves prepping frames for railing, Thanks Paul @paulv1958 for the tip.
5. while the glue is on frame 'a', insert frame 'b' make sure both frames are 'sited', aligned in their slots. Clamp frames for the glue to set. Depends on the glue you are using between 5 to 10 minutes.
6. carefully remove both frames out of a berth, get additional clamps, or let them completely dry on the glass under heavyweight. Congrats, you made your first double-frame!
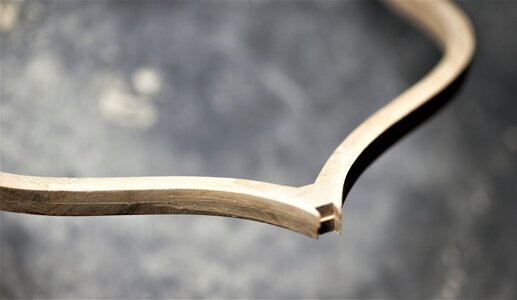
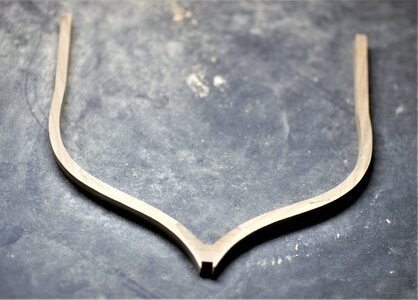
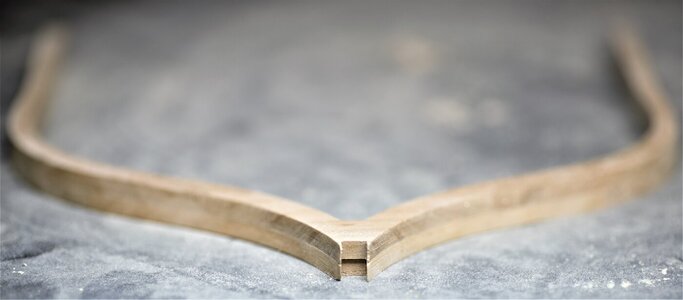
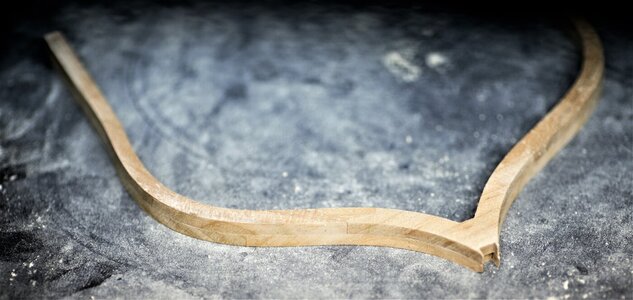
You should have results similar to the images below
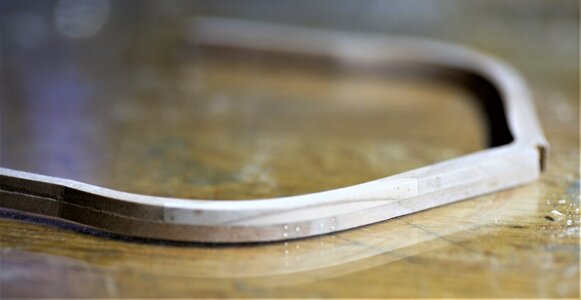
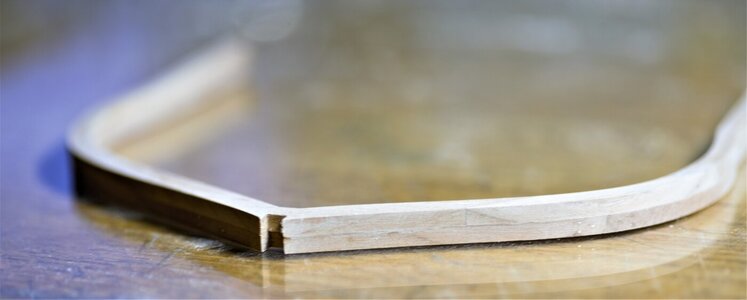
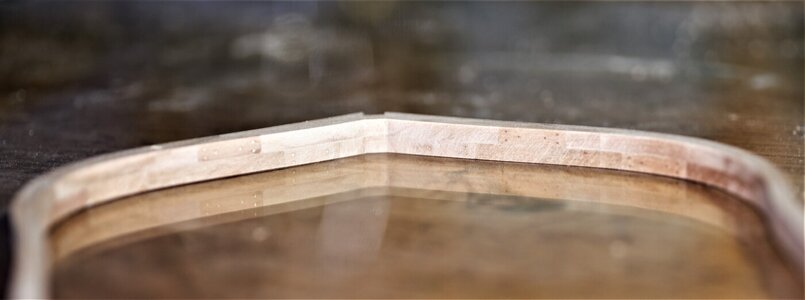
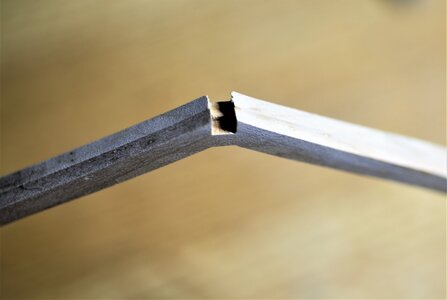
Once the double-frame is completely dry, it is ready for the next step. Frankly speaking, the next step is optional and you can finish by gluing the double frame to the keel. But in my build, I pre-shape the frame before the frame makes its final destination in the keel. The same way we use the templates for the cant frames.
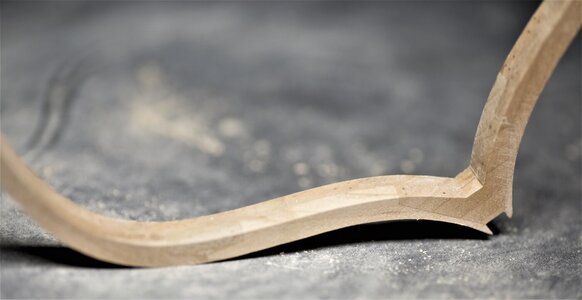
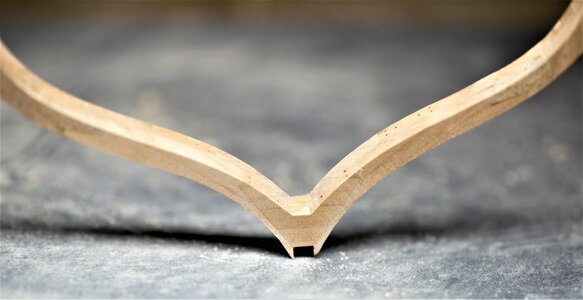
Here is how the frame looks after shaping
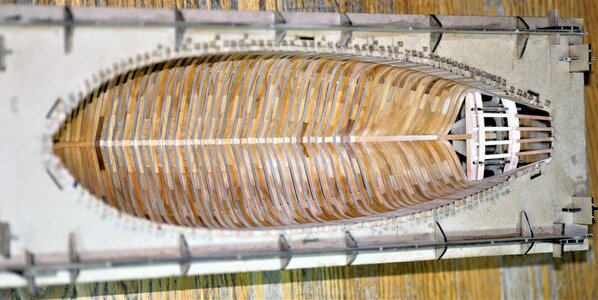
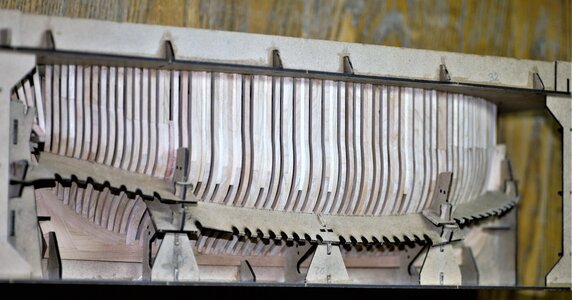
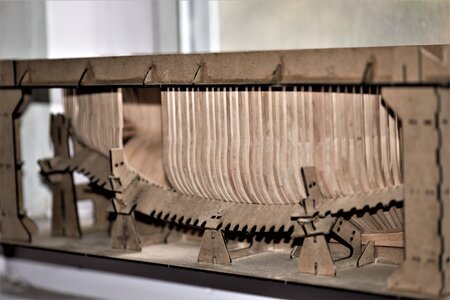
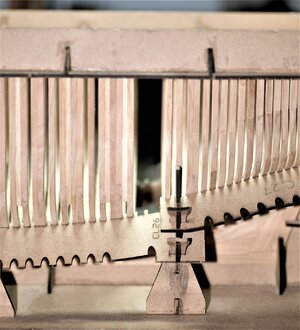
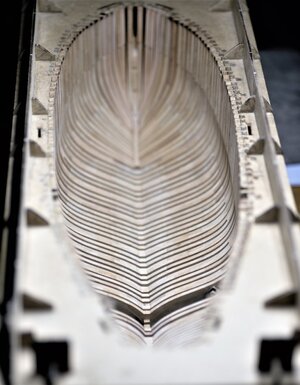
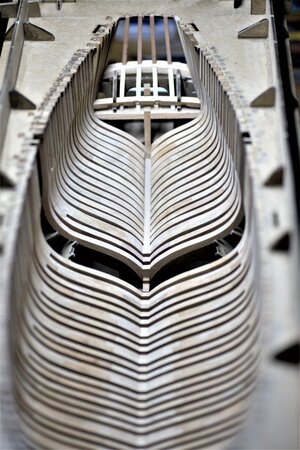
This is how the Alert looking now...
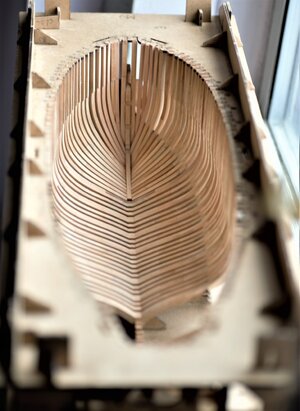
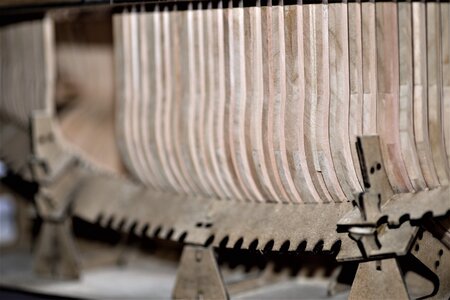
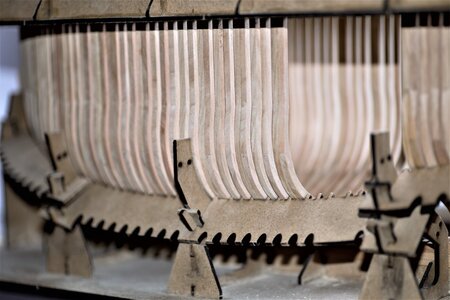
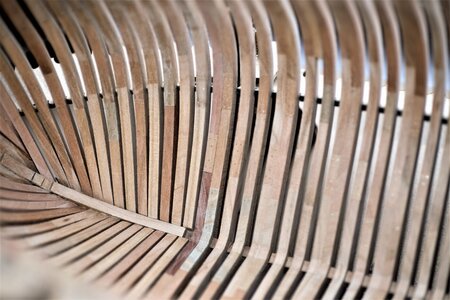
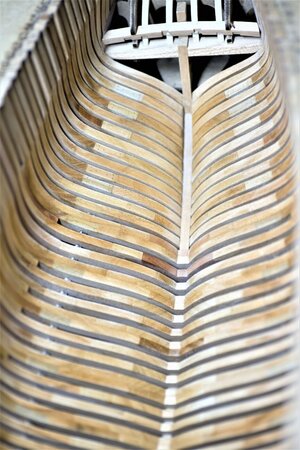
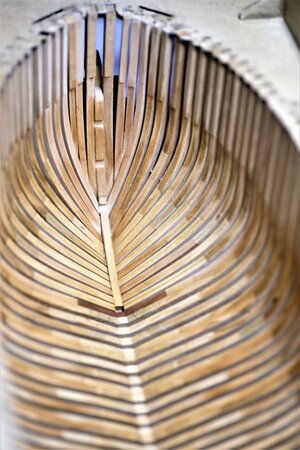
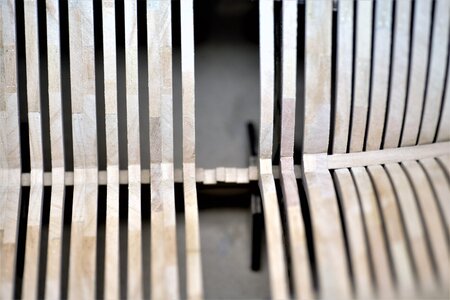
closing the gap...2 more frames, babby!!!!
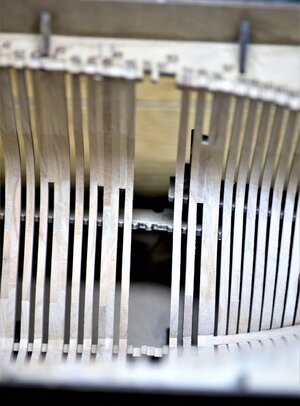
to be continued...
One more thing I'd like to touch upon is double-frames. They do assemble the same ways as a single in the MDF jig. The difference, however, how you glue them on the rising wood as the final destination. So...what are those double-frames? Every second, or third frame - is a double-frame. It consists of two single frames joined together using bolts as the fastening. At first, I thought to imitate bolting on my Alert, I even made some test. But in the end, opted out an left as is 'bare naked'
Here is the test frame.

Two single frames joined together will make a double-frame. But wait, DO NOT glue them all in advance! Here are the steps I outlined and follow while working on double-frames. Later, I will refer to double-frame as the set, with frame 'a' and frame 'b'
1. obviously, assemble both single frames
2. position (dry fit) frame 'a' on the corresponding recess on rising wood. Make sure the frame 'sits' in the slot. If you didn't widen too much the notches in the berth (top) for the end frames they should hold the frame in place.
3. dry-fit the frame 'b' (from this set) and make sure it 'sits' in the recess. Observe if there any gaps between the two frames. Get the flashlight inside the frame and look from the opposite side. Hopefully, you won't discover any...They should make one solid frame. If you see gaps, remove frames (both) and sand on the flat\even surface until the frame perfectly flat. Check against the glass.
4. Once both frames fit and there are no gaps, put the glue on the frame 'a'
WARNING:
a. DO NOT glue the recesses slots. Make sure there is no glue on either recess of the frame and\or the rising wood. We gluing the frame 'a' and 'b'
together.
b. Identify the area of the frame where the railing will be installed and mark it with a pencil. Do not glue this area. Later, when you will put railings,
it will save your time and nerves prepping frames for railing, Thanks Paul @paulv1958 for the tip.
5. while the glue is on frame 'a', insert frame 'b' make sure both frames are 'sited', aligned in their slots. Clamp frames for the glue to set. Depends on the glue you are using between 5 to 10 minutes.
6. carefully remove both frames out of a berth, get additional clamps, or let them completely dry on the glass under heavyweight. Congrats, you made your first double-frame!

You should have results similar to the images below


Once the double-frame is completely dry, it is ready for the next step. Frankly speaking, the next step is optional and you can finish by gluing the double frame to the keel. But in my build, I pre-shape the frame before the frame makes its final destination in the keel. The same way we use the templates for the cant frames.
Here is how the frame looks after shaping


This is how the Alert looking now...


closing the gap...2 more frames, babby!!!!


to be continued...


