Great pictures and great work Peter. I always feel so out of my depth when I look at how you go about your work. Very interesting, and educationalThe starboard side also features the 2 bulwarks parts:
View attachment 281962
This side is fitted with a total of 5 rows of planks. As shown in the manual by YuanQing for this open side.
I added some extra small boards on 2 places:
View attachment 281963
This is where the fore and mainmast chain plates are secured to the hull.
At 5 row of planks they would stick out or I would have to cut them off.
In the middle by the main mast, 1 plank because there will be another plank on the bulwark and the irons will find also rest over 7 rows.
Then I carry on my theme that I also kept in mind when building the inside of the ship: where support is desired, a few extra nibbled parts.
In the beginning there was a lot of discussion about the rabbet in the keel and whether or not a bevel is present. Here the result of the recessed fronts of the hull planks:
View attachment 281964
Made the parts wet for contrast. Now the planks slide in their entirety against the front of the rabbet. And has the extra 'meat' for good bonding.
The inside looks 2x square on the photo. But it's a \_| with the chamfer that is flush with the chamfer of the bow parts.
Because once again there was today a nice sun, I took some picture with the current state in the demo version:
View attachment 281965
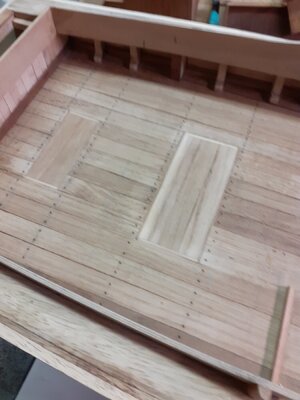
And with the beautiful lines of the rear:
View attachment 281966
Razor light is unforgivable, but the sanding work still needs to be done.
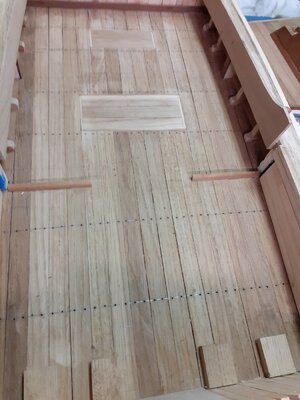
Then it is now time to drill the holes for the treenails. And only after applying the treenails does the sanding follow.
Then there will be those who wonder: is that useful, do you see them? With the hull being painted?
I have already started painting with Ecoline. I had seen several examples of that. This does not give a flat layer of lacquer, but is more or less matt and still shows the necessary part of the wood structure.
In the book Witch in the Wind, De Villiers describes: "The vessel was then ready for painting: a prime coat, more sanding, then the blue-black finisch coat an the gilded trimwork".
I did some experiments with some mixing ratios of Black and Indigo blue:
View attachment 281967
Of course the visible color depends on your monitor color setting.
- the top shelf with almost black;
- the bottom 3 boards with the blue black. Maybe I make them a shade more black;
-depending on the incidence of light, you do not or do see the treenails.
I first coated the bottom three boards and then sanded them almost to the wood. Worked the 2nd layer with my medium polishing block again until the treenails came through.
As far as I'm concerned: subtly present and visible.
I will first apply that to the 5-layer starboard side. Also to practice when I have to do the fully planked port side.
Regards, Peter

- Mark


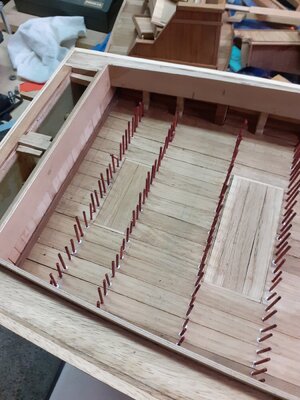
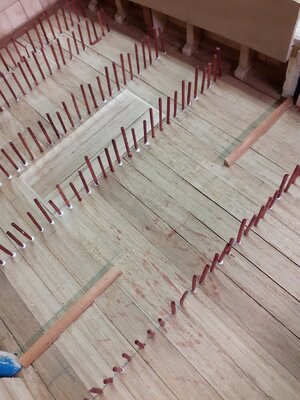
") On the (open) starboard side, with the point punch, a small 600 holes to be drilled are marked:
On the (open) starboard side, with the point punch, a small 600 holes to be drilled are marked:

")