Sultana - Colonial Schooner, 1767 - by MS, Scale 1:64 [COMPLETED BUILD]

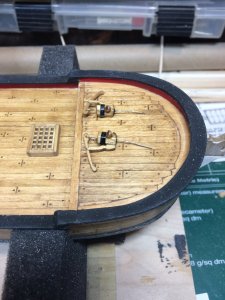
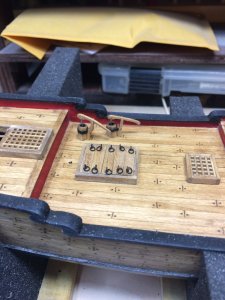
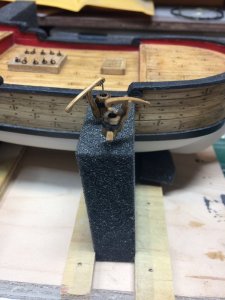
The pumps are completed.

IMG_2688.JPG


IMG_2687.JPG


IMG_2689.JPG

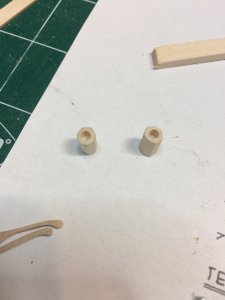
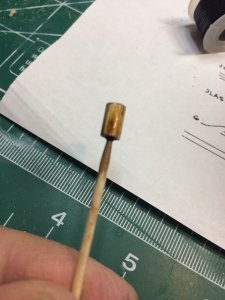
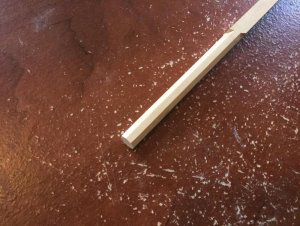
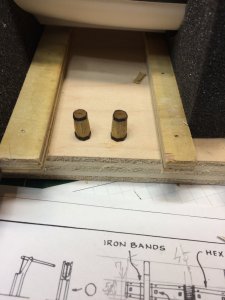
The pumps are made from scratch; first i cut a dowel for a main drum or 'log' a bit longer than needed.
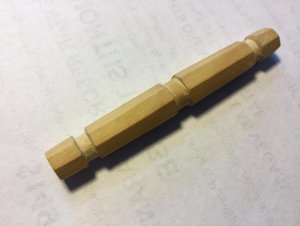
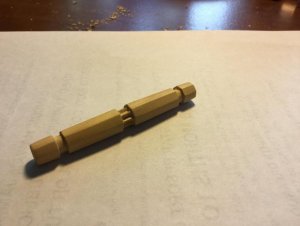
Using file and sanding blocks i shaped drums into octagonal shape.
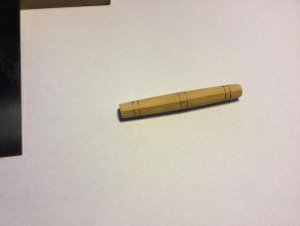
The hole was drilled to the top of each pump, wide enough to simulate opening. The hole was darkened with a pencil as those pumps were sometimes lined with lead..

IMG_2676.JPG


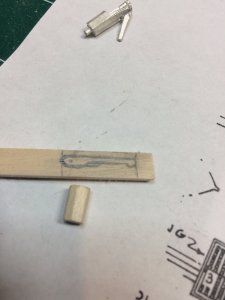
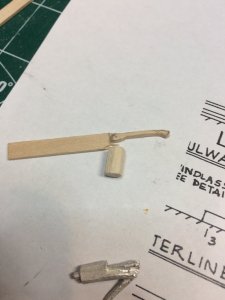
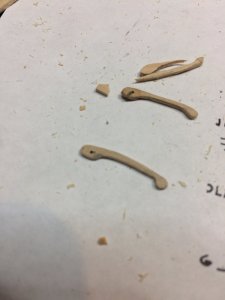
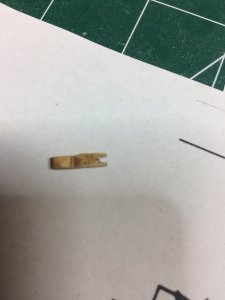
Next i made pump handles... It appears to be easier if you do repetitive work together, like making two handles in bunch then one handle, then pump drum, etc...

IMG_2671.JPG

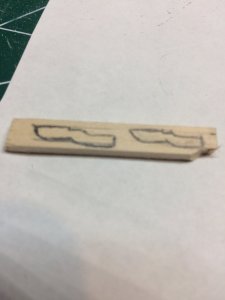
The shape was marked on the piece of wood,
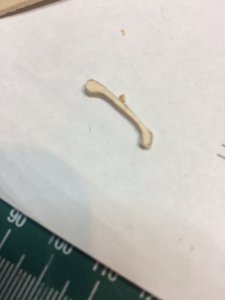
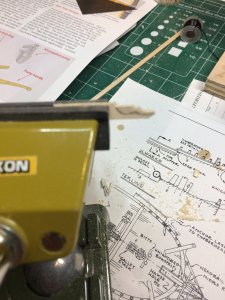
.. shaped with a file and sanding blocks...

IMG_2672.JPG

IMG_2683.JPG


IMG_2682.JPG

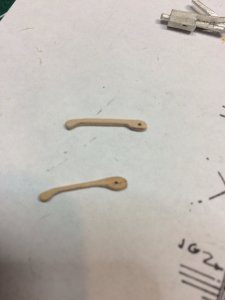
Small hole was drilled to hold the wire... some more sanding during which process i broke 3 handles. Very tiny and fragile items..

IMG_2684.JPG


A bit of staining was done on handles; actually i was dipping them into stain can, leave stain on for a minute and wipe it with paper..

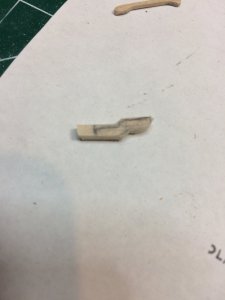
Bracket for pump handle was next.. these are also tiny and few were broken in the process. Dipped into stain....

IMG_2678(1).JPG


IMG_2679.JPG

IMG_2675.JPG


IMG_2681.JPG


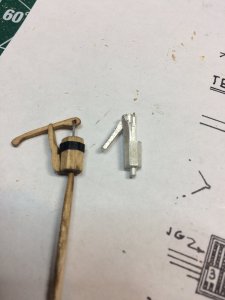
Then i stained drums, put a tiny peace of electric tape around each drum to simulate iron bands. Funny that electric tape was not holding well on stained wood so i had to freeze it with drop of cyano glue.

IMG_2677.JPG


Then assembly took place. So here it is.
I drilled a small hole on the bottom to put a piece of wire in to make sure pumps will stay on the deck.

IMG_2686.JPG


It took me approximately 4 hrs to build these little parts but end result is very rewarding...

Happy modeling..
 
Started today on windlass. As with other part i think it is much better to make deck furniture from wood and not to use kit supplied parts. This one is not that bad but i would not use it unless needed...
I broke the windlass in few more manageable pieces, which will be glued together once all is completed.
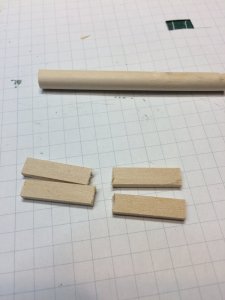
Cut dowel to the length bigger that needed; also cut 4 pieces that will be glued together to make two outside pieces.

IMG_2691.JPG

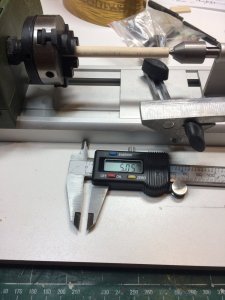
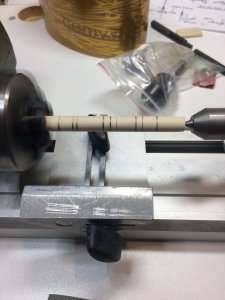
I used mini lathe to make a form; the beginning on windlass is 5mm, the middle is 7mm and other end is also on 5mm.


IMG_2692.JPG


With pencil i marked dimension and start forming it with sanding block (80).. Rough form was made and with 400 sanding block finishing touch was done..


IMG_2693.JPG


IMG_2695.JPG


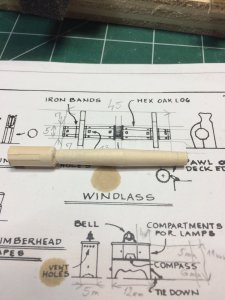
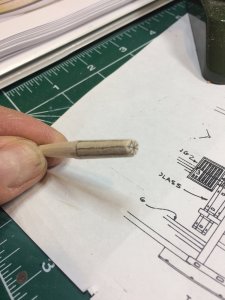
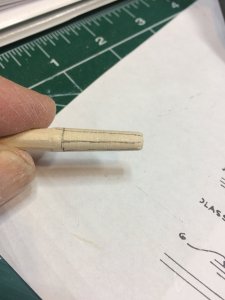
Then i marked 8 lines that will be used as a reference point while making octagonal shape.


IMG_2700.JPG


IMG_2699.JPG


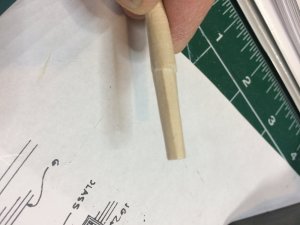
Then using a #10 knife, i carved basic form; with a file i straighten it and with a #10 knife exposed the octagonal lines a bit more. The #10 knife was used, with a blade rested at 180 degrees on the wood; then with motions like you would sharpen the pencil, i shaved tiny pieces of wood, which made octagonal lines more visible...

IMG_2697.JPG


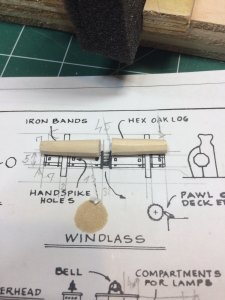
Then i cut both ends to the correct length...

IMG_2702.JPG

More to come...
 
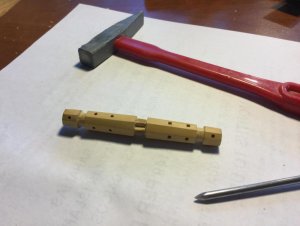
Nice job! Here's a little trick when you get to the hand spike holes. They need to be square, not round. Drill the holes with a drill of appropriate size after marking the locations and using an awl for a starter hole to keep the bit from wandering. Then take a simple nail and file the pointy end into a square, leaving the point. Insert the nail into the round hole and orient the square you are about to produce properly and tap the nail with a lightweight hobby haqmmer. Voila! A square hole!wind.jpg
 
Nice job! Here's a little trick when you get to the hand spike holes. They need to be square, not round. Drill the holes with a drill of appropriate size after marking the locations and using an awl for a starter hole to keep the bit from wandering. Then take a simple nail and file the pointy end into a square, leaving the point. Insert the nail into the round hole and orient the square you are about to produce properly and tap the nail with a lightweight hobby haqmmer. Voila! A square hole!View attachment 45925


Thanks Dave, i will definitely use this trick, but now, looking at your windlass, i must go down to my dungeon and start again.
It looks very nice with sharp edges.
What wood did you use and what tools to make it this way?
 
Hi!

The wood is boxwood. I cut an overly long blank into an octagon profile with my miniature table saw. The barrel was tapered with sanding blocks. The rabbets for the support timbers and the gear in the center were cut with a hobby knife. Considering you cut the profile by hand, yours looks very good!
 
Here is a series of photos showing how I approached building the windlass. I took a piece of boxwood 3/8" square and cut it into an octagon on my table saw. The piece was cut to 3" in length (about 9'8" in scale). I measured in about an 1-1/8" from each end, and tapered the boxwood by sanding, maintaining the octagon profile. I measure and marked the rabbets for the supports and the center gear. They are all about 1/16' deep. Next, I cut the gear in the center to shape, using a #10 X-Acto blade. Last, I laid out where the holes for the lever rods would go and drilled 1/16" pilot holes at each location. I then took a nail that I had previously filed to a square point and tapped it into each hole, converting the round drill holes into square holes. In the photo, the holes on the left side of the windlass are still round, Tomorrow the supports!wind1.jpgwind2.jpgwind3.jpgwind4.jpg
 
Here is a series of photos showing how I approached building the windlass. I took a piece of boxwood 3/8" square and cut it into an octagon on my table saw. The piece was cut to 3" in length (about 9'8" in scale). I measured in about an 1-1/8" from each end, and tapered the boxwood by sanding, maintaining the octagon profile. I measure and marked the rabbets for the supports and the center gear. They are all about 1/16' deep. Next, I cut the gear in the center to shape, using a #10 X-Acto blade. Last, I laid out where the holes for the lever rods would go and drilled 1/16" pilot holes at each location. I then took a nail that I had previously filed to a square point and tapped it into each hole, converting the round drill holes into square holes. In the photo, the holes on the left side of the windlass are still round, Tomorrow the supports!View attachment 45964View attachment 45965View attachment 45966View attachment 45967
Thanks Dave, really appreciated your suggestions and building steps..
 
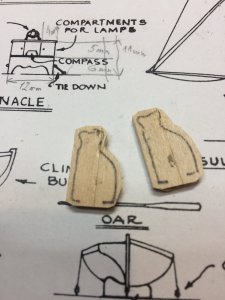
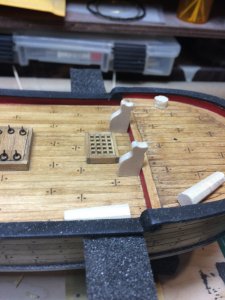
Two center portions were transfered to the piece of wood, cut with knife and sanded to the shape.

IMG_2707.JPG


Tested on the ship...


IMG_2708.JPG


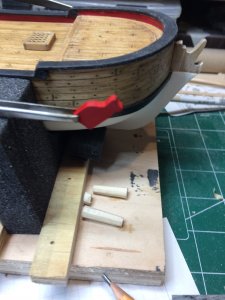
.. and painted in flat red.


IMG_2712.JPG

Center portions of the drum were shaped into octagonal, tiny piece of electric tape cut and assembled to simulate iron bands.

Short bath in stain and up to drying location..

It looks better than first one but still not 100% happy. Will see how they all fit together, with drilled holes and all assembled, then will decide..


IMG_2711.JPG

Happy modeling..
 
VERY nicely done !!!
 
Back
Top