LA SALAMANDRE, bomb ketch - POF - (CAF-models, 1/48)

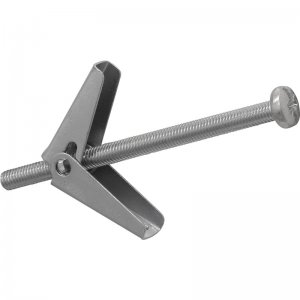
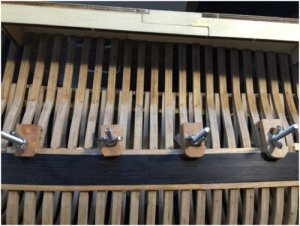
Hi Uwek :) As usual astounding work that is a joy to follow. I was thinking of your clamp situation and was wondering if a simple toggle bolt would do with the addition of some large washers? They come in many different sizes and lengths and are cheap. Some are even in hard plastics that wouldn't mar the wood. Just a thought...

59592.jpg
 
Looking marvellous Uwek. I found due to the very close rib construction I couldn’t use any of the usual clamping devices other than little ones on the interior planks which I am currently working on. Nails work better where the curves require more pressure and I am using filler the same colour to fill the nail holes. Once I get higher up the hull I will be able to use clamps with long jaws to hold in the planks. I had to use weights to hold in the keelson when glueing. Worked out OK.
 
Hi Uwek :) As usual astounding work that is a joy to follow. I was thinking of your clamp situation and was wondering if a simple toggle bolt would do with the addition of some large washers? They come in many different sizes and lengths and are cheap. Some are even in hard plastics that wouldn't mar the wood. Just a thought...

View attachment 47147

Many thanks also for this idea.....theoretically the are also useful and in principle a similar solution like I have.
Nevertheless I will look next time in the shop to buy some different sizes to give them a try.

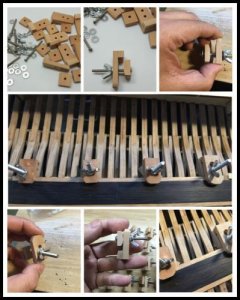
s-l500 (1).jpg s-l500 (2).jpg

s-l500 (3).jpg s-l500.jpg

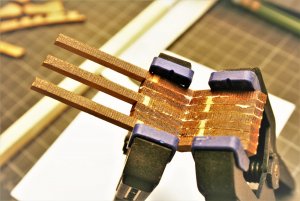
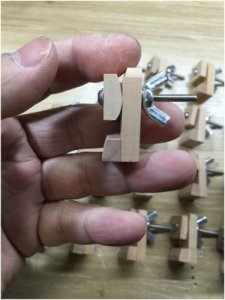
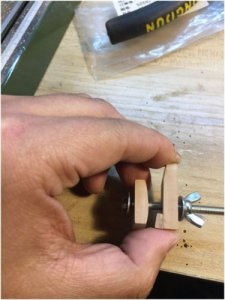
They are chinese production and I got a dozens of them together with my kit of the La Salamandre as a gift from Max.
I like them in principle very much, due to the fact, that the forces towards the frames and planks are transfered via wood against wood.
With steel against wood I am every time afraid, that the harder steel could damage or mark the surface of the timber.
And they are very easy to produce, if there are more necessary, so no need to order from china.
I have to llok only for smaller diameter of screws, so that they fit easily into the gap between the frames.

The negative aspect every time is the time needed for the installation, due to the fact, that you have to close them or tighten them with a screw driver or turning the wing-nut.....this takes some time..... and as you all know time can be valuable when handling with glue.....
 
Looking marvellous Uwek. I found due to the very close rib construction I couldn’t use any of the usual clamping devices other than little ones on the interior planks which I am currently working on. Nails work better where the curves require more pressure and I am using filler the same colour to fill the nail holes. Once I get higher up the hull I will be able to use clamps with long jaws to hold in the planks. I had to use weights to hold in the keelson when glueing. Worked out OK.

I checked your last post with the photos.....I will try also to find these small clamps you used for the internal planking......one way.
Would it be possible to show via a photo the mentioned " clamps with long jaws to hold in the planks". Only a photo of the tool by itself will explain how it is working....Thanks in advance - I think we can make here a small tutorial out of it.......
 
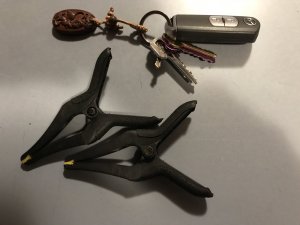
Hi Uwek, I plan on using these clamps. Not big but have long jaws. I can also use normal big clamps that have enough length in the jaws but they may get in the way.View attachment 47260
Thanks for showing......now I understand - I have them also. They are working well at some locations (like you described)
 
Hi Uwe,
just catching up on your fabulous build log. I also have those boxwood building clamps from China and I have replicated the design and made some myself.
I find the thread on the screws can cross thread and strip easily with the wing nuts when you put them under load.
 
Many thanks for all of your kind and motivating words and also for your likes - highly appreciated - Thanks a lot!

In the last day(s) a made some small progress on the upper part of the stern construction on top of the transom, which I want to finish before starting with the internal planking of my La Salamandre kit.

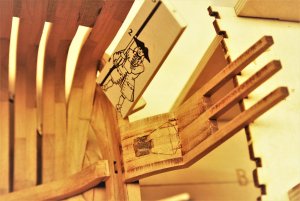
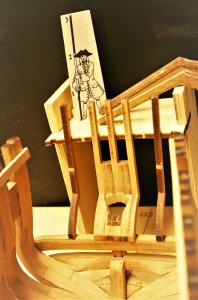
The parts of the counter timbers are laying on top of the sketch manual, so you can see for which section of the ship the elements are planned. The central part where later the hole for the rudder should be (I do not know, if this "hole" has a special english term? Is it "Helm port"?) consist of 7 elements, all with the same thickness. On each side and in the center one long one, the stern timbers and the horn timber. And in between the shorter ones, the counter timbers.
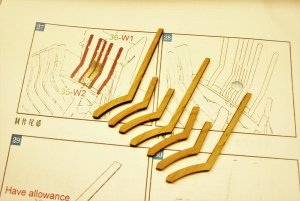
IMG_40661.jpg

Here are the 7 parts glued together
IMG_40671.jpg

Here the elements for the Quarter timbers - It is planned by the kit to glue for each side two of the kit parts together to get the necessary thickness and than afterwards to sand them to get the final appearance (on the photo I did not pair them correctly, so it should be mixed)
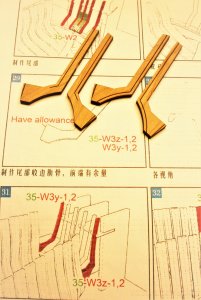
IMG_40691.jpg

The elements after gluing and a first sanding
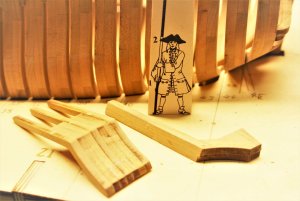
IMG_41271.jpg

First I cut out with a chisel, so that the stern--post is fitting inside the stern-timbers.
Already marked is the area for the Helm Port.
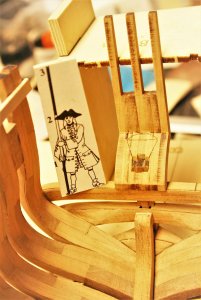
IMG_41311.jpg IMG_41321.jpg
With this sequence I was sure, that the stern-timbers are fitting well......and there was meat, if corrections would be necessary.

And here after cuting out the helm port......visible also with these photos is the part of the jig, which should stabilize the elements during the installation
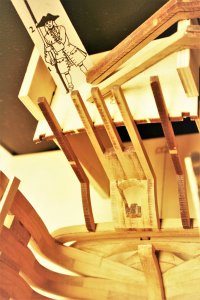
IMG_41351.jpg

IMG_41341.jpg

Next time I will once more use the tripod for the camera, so that the quality of the photos is better....sorry for this (yellow - colour))
 
G'day Uwe
Brilliant again mate. This kit is superb with it's details and your skills are a perfect blend.
Bye the way, I can see some char in the photos. LOL :eek::p
Happymodeling
Greg
 
G'day Uwe
Brilliant again mate. This kit is superb with it's details and your skills are a perfect blend.
Bye the way, I can see some char in the photos. LOL :eek::p
Happymodeling
Greg
Like I wrote „first sanding“...... there is no Place for Char on my ship !
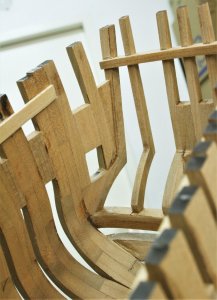
Still nothing of these elements are glued towards the stern...—
 
Many Thanks for your visit of my building log, for all your kind words and likes.......
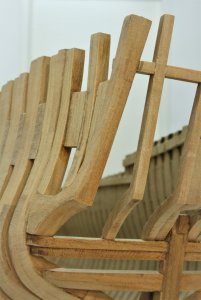
Yesterday evening I was able to fix finaly the elements of the stern structure of the La Salamandre. After the glue is hardened I will be able to put the hull out of the jig and to finaly sand it to the final form, hope to make this today
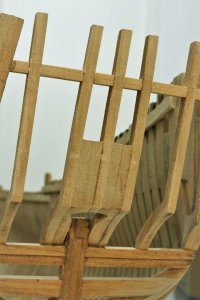
IMG_42191.jpg IMG_42201.jpg

IMG_42211.jpg

IMG_42221.jpg IMG_42241.jpg IMG_42251.jpg

IMG_42231.jpg

Many thanks for your interest ...... to be continued ......
 
You have done a wonderful job removing all that laser char from the frames Uwe.
Thanks Brian.....yes I was able to remove by 99% the char and this inside the limits how the wood should be finaly. I realized during the work, that It is very important to work very exact......

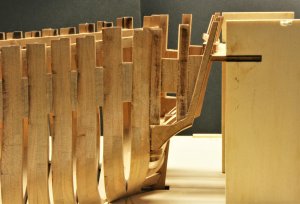
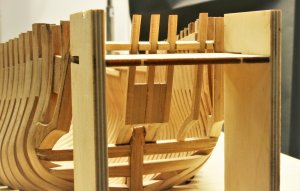
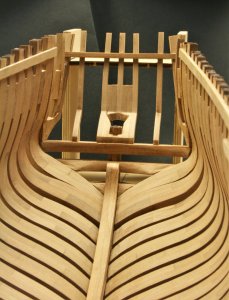
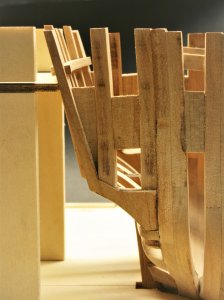
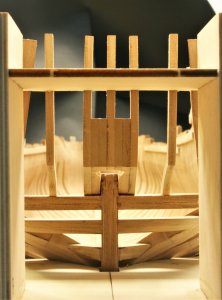
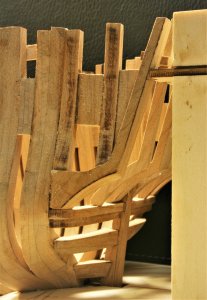
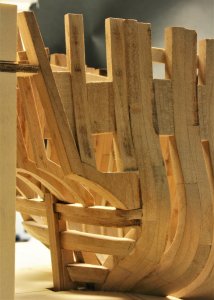
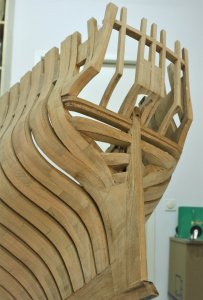
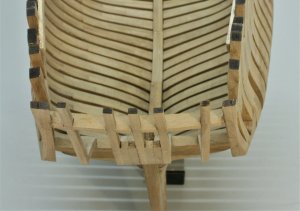
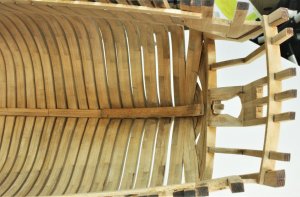
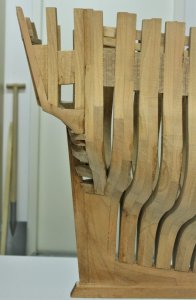
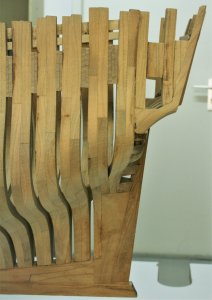
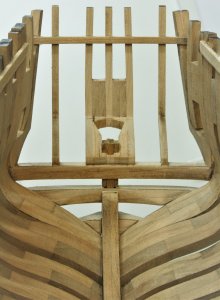
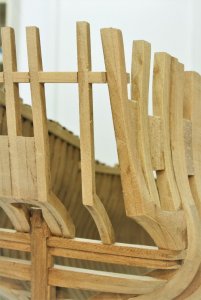
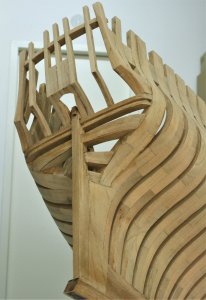
Yesterday evening I sanded down the elements of the stern to the more or less final appearance of the hull.

With this I finalized the section I of the La Salamandre kit from CAF in scale 1:48.
All together it was working 240 hours on the kit......240 hours with 238 hours pure fun.

Fully recommended kit, but you need some experience and you need some additional documentation like the Jean Boudriot drawings from ancre.
And at the end it is realy not a kit as usual, so not only putting parts together. To get the result you want, it is a lot of additional work - a real preliminary step towards scratch building - so also hughly recommended if somebody wants to make the step to scratch.....

As usual more photos as basis for other modelers building this kit.

IMG_42411.jpg

IMG_42401.jpg IMG_42391.jpg

IMG_42441.jpg IMG_42431.jpg

IMG_42371.jpg IMG_42381.jpg

IMG_42451.jpg IMG_42461.jpg IMG_42471.jpg

IMG_42421.jpg

Many thanks for your interest, your comments (much epreciated) and likes - to be continued with Section II - The interiour
 
It looks really good Uwe now it's fully sanded down, I wouldn't have the patience to do that. It seems a pity to cover all that hard work up with planks,

Cheers Andy
 
It looks really good Uwe now it's fully sanded down, I wouldn't have the patience to do that. It seems a pity to cover all that hard work up with planks,

Cheers Andy

Thanks for your kind words.....I am planning not to plank one side of the hull, also I will cut out some „windows“ in the frames, so at three or four locations along the hull. With this, the interior, which is very detailed with this kit like accommodations, foundation of mortars, storages etc. can be visible. Also partly the structure of the hull. Due to the fact I do not know which side of the ship, I had to sand it completely as accurate as possible.
 
G'day Uwe
I have to give a a huge congratulations of completion of this section.
It wasn't only done with ease from your part, but some how you have put grace into this build. Not many modelshipright could do that.
Question though. What part of the build that gave you 2 hours of not fun?
Happymodeling
Greg
 
Great effort on completing stage one and excellent work. The detailed log so far is a valuable reference for others building this ship. This will become the default building manual. One thing I noticed about the wood used is that once sanded it looks good but then discolours slightly in short time. Perhaps oxidisation? Once sealed, lacquered or oiled it will look great though.
 
Back
Top