• LUCZORAMA SHIPWRECK SCAVENGER HUNT GIVEAWAY. 4 Weeks of Fun • 1 Legendary Prize ((OcCre’s Fram Ship)) • Global Crew Welcome!
    **VIEW THREAD HERE**

Artesania Latina Anatomy of Lord Nelson’s HMS Victory 1805

Hi Alan
Well done on the planking Mate. As you say the videos have the planks coming down to points which to my novice eye looked quite hard to do whilst attached to the hull. In one instance you see the guy starting to whittle away with a blade the next it is tapered to a perfectly shaped point. I guess for me following way behind other modellers on this build I get the chance to see how work is completed from another perspective as against the video's. So for me not having the skill set dealing with planking I get a better idea how to tackle such tasks. Keep up the great work, your skills are certainly helping me. :)Thumbsup
Regards
Tony
 
Instructions video #22 part 1 completed

Lots of work again in this video so I’ve split it into two parts
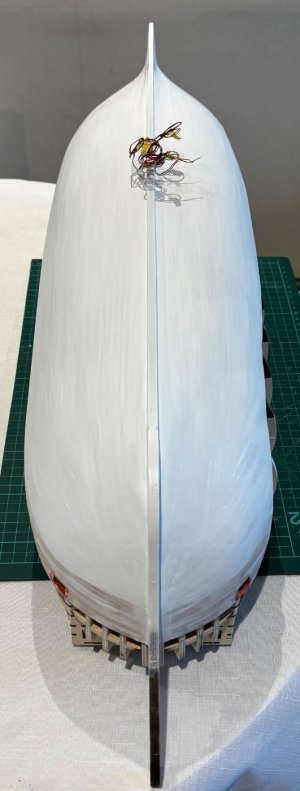
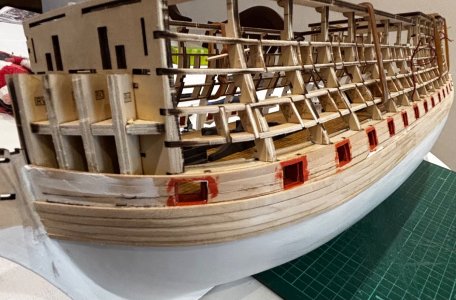
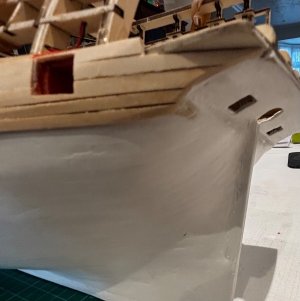
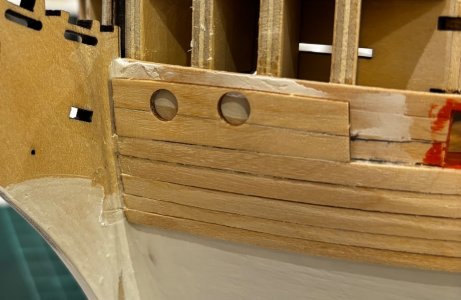
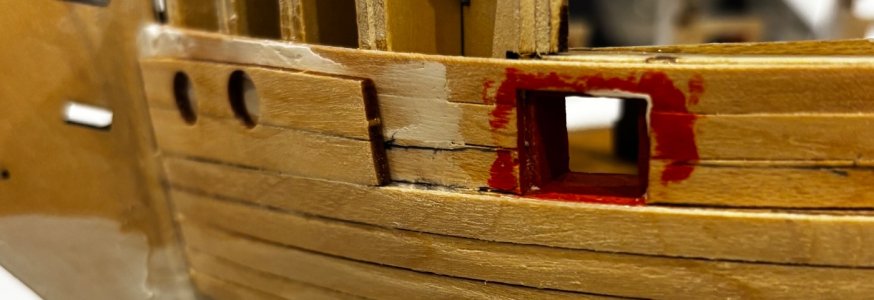
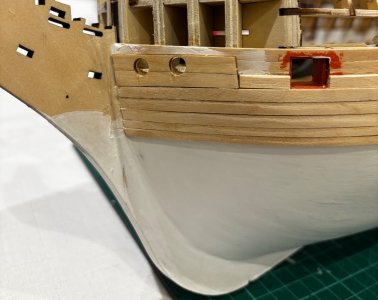
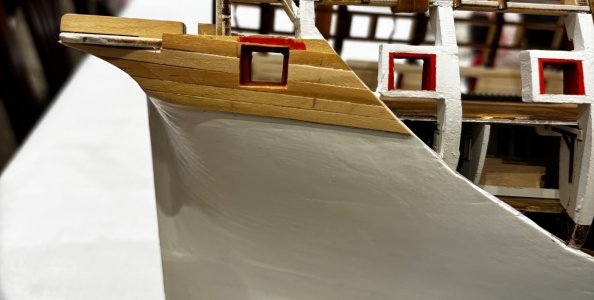
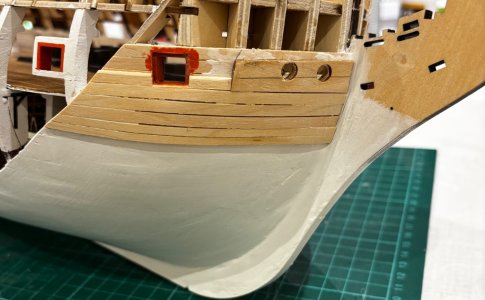
In this part I fill, sand and primer the hull, build the lower wales and paint the lower hull
News newsflash ! I’ve decided to use the new colour scheme. A few reasons, firstly, so it will be different from my other Victory model, I also noted that the masts have their own colour so some interesting contrasts to look at.
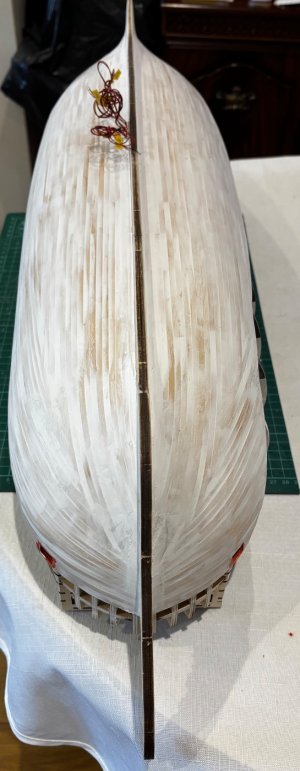
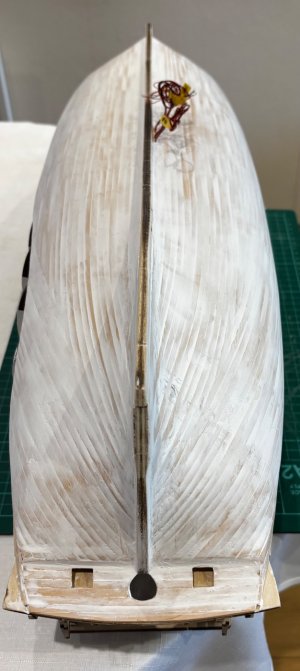
Also, right or wrong it will be an interesting talking point.
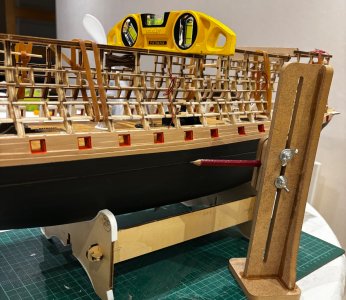
Finally in this part I mark the water line for the copper plating. Alan's tip of the day :), do this on a kitchen worktop or other known level surface and use a spirit level to make sure the ship is level in the stand.
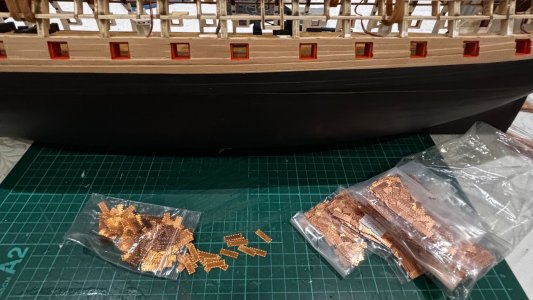
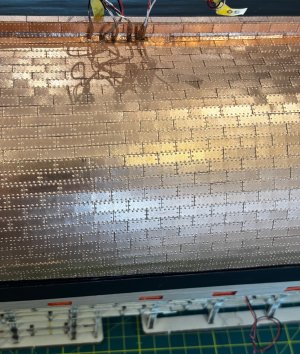
I was never sure if I was going to use the supplied copper tape, and using it on the magazine decided it for me. I found it very flimsy and not that easy to work with (perhaps that’s just me), but I felt it would be difficult to get a nice looking finish over the complete hull, so I’ve opted to use 15x5mm copper plates from Mantua, another good reason to use plates is that they will ride over any small imperfections in the hull.
I used them on my last Victory and liked the look of them. The copper plates on Victory were 4ft x 14in (1220x356mm) , so at 1/84 scale, if I’ve got my calculations right, these plates are just oversized at 1260x420mm
Apparently there were about 3000 plates on the Victory, so allowing for them to be oversized and not a full hull on one side, I’ve got 1500 to get me started. I know this will take a lot longer than the copper tape but I’m happy to spend the time on it
So look out for part 2 in a month or so
:rolleyes::)


IMG_2643.jpeg

IMG_2647.jpeg

IMG_2650.jpeg

IMG_2651.jpeg

IMG_2652.jpeg

IMG_2653.jpeg

IMG_2656.jpeg

IMG_2657.jpeg

IMG_2658.jpeg

IMG_2659.jpeg

IMG_2660.jpeg

IMG_2663.jpeg

IMG_2664.jpeg

IMG_2667.jpeg

IMG_2668.jpeg

IMG_2669.jpeg

IMG_2670.jpeg

IMG_2672.jpeg

IMG_2675.jpeg

IMG_2677.jpeg

IMG_2678.jpeg

IMG_2679.jpeg
 
Last edited:
Instructions video #22 part 1 completed

Lots of work again in this video so I’ve split it into two parts
In this part I fill, sand and primer the hull, build the lower wales and paint the lower hull
News newsflash ! I’ve decided to use the new colour scheme. A few reasons, firstly, so it will be different from my other Victory model, I also noted that the masts have there own colour so some interesting contrasts to look at.
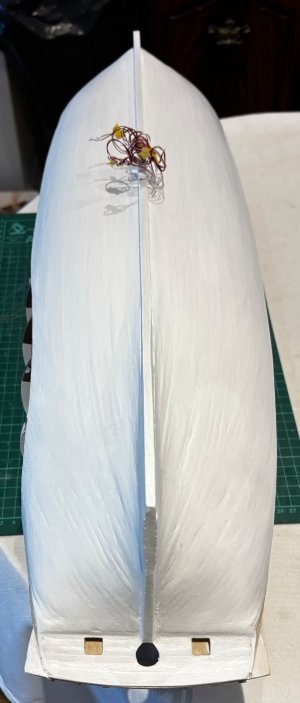
Also, right or wrong it will be an interesting talking point.
Finally in this part I mark the water line for the copper plating. Alan's tip of the day :), do this on a kitchen worktop or other known level surface and use a spirit level to make sure the ship is level in the stand.
I was never sure if I was going to use the supplied copper tape, and using it on the magazine decided it for me. I found it very flimsy and not that easy to work with (perhaps that’s just me), but I felt it would be difficult to get a nice looking finish over the complete hull, so I’ve opted to use 15x5mm copper plates from Mantua, another good reason to use plates is that they will ride over any small imperfections in the hull.
I used them on my last Victory and liked the look of them. The copper plates on Victory were 4ft x 14in (1220x356mm) , so at 1/84 scale, if I’ve got my calculations right, these plates are just oversized at 1260x420mm
Apparently there were about 3000 plates on the Victory, so allowing for them to be oversized and not a full hull on one side, I’ve got 1500 to get me started. I know this will take a lot longer than the copper tape but I’m happy to spend the time on it
So look out for part 2 in a month or so
:rolleyes::)


View attachment 522532

View attachment 522533

View attachment 522534

View attachment 522535

View attachment 522536

View attachment 522537

View attachment 522538

View attachment 522539

View attachment 522540

View attachment 522541

View attachment 522542

View attachment 522543

View attachment 522544

View attachment 522545

View attachment 522546

View attachment 522547

View attachment 522548

View attachment 522549

View attachment 522550

View attachment 522551

View attachment 522552

View attachment 522553
Hi Alan
Awesome work! Interesting to see how the copper plates work out. As you say, your model paint it as you like. I've had a week of my Victory, I may start to paint the first lanterns today. Keep up the great work always a pleasure to see your progress.
Regards
Tony
 
Hi Alan
Awesome work! Interesting to see how the copper plates work out. As you say, your model paint it as you like. I've had a week of my Victory, I may start to paint the first lanterns today. Keep up the great work always a pleasure to see your progress.
Regards
Tony
Hi Tony
Thanks for the comments, thought you’d been quiet for a while, but I find it’s good to have a break from it every now and then
Looking forward to more updates from you
Regards
Alan
 
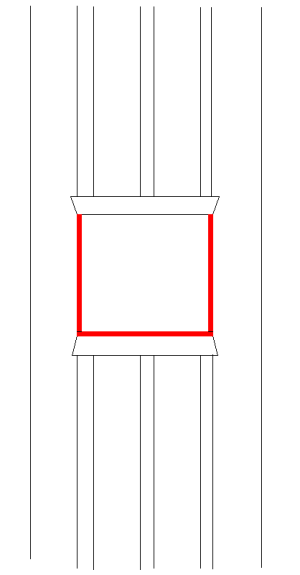
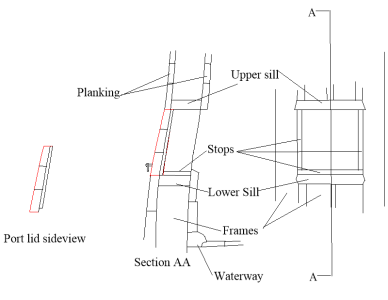
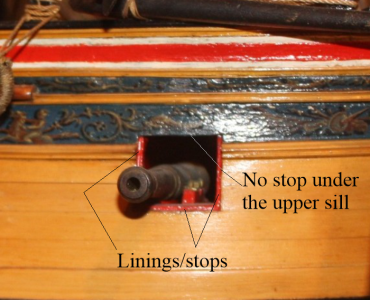
Love that your planking sheer is different than the deck sheer, well done. Also, the gun port linings are recessed as was actually done. For the next adventure, keep in mind that there were no linings on the underside of the upper port sill, only on the sides and top of the bottom sill. They were about 1.5" thick (1/2mm at 1:84 scale)
Allan
1748617375833.png
 
Hi Alan,
very nice work. It looks really nice. But why did you use the copper plates? May I ask where you ordered them?

Cheers
Günther Ship-1
 
Love that your planking sheer is different than the deck sheer, well done. Also, the gun port linings are recessed as was actually done. For the next adventure, keep in mind that there were no linings on the underside of the upper port sill, only on the sides and top of the bottom sill. They were about 1.5" thick (1/2mm at 1:84 scale)
Allan
View attachment 522627
Hi Alan,

I'm afraid I don't quite understand your statement. "that there were no fairings on the underside of the upper port sill, only on the sides and top of the lower sill. They were about 1.5 inches thick (1/2 mm in 1:84 scale).

What do you mean by that?
Do you have a better picture and was this the case on all battleships?

Best regards
Günther Ship-1
 
The linings are in red in the picture above. Note that there are only the three with none on the underside of the upper sill.
Hope this is more clear.
Allan
1749041053475.png
Contemporary model at Preble Hall
1749041220571.png
 
Last edited:

Hi Alan,
very nice work. It looks really nice. But why did you use the copper plates? May I ask where you ordered them?

Cheers
Günther Ship-1
Hi Gunter
Basically, when I used the supplied copper tape on the magazine I felt it was very thin and hard to work with an felt I wouldn’t be able to get a nice finish on the hull
I’d used the copper plates before and just thought I could achieve a better finish with those. They are from Mantua (part #32900)
Regards
Alan
 
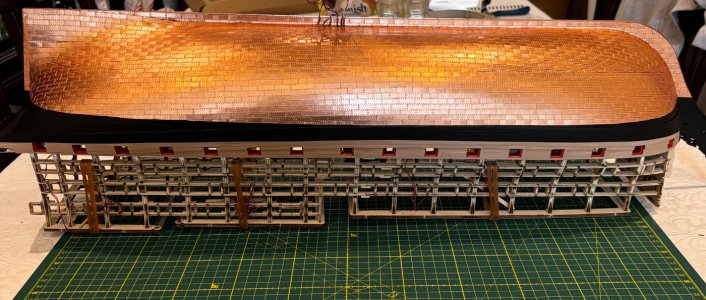
Instructions video #22 part 1 .1 completed

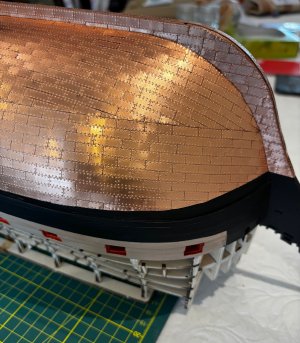
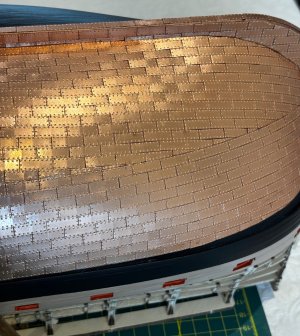
Well, it’s been a while so decided to just update my progress on the copper plating. This spell of nice weather here in the UK has delayed my progress somewhat as I’ve been enjoying the garden and trips out, so my work has been reduced to a couple of hours in the evening just a few days a week and I have only just completed the port side.
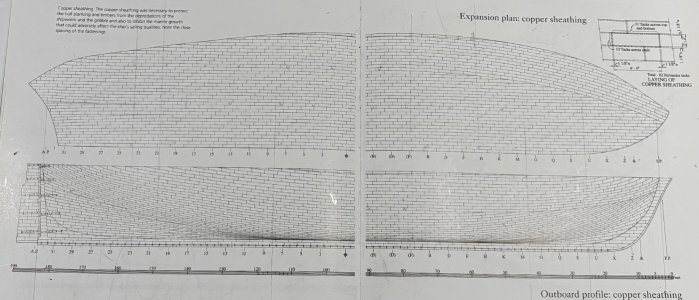
I used the copper plating profile plan in the Alan McGowan book (HMS Victory Her Construction, Career and Restoration) as a rough guide
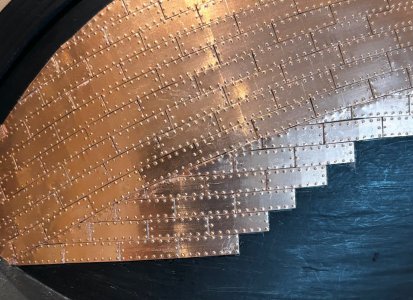
As stated in the previous post I have used 15x5mm plates from Mantua
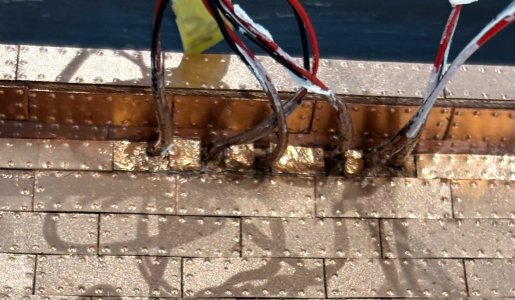
I also used some small pieces of the supplied self adhesive copper strip just around the cables to prevent possible damage
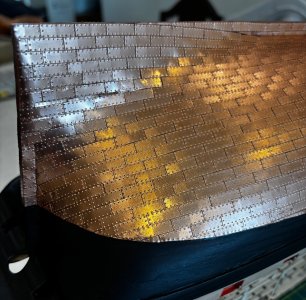
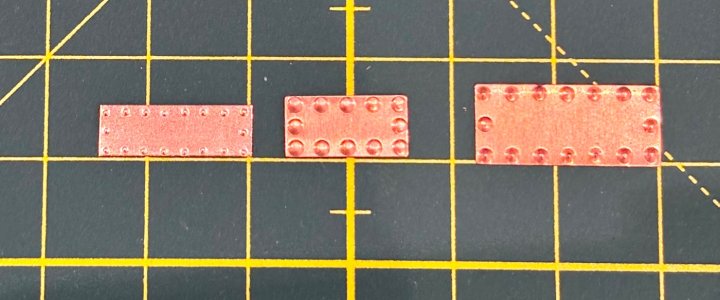
Where I had to cut the plates (which was many times) I re-marked the rivet detail with a drill punch pushed from the rear of the plate.
This time , I’ve decided to lacquer the plates to prevent oxidation and platina forming
The only issue I encountered was that the keel was thicker than the 5mm plates. I did order some 6mm and 7mm wide plates online to try to get over that but when they arrived, the rivet detail was really large compared the Mantua plates, so to avoid cutting many thin strips, I chamfered the edges and blended in with copper paint, and to be fair, although I’m not completely happy with it, I don’t think it looks too bad

IMG_2681.jpeg

IMG_2718.jpeg

IMG_2743.jpeg

IMG_2750.jpeg

IMG_2781.jpeg

IMG_2783.jpeg

IMG_2782.jpeg

IMG_2784.jpeg

IMG_2786.jpeg

IMG_2787.jpeg

IMG_2785.jpeg
 
Last edited:
Hey Alan,

that looks really excellent. really very nice. :DThumbsup

How do you feel about the build and the quality of the videos. Can you do anything with it or would you say you would prefer to have a paper build guide?

Impeccable workmanship so far. Great!

Best regards

Günther Ship-1
 
Thanks Gunther for your kind comments.
As stated previously, I’m quite happy with the video instructions and would probably have liked some more detailed cross sections and plan drawings to accompany them, but so far it hasn’t been a problem. Due to my previous Victory build about 20 odd years ago I have plenty of reference material plans and books to refer to if needed. So I think for anyone with reasonable model building skills it shouldn’t be a problem, after all, this kit isn’t aimed at the novice builder and although this is only my 2nd wooden ship kit , and the first in over 20 years, I feel confident in my ability . As a modeller and diy enthusiast of over 50 years and my profession as an electrician in the construction trade I have built up a strong skill set and rarely feel daunted by any task that confronts me Thumbsup
Regards
Alan
 
Hello Alan,

Thank you very much for your reply. I already figured that you have more than enough experience in the trade. That's why it looks so good.

Best regards

Günther Ship-1
 
Hi Alan,

Just found your log - such a great (amazing) kit from AL -- I did watch all 80+ videos as well. Did not know that no written instructions were included Hmmm!.
You are doing an excellent job working with this very complicated kit. VERY impressive indeed. Will follow along.

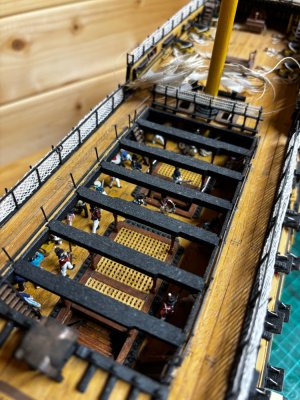
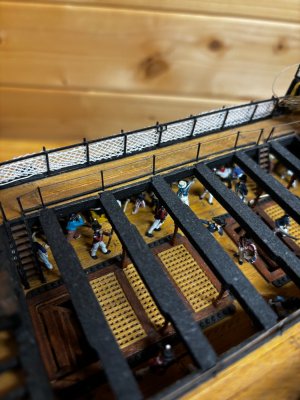
Are you also going to include the figures?

Regards,
 
Thank you oldflyer for your comments
Yes I did know it was only video instructions before purchasing the kit
As you may have seen from my other posts, that’s not an issue for me. I like the fact you can pause rewind etc and zoom in on parts you need to
The only other wooden ship build I’ve done was the HMS Victory Del Prado part work, over 20 years ago and to be honest the instructions with that were poor, along with the quality and accuracy of the kit, so after I’d built the basic framework, I gave up following their instructions and did my own research and sourced better quality materials, made many alterations to achieve a more accurate model
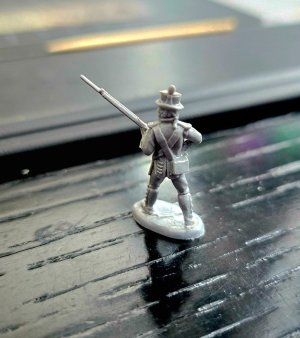
Yes I have got a few sets of the figures
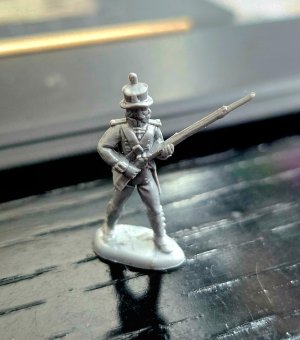
Disappointed they didn’t include any marines but I will probably try to downscale some 3D print files I have of them 1/72 I think
I used 15mm pewter figures for the Del Prado 1/100 kit
Regards
Alan

IMG_1764.jpeg

IMG_1763.jpeg
 
Hey Alan,

I agree with you,

it's damn hard to get Marines from that era. I was lucky enough to buy a couple of 1/72 scale Marines from Hätt years ago. They look really nice in detail.

Best regards
Günther Ship-1

Here the Photos of the Marines

MarinesFront (1).jpgMarinesFront (2).jpg
 
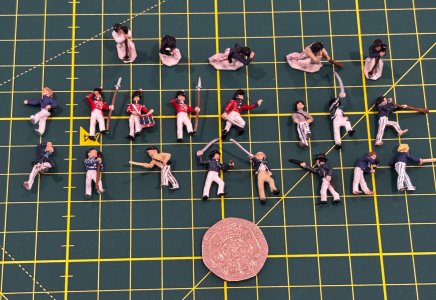
These are some of the 15mm pewter figures I got for my 1/100 scale Victory I think they came from a company called Minifigs
It’s a shame they are too small for this 1/84 Victory Not sure I will achieve the same level of detail even with the larger figures now that my eyes and hands don’t work as well as they used to 20 years ago :D

IMG_2812.jpeg
 
Hey Alan,

the marine figures look really nice. In 1/100 scale they are really tiny!!!
You have painted them very nicely and in this scale. Really very nice.

Best regards
Günther Ship-1
 
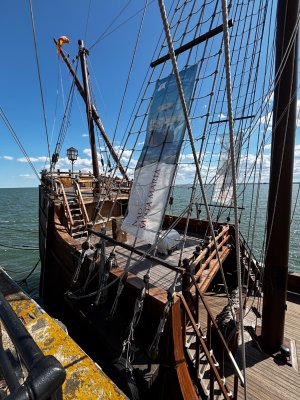
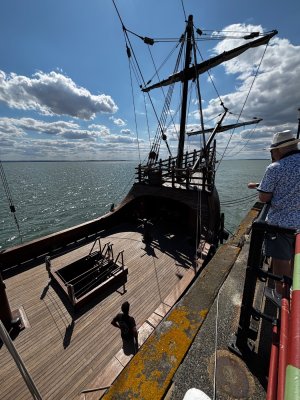
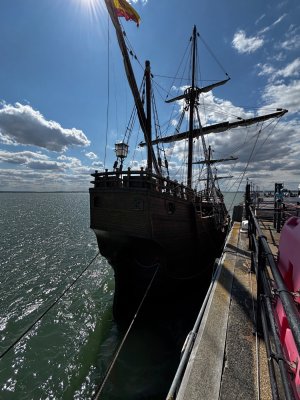
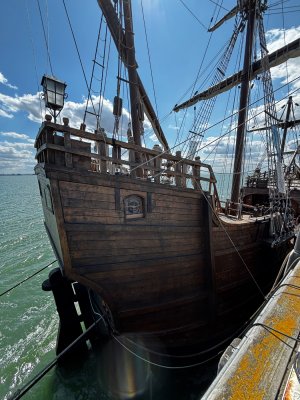
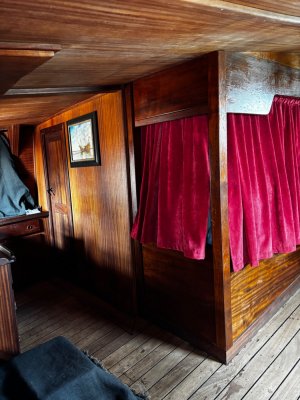
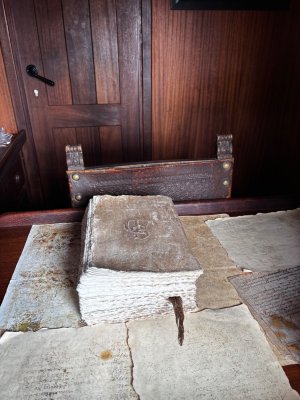
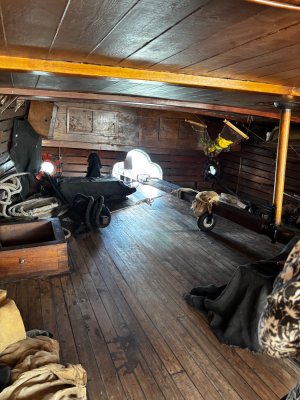
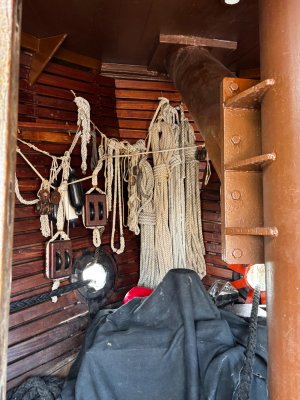
A little deviation from the usual thread
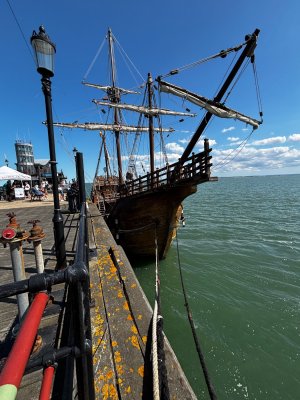
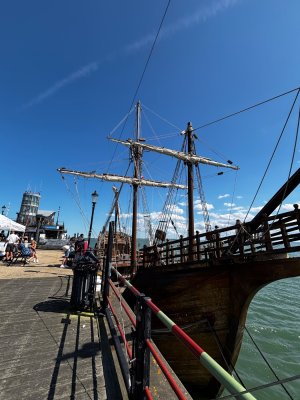
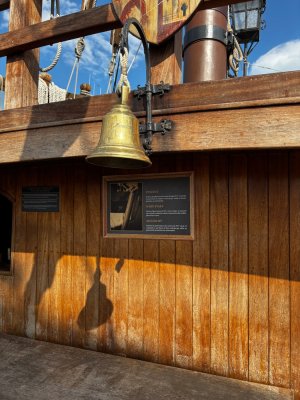
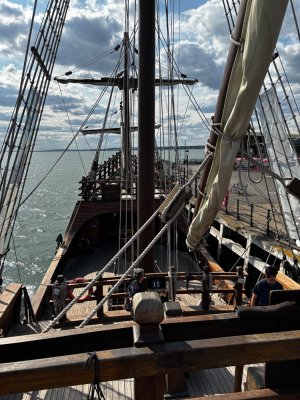
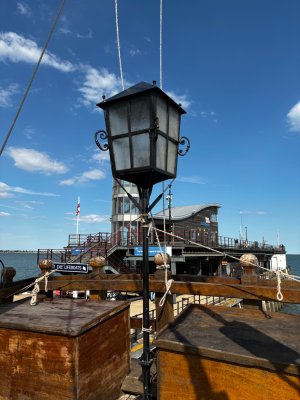
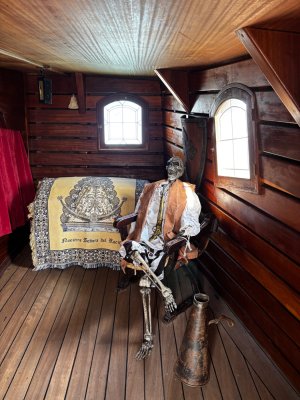
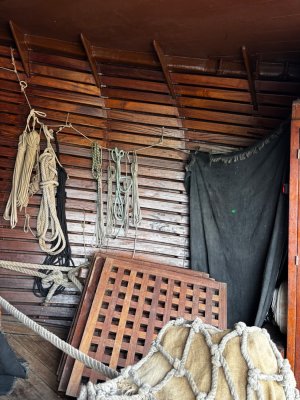
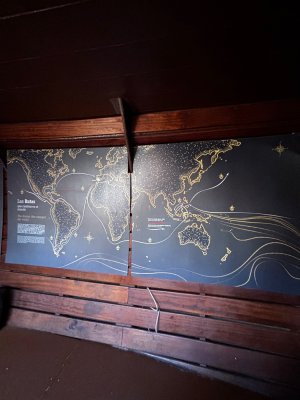
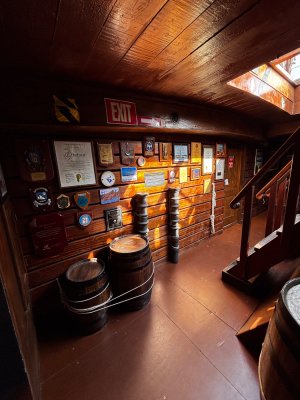
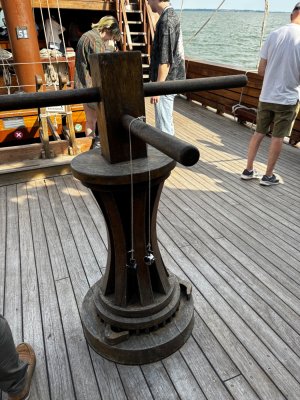
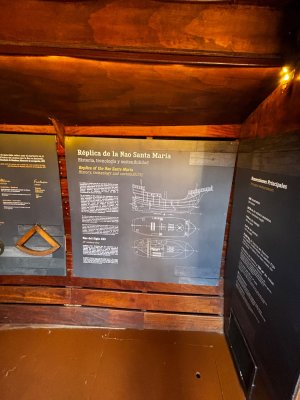
Had a trip to our local seaside town (Southend) today to visit the Santa Maria replica ship mored at the end of the pier
Very interesting visit and I was amazed at how small it is/was considering the voyage it undertook

IMG_2821.jpeg

IMG_2822.jpeg

IMG_2823.jpeg

IMG_2824.jpeg

IMG_2825.jpeg

IMG_2826.jpeg

IMG_2829.jpeg

IMG_2830.jpeg

IMG_2832.jpeg

IMG_2834.jpeg

IMG_2835.jpeg

IMG_2836.jpeg

IMG_2837.jpeg

IMG_2838.jpeg

IMG_2839.jpeg

IMG_2840.jpeg

IMG_2846.jpeg

IMG_2848.jpeg

IMG_2845.jpeg
 
Back
Top