Artesania Latina Anatomy of Lord Nelson’s HMS Victory 1805

Hi Alan
Well done on the planking Mate. As you say the videos have the planks coming down to points which to my novice eye looked quite hard to do whilst attached to the hull. In one instance you see the guy starting to whittle away with a blade the next it is tapered to a perfectly shaped point. I guess for me following way behind other modellers on this build I get the chance to see how work is completed from another perspective as against the video's. So for me not having the skill set dealing with planking I get a better idea how to tackle such tasks. Keep up the great work, your skills are certainly helping me. :)Thumbsup
Regards
Tony
 
Instructions video #22 part 1 completed

Lots of work again in this video so I’ve split it into two parts
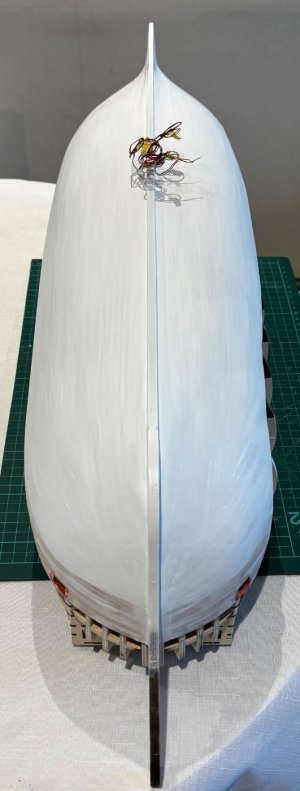
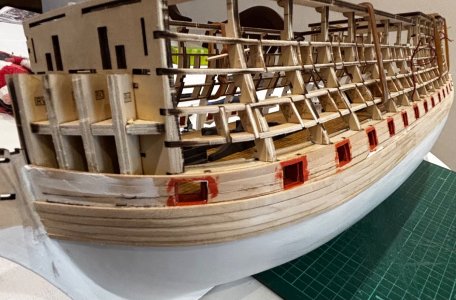
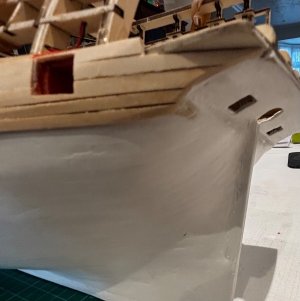
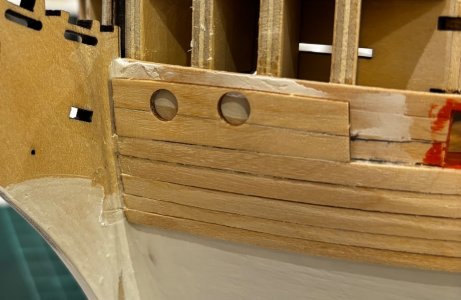
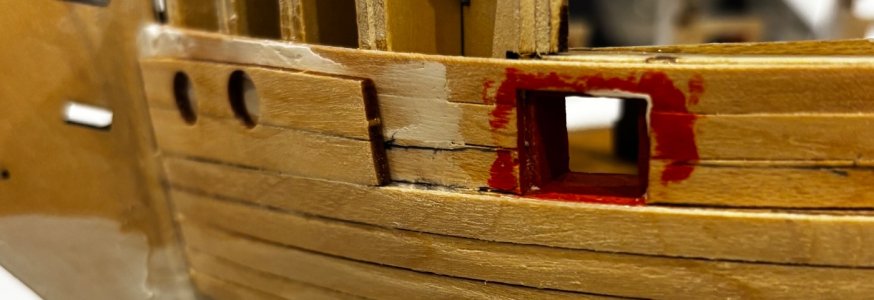
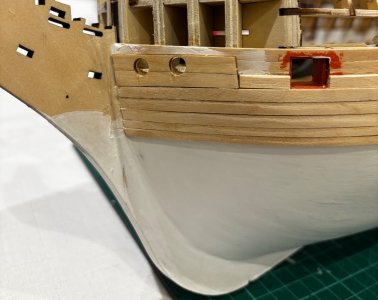
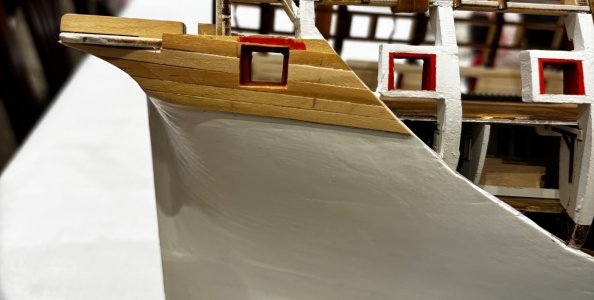
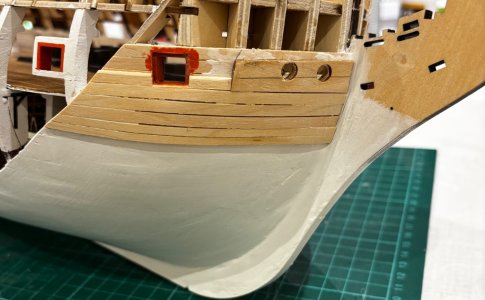
In this part I fill, sand and primer the hull, build the lower wales and paint the lower hull
News newsflash ! I’ve decided to use the new colour scheme. A few reasons, firstly, so it will be different from my other Victory model, I also noted that the masts have their own colour so some interesting contrasts to look at.
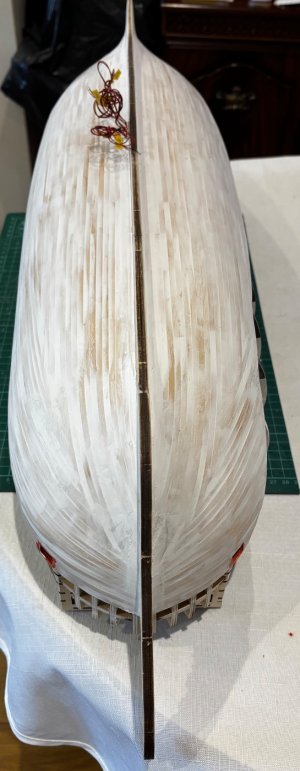
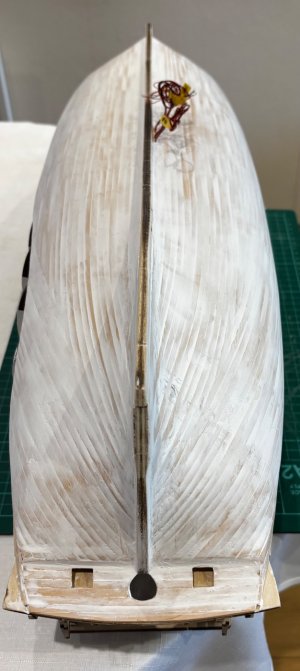
Also, right or wrong it will be an interesting talking point.
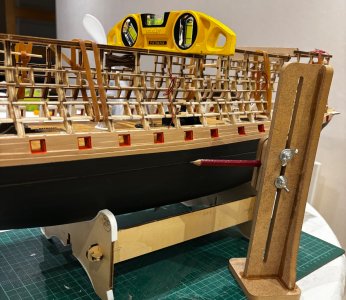
Finally in this part I mark the water line for the copper plating. Alan's tip of the day :), do this on a kitchen worktop or other known level surface and use a spirit level to make sure the ship is level in the stand.
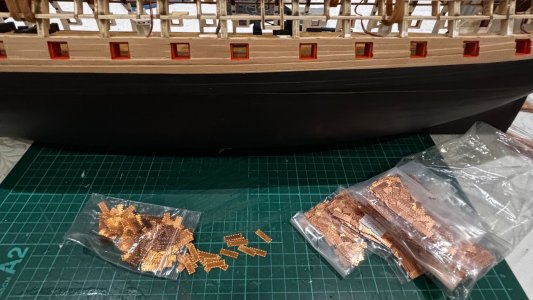
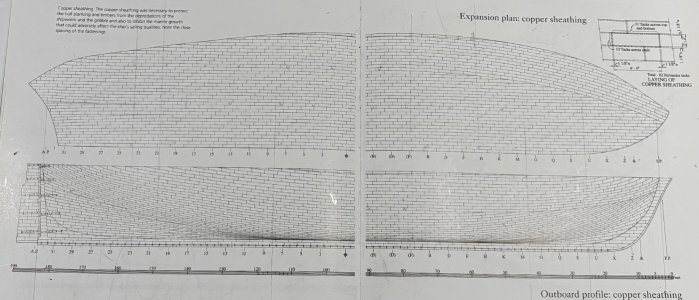
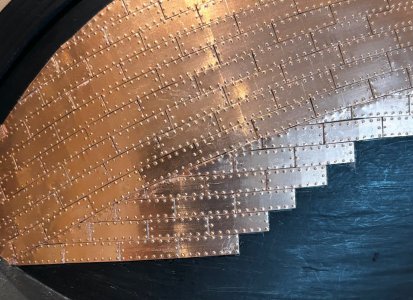
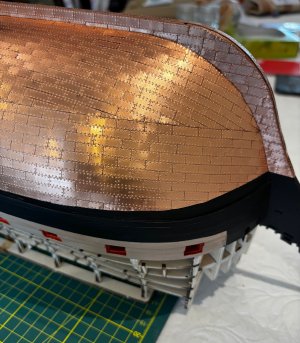
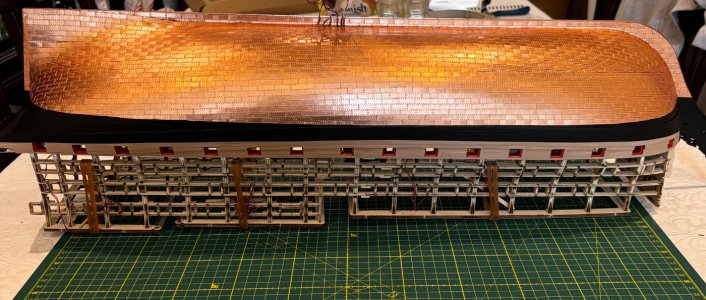
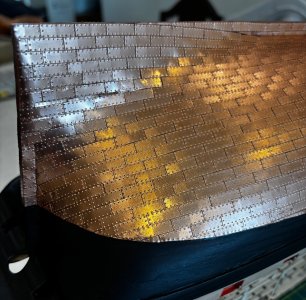
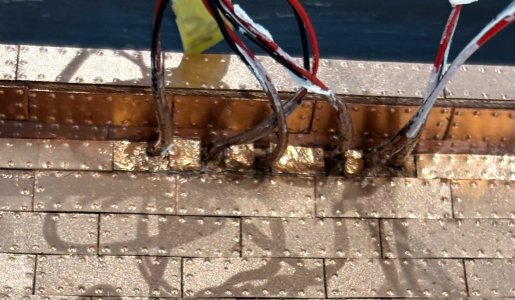
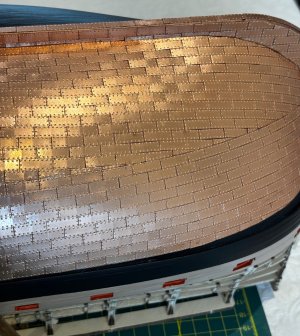
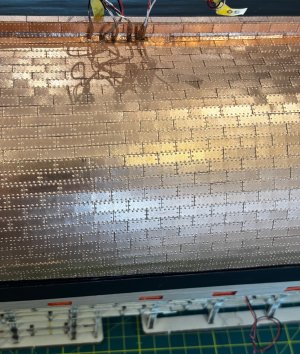
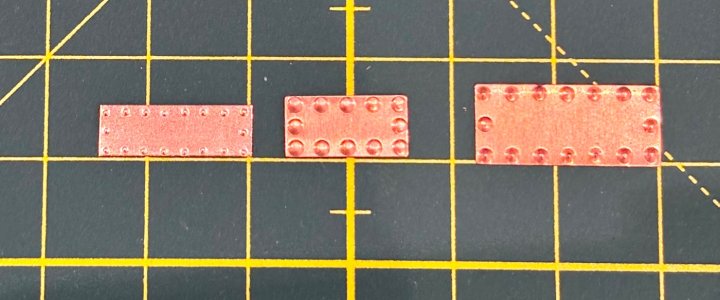
I was never sure if I was going to use the supplied copper tape, and using it on the magazine decided it for me. I found it very flimsy and not that easy to work with (perhaps that’s just me), but I felt it would be difficult to get a nice looking finish over the complete hull, so I’ve opted to use 15x5mm copper plates from Mantua, another good reason to use plates is that they will ride over any small imperfections in the hull.
I used them on my last Victory and liked the look of them. The copper plates on Victory were 4ft x 14in (1220x356mm) , so at 1/84 scale, if I’ve got my calculations right, these plates are just oversized at 1260x420mm
Apparently there were about 3000 plates on the Victory, so allowing for them to be oversized and not a full hull on one side, I’ve got 1500 to get me started. I know this will take a lot longer than the copper tape but I’m happy to spend the time on it
So look out for part 2 in a month or so
:rolleyes::)


IMG_2643.jpeg

IMG_2647.jpeg

IMG_2650.jpeg

IMG_2651.jpeg

IMG_2652.jpeg

IMG_2653.jpeg

IMG_2656.jpeg

IMG_2657.jpeg

IMG_2658.jpeg

IMG_2659.jpeg

IMG_2660.jpeg

IMG_2663.jpeg

IMG_2664.jpeg

IMG_2667.jpeg

IMG_2668.jpeg

IMG_2669.jpeg

IMG_2670.jpeg

IMG_2672.jpeg

IMG_2675.jpeg

IMG_2677.jpeg

IMG_2678.jpeg

IMG_2679.jpeg
 
Last edited:
Instructions video #22 part 1 completed

Lots of work again in this video so I’ve split it into two parts
In this part I fill, sand and primer the hull, build the lower wales and paint the lower hull
News newsflash ! I’ve decided to use the new colour scheme. A few reasons, firstly, so it will be different from my other Victory model, I also noted that the masts have there own colour so some interesting contrasts to look at.
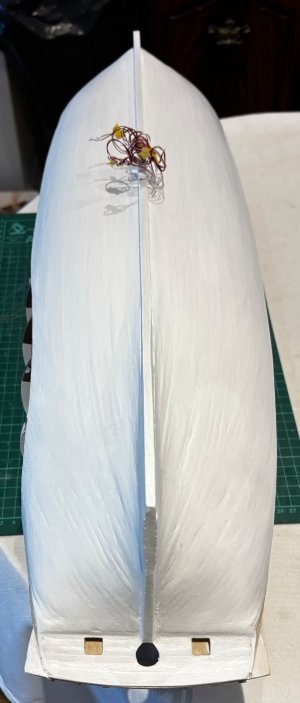
Also, right or wrong it will be an interesting talking point.
Finally in this part I mark the water line for the copper plating. Alan's tip of the day :), do this on a kitchen worktop or other known level surface and use a spirit level to make sure the ship is level in the stand.
I was never sure if I was going to use the supplied copper tape, and using it on the magazine decided it for me. I found it very flimsy and not that easy to work with (perhaps that’s just me), but I felt it would be difficult to get a nice looking finish over the complete hull, so I’ve opted to use 15x5mm copper plates from Mantua, another good reason to use plates is that they will ride over any small imperfections in the hull.
I used them on my last Victory and liked the look of them. The copper plates on Victory were 4ft x 14in (1220x356mm) , so at 1/84 scale, if I’ve got my calculations right, these plates are just oversized at 1260x420mm
Apparently there were about 3000 plates on the Victory, so allowing for them to be oversized and not a full hull on one side, I’ve got 1500 to get me started. I know this will take a lot longer than the copper tape but I’m happy to spend the time on it
So look out for part 2 in a month or so
:rolleyes::)


View attachment 522532

View attachment 522533

View attachment 522534

View attachment 522535

View attachment 522536

View attachment 522537

View attachment 522538

View attachment 522539

View attachment 522540

View attachment 522541

View attachment 522542

View attachment 522543

View attachment 522544

View attachment 522545

View attachment 522546

View attachment 522547

View attachment 522548

View attachment 522549

View attachment 522550

View attachment 522551

View attachment 522552

View attachment 522553
Hi Alan
Awesome work! Interesting to see how the copper plates work out. As you say, your model paint it as you like. I've had a week of my Victory, I may start to paint the first lanterns today. Keep up the great work always a pleasure to see your progress.
Regards
Tony
 
Hi Alan
Awesome work! Interesting to see how the copper plates work out. As you say, your model paint it as you like. I've had a week of my Victory, I may start to paint the first lanterns today. Keep up the great work always a pleasure to see your progress.
Regards
Tony
Hi Tony
Thanks for the comments, thought you’d been quiet for a while, but I find it’s good to have a break from it every now and then
Looking forward to more updates from you
Regards
Alan
 
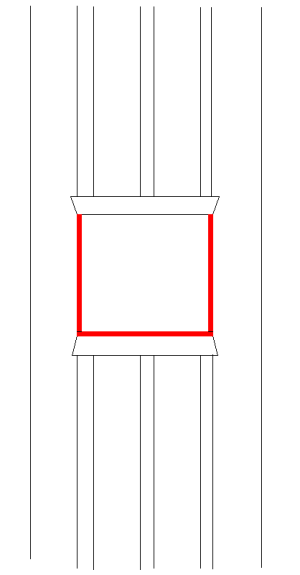
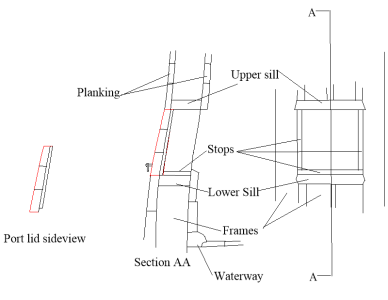
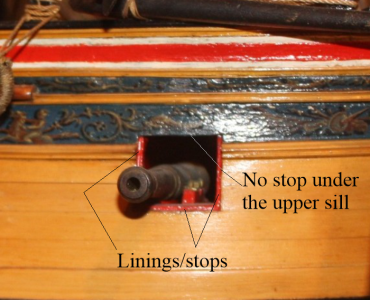
Love that your planking sheer is different than the deck sheer, well done. Also, the gun port linings are recessed as was actually done. For the next adventure, keep in mind that there were no linings on the underside of the upper port sill, only on the sides and top of the bottom sill. They were about 1.5" thick (1/2mm at 1:84 scale)
Allan
1748617375833.png
 
Back
Top