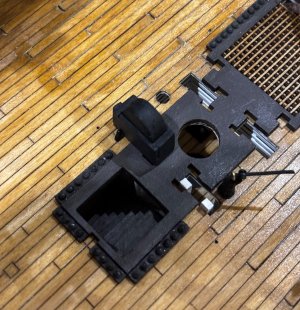
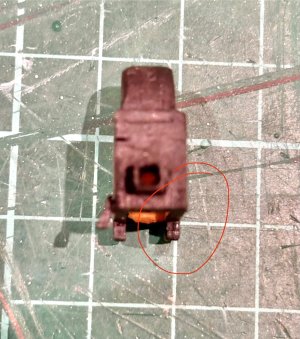
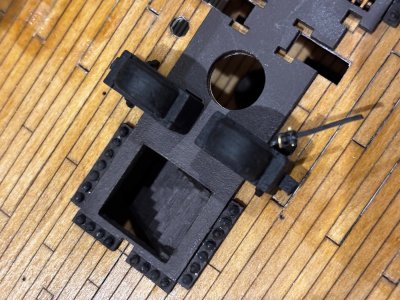
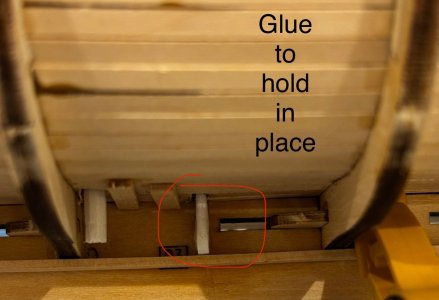
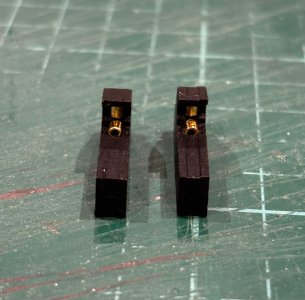
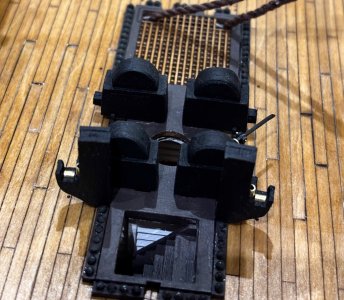
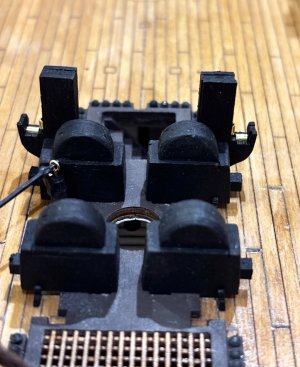
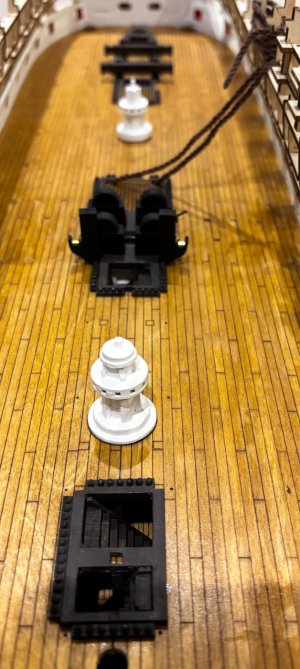
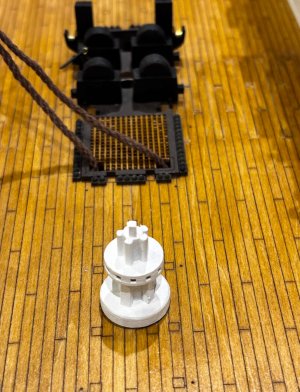
what did you use to finish the deck? I really like the way it looks ! 
-

Win a Free Custom Engraved Brass Coin!!!
As a way to introduce our brass coins to the community, we will raffle off a free coin during the month of August. Follow link ABOVE for instructions for entering.
-

PRE-ORDER SHIPS IN SCALE TODAY!
The beloved Ships in Scale Magazine is back and charting a new course for 2026!
Discover new skills, new techniques, and new inspirations in every issue.
NOTE THAT OUR FIRST ISSUE WILL BE JAN/FEB 2026
You are using an out of date browser. It may not display this or other websites correctly.
You should upgrade or use an alternative browser.
You should upgrade or use an alternative browser.
Artesania Latina Anatomy of Lord Nelson’s HMS Victory 1805
- Thread starter AlanOES
- Start date
- Watchers 39
-
- Tags
- artesania latina victory
- Joined
- Dec 5, 2022
- Messages
- 1,119
- Points
- 443

Good morning Alan,
I'm back from my skiing vacation and am just marveling at your pictures. Great work that you are showing us. I really like it. Respect. I wish you a speedy recovery for your hand problems and hope the pain doesn't restrict you too much. I have a question about the gun windows: don't they have to follow the planks? Then they wouldn't be square. I really hope you understand what I mean?
But I'm really looking forward to continuing to marvel at your progress. P.S. Your tool is awesome. I'll have to remember that.
Best regards
Günter
I'm back from my skiing vacation and am just marveling at your pictures. Great work that you are showing us. I really like it. Respect. I wish you a speedy recovery for your hand problems and hope the pain doesn't restrict you too much. I have a question about the gun windows: don't they have to follow the planks? Then they wouldn't be square. I really hope you understand what I mean?
But I'm really looking forward to continuing to marvel at your progress. P.S. Your tool is awesome. I'll have to remember that.

Best regards
Günter
- Joined
- Nov 30, 2024
- Messages
- 156
- Points
- 103

Hi GunterGood morning Alan,
I'm back from my skiing vacation and am just marveling at your pictures. Great work that you are showing us. I really like it. Respect. I wish you a speedy recovery for your hand problems and hope the pain doesn't restrict you too much. I have a question about the gun windows: don't they have to follow the planks? Then they wouldn't be square. I really hope you understand what I mean?
But I'm really looking forward to continuing to marvel at your progress. P.S. Your tool is awesome. I'll have to remember that.
Best regards
Günter
Thanks for your comments
To answer your questions
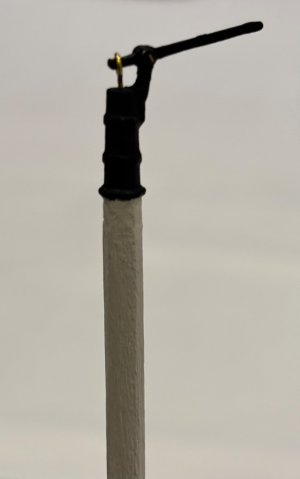
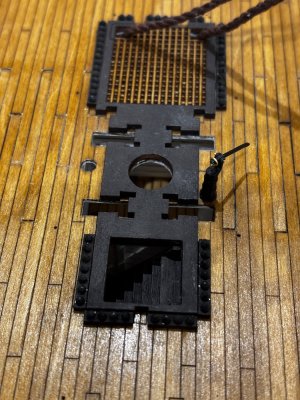
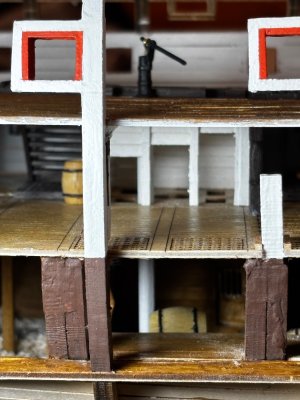
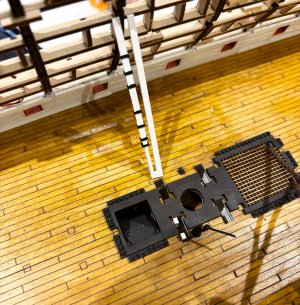
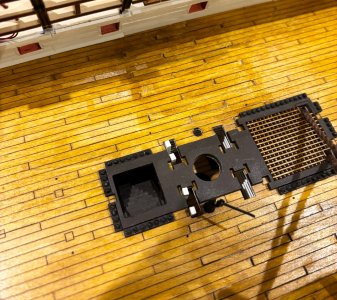
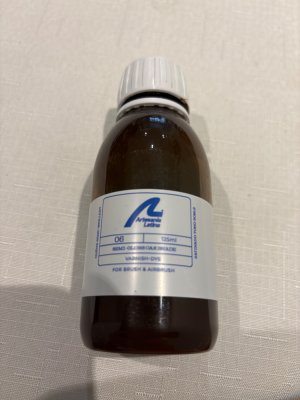
1. I stain the decks with 2 coats of semi gloss oak stain from AL, I ordered a couple of bottles with the kit
2. Yes the planking on the inside should come level with the gun ports, I will do that on the next deck by fitting the linings first, but that’s not how they show you to do it on the video
ps. My hand pain will not get better without surgery to remove the trapezium bones
I don’t mind the surgery but it’s a very long recovery period where I would not be able to use my hands. At the moment it’s manageable so I’ll just live with it
Regards
Alan
- Joined
- Dec 5, 2022
- Messages
- 1,119
- Points
- 443

Good morning Alan,
Thank you very much for your answers. They really help me. I can of course make good use of your tips for the Athena. Your construction progress looks great and I'm always very curious to see how you show your next steps. Please continue by all means.
Best regards
Günter
Thank you very much for your answers. They really help me. I can of course make good use of your tips for the Athena. Your construction progress looks great and I'm always very curious to see how you show your next steps. Please continue by all means.
Best regards
Günter

- Joined
- Dec 5, 2022
- Messages
- 1,119
- Points
- 443

Hey Alan,
really very nicely realized. I'm always happy when I see pictures of the Victory from you. I also bought the Victory. I think it's the best representation of an HMS Victory you can get at the moment. I'll build her when I've finished the Athena.
Best regards
Günter
really very nicely realized. I'm always happy when I see pictures of the Victory from you. I also bought the Victory. I think it's the best representation of an HMS Victory you can get at the moment. I'll build her when I've finished the Athena.
Best regards
Günter

- Joined
- Nov 30, 2024
- Messages
- 156
- Points
- 103

Thank you again for your nice comment GunterHey Alan,
really very nicely realized. I'm always happy when I see pictures of the Victory from you. I also bought the Victory. I think it's the best representation of an HMS Victory you can get at the moment. I'll build her when I've finished the Athena.
Best regards
Günter
Regards
Alan
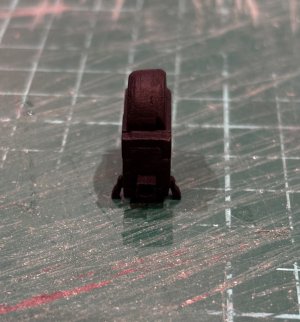
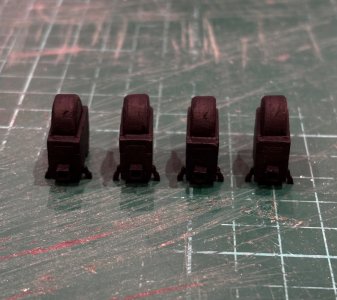
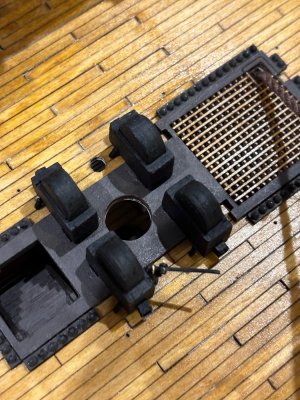
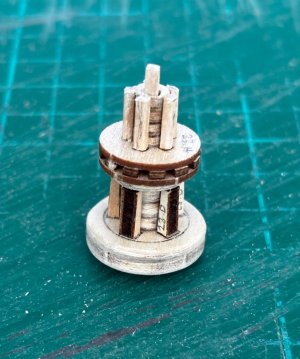
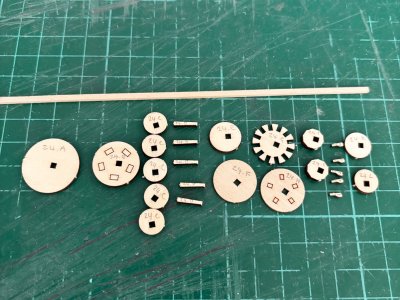
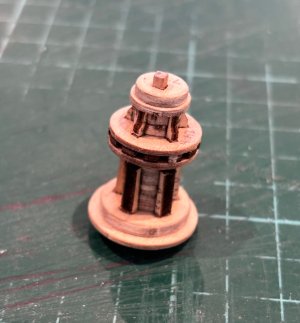
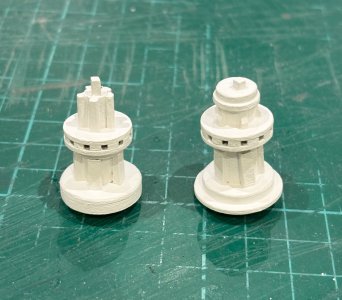
Great work Alan. Were the balls a pain to glue in place? Wow those capstans are a small model themselves. Keep up the fantastic work.
Regards
Tony
Regards
Tony
- Joined
- Nov 30, 2024
- Messages
- 156
- Points
- 103

Hi TonyGreat work Alan. Were the balls a pain to glue in place? Wow those capstans are a small model themselves. Keep up the fantastic work.
Regards
Tony
Thanks for your comments
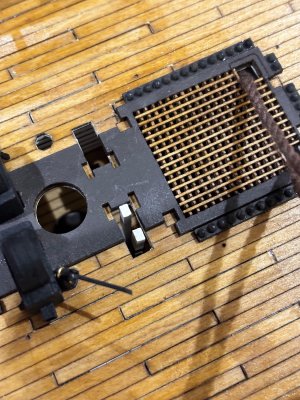
The balls were easier than I thought , I smeared a bit of CA glue on some grease proof paper, picked each ball up with angled tweezers, dipped in the glue then placed on the rack. I only dropped 2 or 3 in the glue which made placing them harder and left a glue stain on top when it dried so I just touched that in with matt black paint
They supply even smaller balls to represent the 12 pounder shots so ask me again after I’ve done those
That’s what I love about this kit, that level of detail
Regards
Alan
- Joined
- Nov 30, 2024
- Messages
- 156
- Points
- 103

Hi GunterGood morning Alan,
beautiful pictures and great work you have done. Was it very time-consuming and how long did you spend on it? What white paint did you use?
Best regards
Günter
Thanks again for your comments
Not sure if you meant how much time I spent on construction of the capstans (a few hours) of how much time so far on the kit ( I started on the 1st December last year I don’t really keep a track on how many hours I spend on it and I don’t work on it every day)
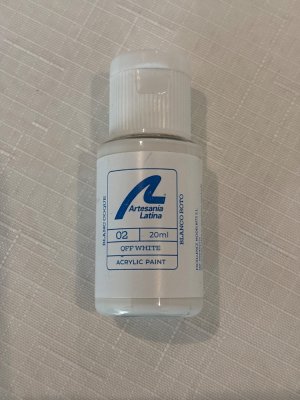
The paint is from AL 06 off white, it came in the free paint set I got with the kit, but it seems to be similar to any matt white paint
Regards
Alan
Hi Alan/Gunter
Although I have bought the AL Number 6 Oak Stain and the brass and cast parts blackening chemicals I will probably just use the paints I have on hand which will be Tamiya Acrylics which I will airbrush. They should be OK. If the white needs to be a slightly off white hue then I will take a bottle and add in a drop or two of light grey. The same with the black which i think is called off black. As for the reds, blues and the terracotta colour I will mix them myself with the help of Mrs J as I am colourblind. Not bad for someone who worked in the prepress side of the printing trade for 46 years.
BTW I am hoping to start my Victory on Monday.
Regards Tony
Although I have bought the AL Number 6 Oak Stain and the brass and cast parts blackening chemicals I will probably just use the paints I have on hand which will be Tamiya Acrylics which I will airbrush. They should be OK. If the white needs to be a slightly off white hue then I will take a bottle and add in a drop or two of light grey. The same with the black which i think is called off black. As for the reds, blues and the terracotta colour I will mix them myself with the help of Mrs J as I am colourblind. Not bad for someone who worked in the prepress side of the printing trade for 46 years.

BTW I am hoping to start my Victory on Monday.
Regards Tony
- Joined
- Nov 30, 2024
- Messages
- 156
- Points
- 103

Hi TonyHi Alan/Gunter
Although I have bought the AL Number 6 Oak Stain and the brass and cast parts blackening chemicals I will probably just use the paints I have on hand which will be Tamiya Acrylics which I will airbrush. They should be OK. If the white needs to be a slightly off white hue then I will take a bottle and add in a drop or two of light grey. The same with the black which i think is called off black. As for the reds, blues and the terracotta colour I will mix them myself with the help of Mrs J as I am colourblind. Not bad for someone who worked in the prepress side of the printing trade for 46 years.
BTW I am hoping to start my Victory on Monday.
Regards Tony
Although it’s called off white and black, I can’t see any difference from other matt white or black paint I have. I actually spayed the internal planks with Tamiya flat white (before installing of course) and painted the bulkheads with 06 off white and could see no discernible difference.
Regards
Alan
- Joined
- Nov 30, 2024
- Messages
- 156
- Points
- 103

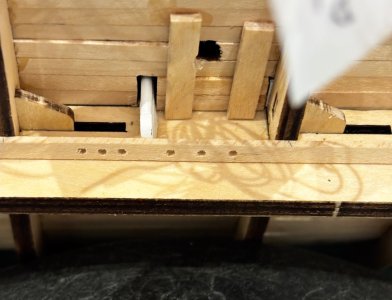
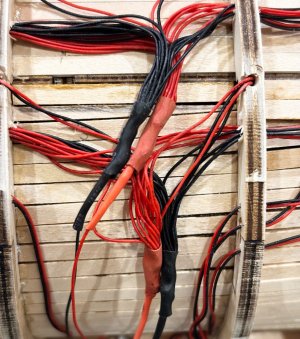
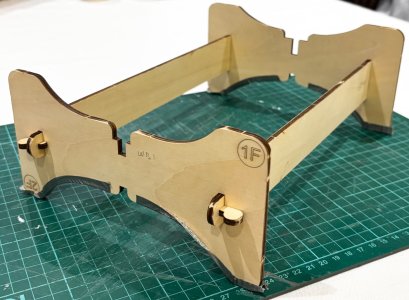
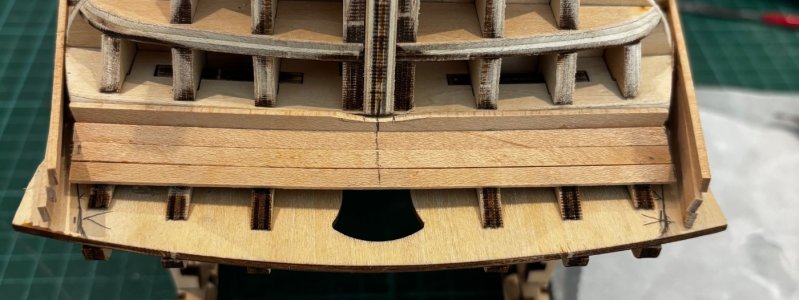
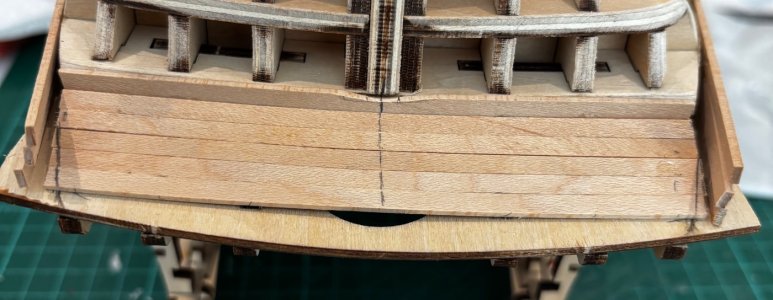
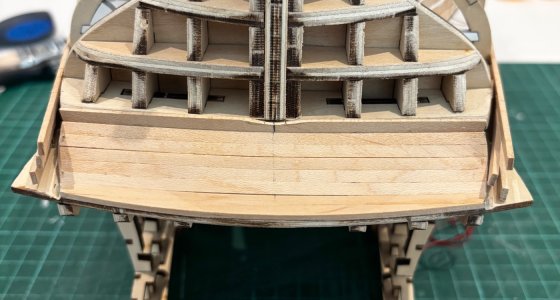
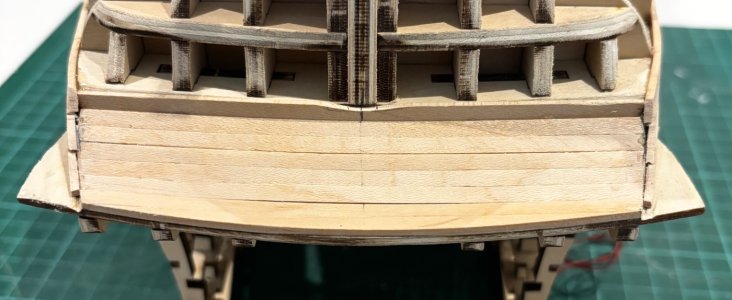
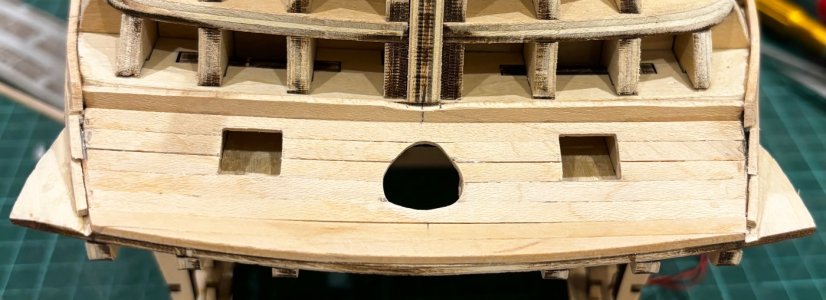
Instructions Video #21 part 1
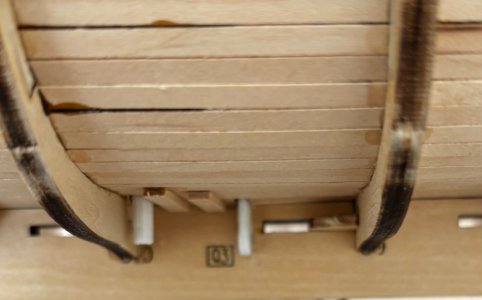
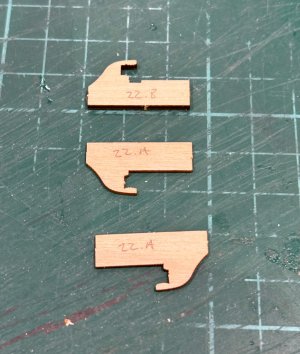
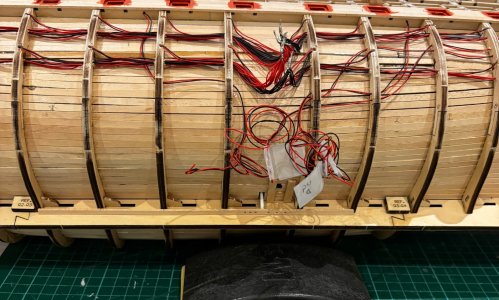
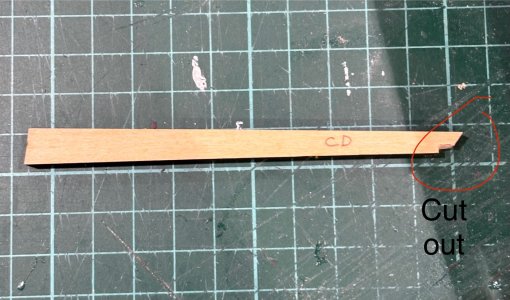
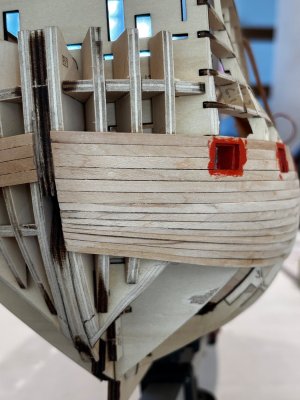
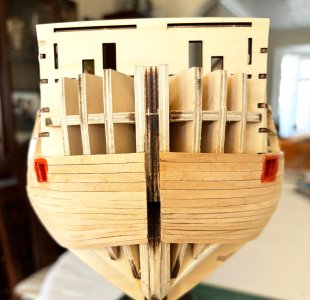
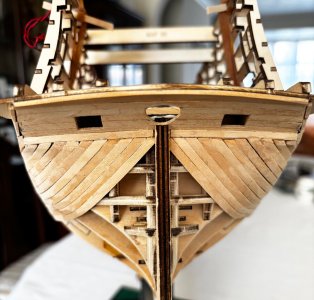
I haven’t done anything on the build over the weekend due to football and family events, so as vid 21 is another long one I thought I’d post this as a separate part. Here I do some electrical work and the planking to the underside of the stern. In the instruction video they don’t give much guidance as to shaping the plank edges so I used the stern gun port template as a guide, and even if I say so myself I think my effort looks a lot neater and tidier that that of the instruction video
I will be starting on the hull planking tomorrow
Regards
Alan


OK Alan thanks for the heads up. One less job to deal with then!
Regards
Tony
Regards
Tony
Hi Alan
Well done with the planking of the stern! Tidy job with the wiring too
Regards
Tony
Well done with the planking of the stern! Tidy job with the wiring too
Regards
Tony
- Joined
- Nov 30, 2024
- Messages
- 156
- Points
- 103

Instructions video #21 completed
(At last)
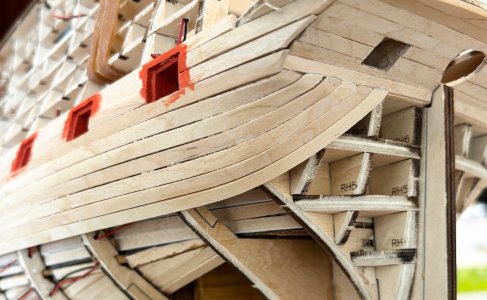
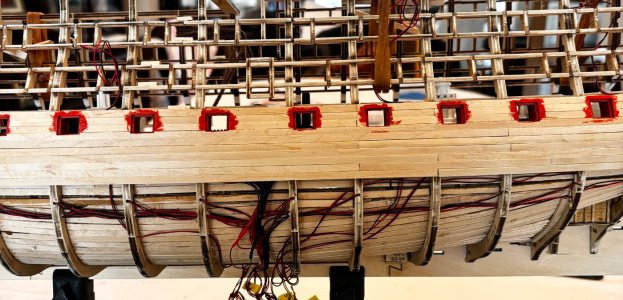
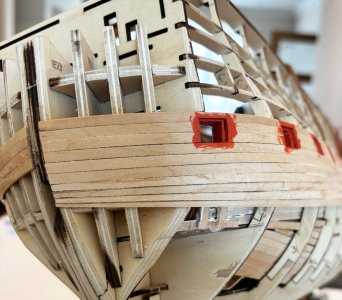
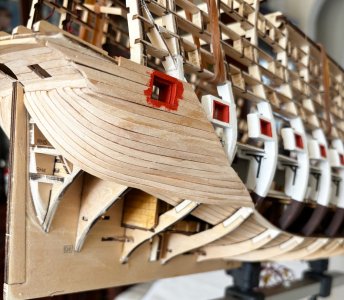
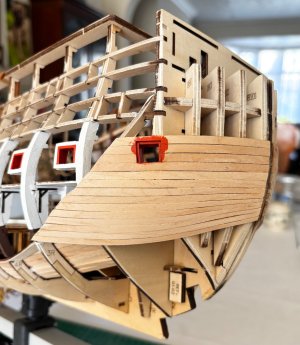
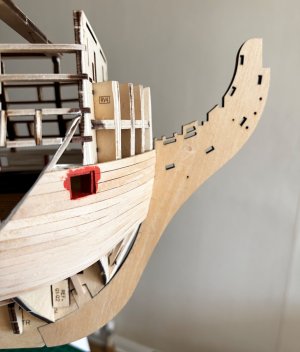
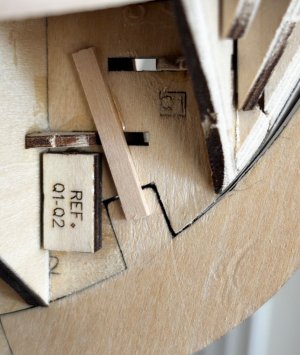
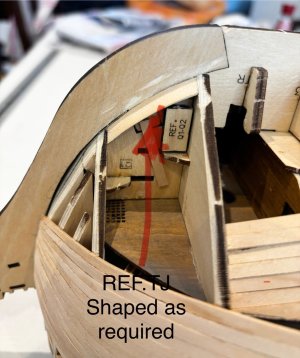
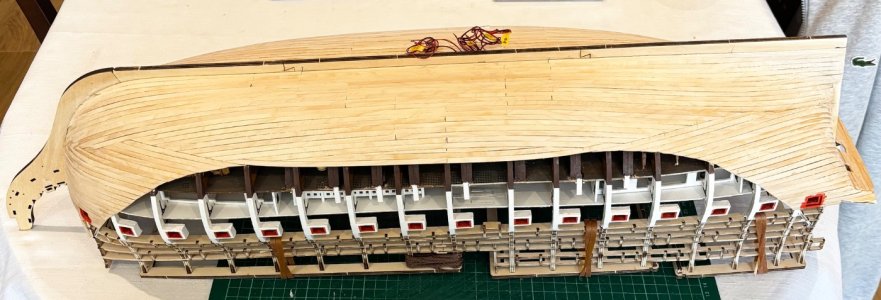
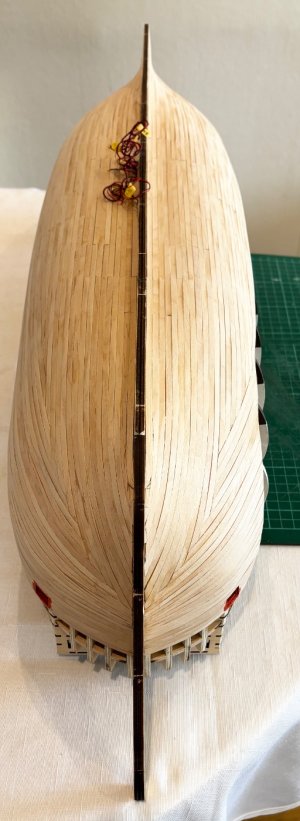
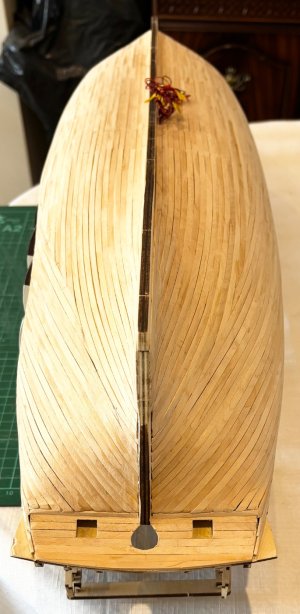
Finally completed planking the lower hull.
Before all the purists start jumping up and down, I know this isn’t the prototypical way to plank a hull but I don’t think the way shown in the instruction video is either , so I decided to do my own thing
My thought process here is that all this planking will not be visible as it’s covered by copper plating and lower wales, so my aim was to cover the hull as quickly and efficiently as possible to achieve a smooth finish which hopefully will come in the next stage (video 22) of filling and sanding


