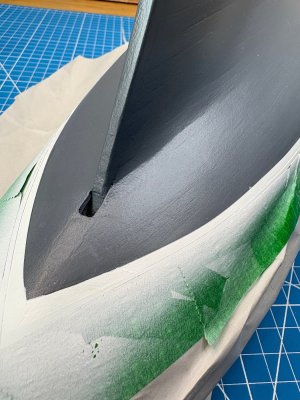
You might want to try pin striping or graph arts chart tape. It will take the curves and I think looks nice.
Rob
Rob

 |
The beloved Ships in Scale Magazine is back and charting a new course for 2026! Discover new skills, new techniques, and new inspirations in every issue. NOTE THAT OUR NEXT ISSUE WILL BE July/August 2026 |
|
 |
As a way to introduce our brass coins to the community, we will raffle off a free coin during the month of August. Follow link ABOVE for instructions for entering. |
|

Thanks, Rob…I’m determined to make paint work but I’m keeping that idea in the background!You might want to try pin striping or graph arts chart tape. It will take the curves and I think looks nice.
Rob


Hi Bill. Have in mind that with the side view the white waterline must look everywhere the same width. That means you need to widen it over the sloping stern towards the end:I do like it but worry it might disappear visually at the stern.
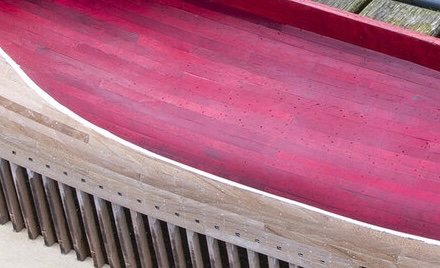
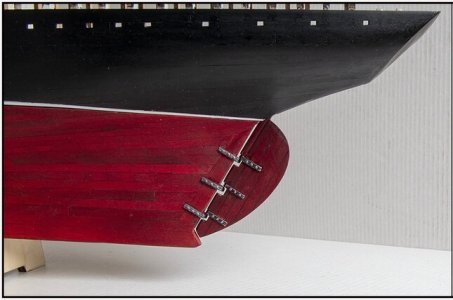
Peter, this is valuable information - thank you! I had not read about this practice before but it does make sense and is the best of both worlds - keeping the stripe slim along the sides while widening it a bit at the stern for visual consistency. I got busy today and didn't have a chance to begin spraying so I'm glad I didn't. I'll now adjust my masking. Thanks again.Hi Bill. Have in mind that with the side view the white waterline must look everywhere the same width. That means you need to widen it over the sloping stern towards the end:
Then horizontal it’s visual the same width:
(The view is a bit tilted, taken slightly from behind)
Towards the bow, it also has to flare out slightly because the hull slopes slightly there as well. But that is only a fraction.
Regards, Peter


John, many thanks..coming from you and your great work, I look forward to your inputs!Bill,
OK will need to go back and spend some serious time with your log -- looking forward to this
Cheers,
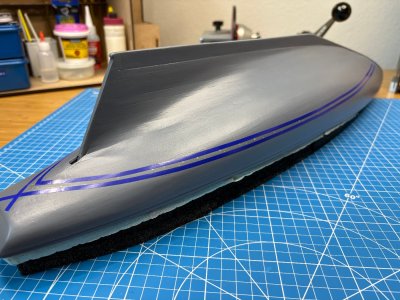
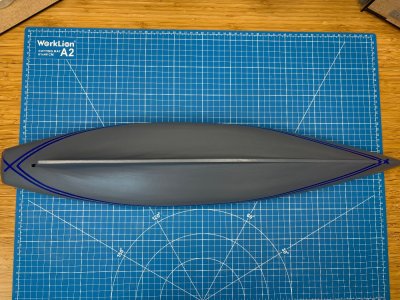

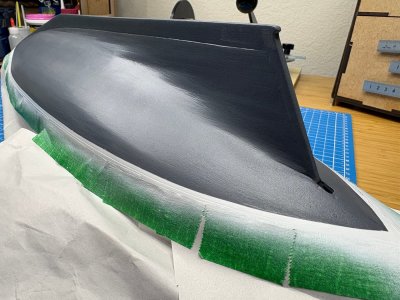
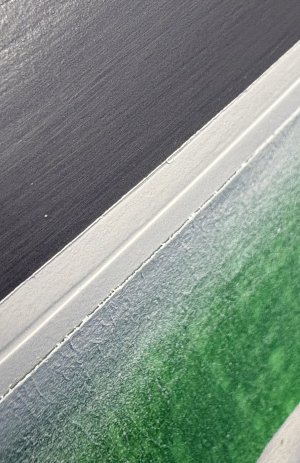
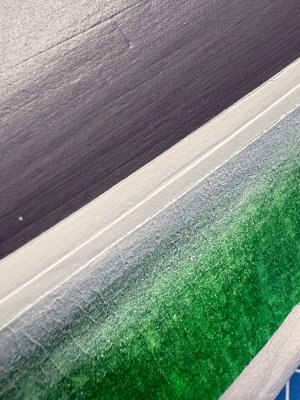
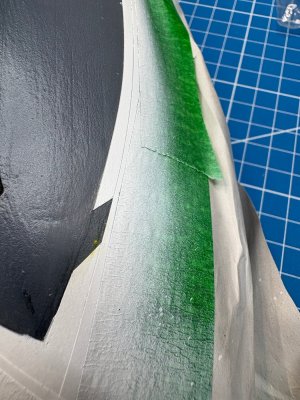
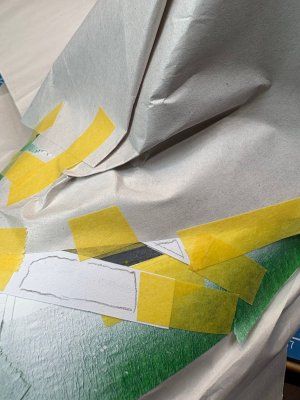
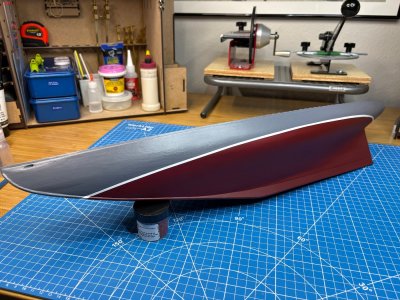
The hull looks great! Glad you like the tape it has many uses.OK, I sprayed the stripe without too much drama. One small area wanted to lift when I took off the tape but I was able to save it. I probably should have removed the tape when the paint was just beyond dry to touch but got busy with the evening's festivities. Will try to time that better next time. I left the top side masking in place as the bottom paint is next. After a day to cure, I'll mask the bottom edge of the final stripe edge before masking the stripe and painting the bottom of the hull red.
View attachment 617647
Thanks so much, Rob! Yep, that tape brings many possibilities!The hull looks great! Glad you like the tape it has many uses.
Rob

Many thanks, Grant. The BN has been incredibly educational and fun!Good morning Bill. I really like what you are doing with your BN. Way to go. Cheers Grant
A nice basic line for the rest of the painting, Bill. It’s always delicate to remove the tape but you are managing it well.OK, I sprayed the stripe without too much drama. One small area wanted to lift when I took off the tape but I was able to save it. I probably should have removed the tape when the paint was just beyond dry to touch but got busy with the evening's festivities. Will try to time that better next time. I left the top side masking in place as the bottom paint is next. After a day to cure, I'll mask the bottom edge of the final stripe edge before masking the stripe and painting the bottom of the hull red.
View attachment 617647
Thanks, Peter. Every mistake - big or small - adds to my tool box in the form of what not to do!A nice basic line for the rest of the painting, Bill. It’s always delicate to remove the tape but you are managing it well.
Regards, Peter