Uwe: I have those plans. I agree, copies are necessary. I’ve made dozens of frame copies for projects I’m working on. The problem with this planset layout is that the frames overlap. If you cut out one frame and make copies, you’ve ruined the two adjacent frame drawings and they can no longer be used. I understand the cost limitations in providing individual drawings of each frame, but that would be the best solution. You can try to copy individual sections of the plan covering each individual frame, without cutting up the sheet, but you run the risk of distorting the copy and cause creases in the plansheets. This is in no way a criticism of Mr. Delacroix’s drawings. Just a statement of fact.
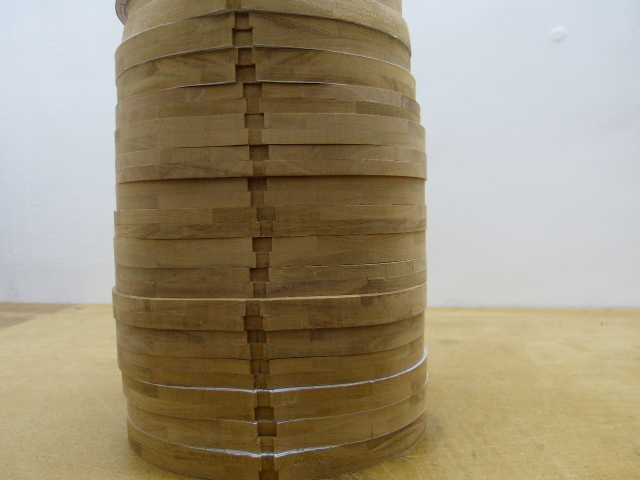
Don: I agree with Uwe. Using the sander has vastly improved your futtock joints. More later!
Don: I agree with Uwe. Using the sander has vastly improved your futtock joints. More later!