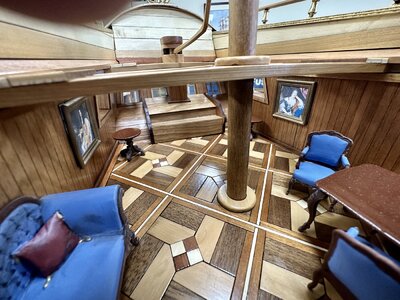
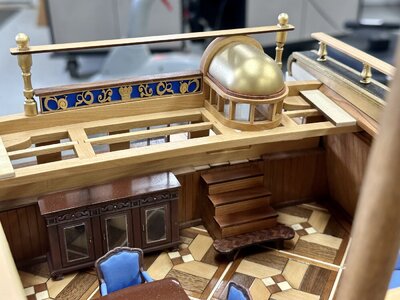
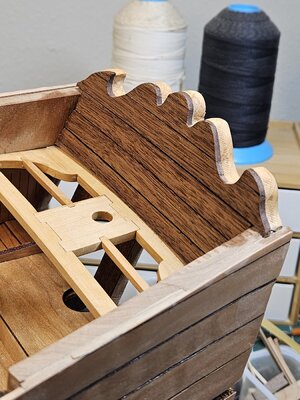
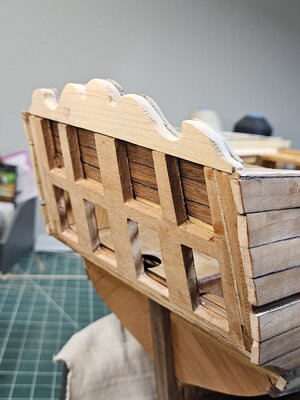
1682 HMY FUBBS - 1:24 - Stern Section [COMPLETED BUILD]

A nice addition Daniel. You are really doing a wonderful job on this build and seem to be enjoying yourself immensely. A joy to follow!

Thank you Paul !! Yes, I have been enjoying this built a lot. I laughed like crazy when I saw the Dolphins on the stairs. The aspect that I like most is that, mentally and spiritually, I am not tight to follow a historically correct built, so I can give myself the freedom of creativity or what they like to say "modeler choice".

Your words are very encouraging and I really appreciate it. And I am happy that you too are enjoying it.

Cheers
Daniel
 
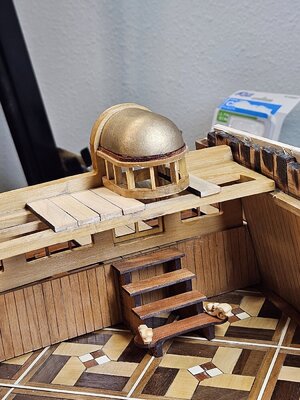
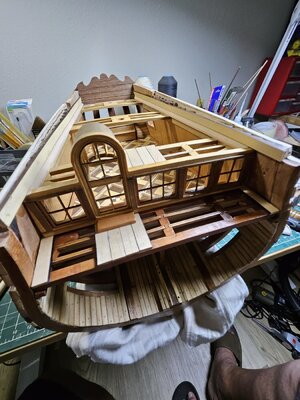
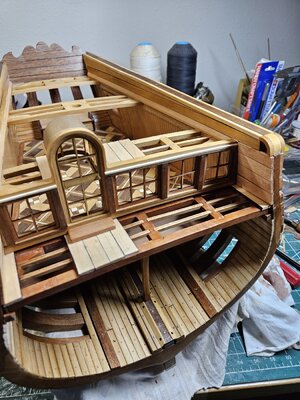
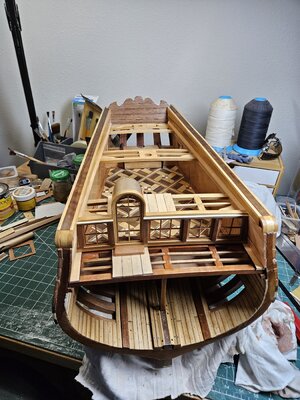
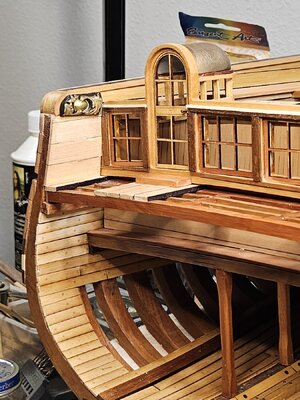
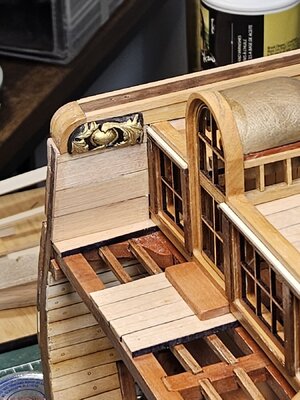
Guys, looking the last posted picture, I realized that the way I placed the Dome structure does not looks correctly on my model. The prototype we developed call to do it in the way I did on that last picture. But I always wonder if that structure "small windows and dome over it", should go over the deck planks. Definitely, on my model, looks better over the deck planks.

20231008_212110.jpg
Cheers
Daniel
 
Hi all

Today, on this post, I will not delight you all with my high quality built of this model , HAHAHA.

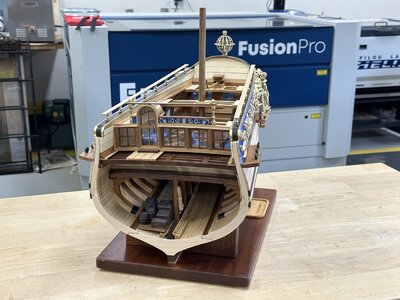
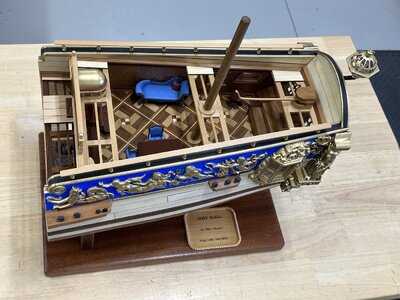
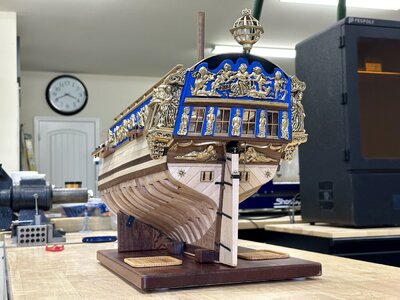
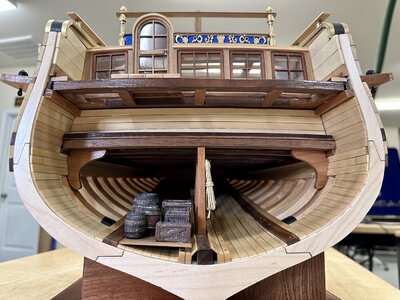
I will show you something much, really much better. The complete finished prototype developed by Mike Shanks and Weasel's members, mainly Mike41 and Jodie.

This HMY FUBBS was 100% built by Mike Shanks during his development.

I bet that many have been wondering why I haven't post a picture, at the start of this log, of the finished model. Most of us do that using a picture taken from the kit box. I haven't because when I started to built my HMY Fubbs, in July, the prototype wasn't finished yet. Let me be clear, all the parts for the project were already designed, discussed and in some way tested, but a 100% finished model was still missing. Since the start of this log, that task was accomplished. I will finally show how the finished model looks. Of course, every Weasel's builder has the freedom to modify it. Looks like Jodie will do big modifications to it.

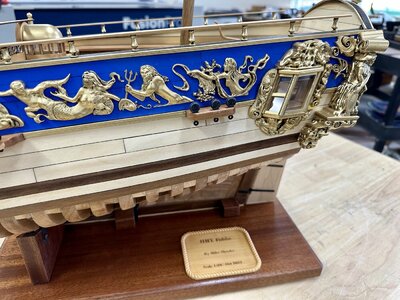
Here are the pictures. They aren't on any specific order.

1696882067_5745_FT46903_img_1673.jpg1696882305_5745_FT46903_img_1680.jpg1696882193_5745_FT46903_img_1679.jpg1696882557_5745_FT46903_img_1676.jpg1696882713_5745_FT46903_img_1675.jpg1696882853_5745_FT46903_img_1674.jpg1696882912_5745_FT46903_img_1681.jpg1696882956_5745_FT46903_img_1677.jpg1696883005_5745_FT46903_img_1678.jpg

I hope you enjoy them.

Cheers
Daniel
PS: Guys, don't expect such level of quality from my built. But, I promise, I will try to do my best .... :-)
 
Hi Guys.... WOW October 12 was my last posting. I thought that being retired I will have all days to built my models..... WRONG !!!! . I had to do a lot of small house works and a few family trips that I was avoiding ..... HAHAHA.
Now I am trying to setup again my mind on the built again.

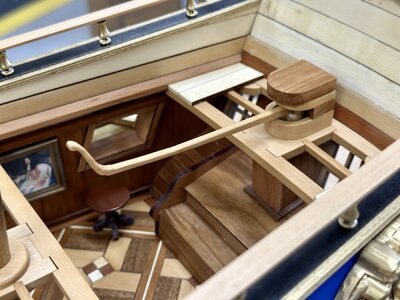
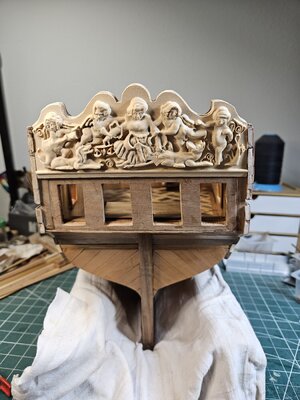
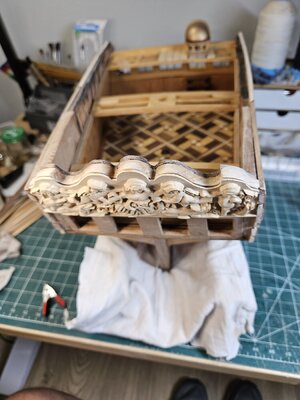
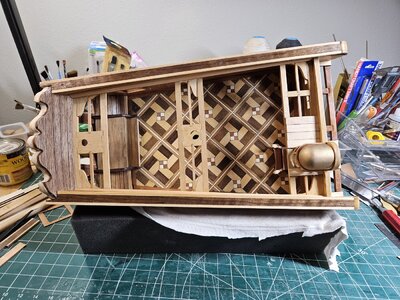
On the last 2 days I was able to accomplish the internal transom planking. It was done with Walnut from my stock. I cut all the planks. Glued them with exception of the last 2. I glued those 2 on the bench. Then I transfer the shape of the top section of the transom (it wasn't glued at that time) with a pencil. After that with my scroll saw, did the cut. And glued ALL (the top section of the transom + the shaped planks) at the same time to the transom.

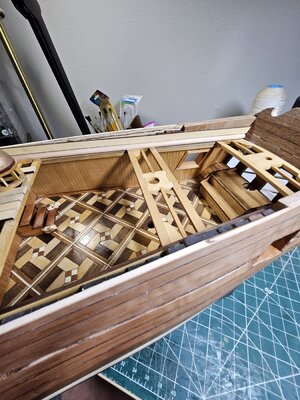
Before the internal transom planking I glued in place the poop deck sections.

20231021_113303.jpg

16982707645211304605060652959067.jpg

That back section of the transom will be covered by carvings (not glued, just for the picture)

20231021_114656.jpg20231021_114722.jpg

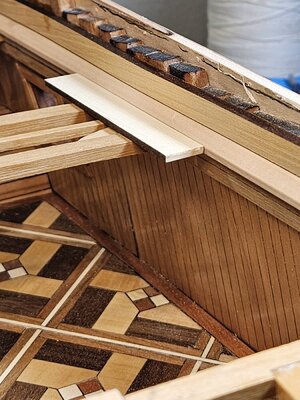
After that, I fit and glued tthe poop deck waterway (boxwood) and started the side planking of the poop deck. The waterway is shaped as a Triangle. To show the shape one picture has a deck plank beside it (plank not shaped , not glued)

20231025_172637.jpg20231025_172728.jpg20231025_172903.jpg

So, here I am guys !!! Back to the Fubbs

Cheers !!!
Daniel
 
Nice work Daniel the walnut transom planking looks very good.

Mike
 
Hi all

Today, on this post, I will not delight you all with my high quality built of this model , HAHAHA.

I will show you something much, really much better. The complete finished prototype developed by Mike Shanks and Weasel's members, mainly Mike41 and Jodie.

This HMY FUBBS was 100% built by Mike Shanks during his development.

I bet that many have been wondering why I haven't post a picture, at the start of this log, of the finished model. Most of us do that using a picture taken from the kit box. I haven't because when I started to built my HMY Fubbs, in July, the prototype wasn't finished yet. Let me be clear, all the parts for the project were already designed, discussed and in some way tested, but a 100% finished model was still missing. Since the start of this log, that task was accomplished. I will finally show how the finished model looks. Of course, every Weasel's builder has the freedom to modify it. Looks like Jodie will do big modifications to it.

Here are the pictures. They aren't on any specific order.

View attachment 399695View attachment 399696View attachment 399697View attachment 399698View attachment 399699View attachment 399700View attachment 399701View attachment 399702View attachment 399703

I hope you enjoy them.

Cheers
Daniel
PS: Guys, don't expect such level of quality from my built. But, I promise, I will try to do my best .... :)
Beautiful work. Thank you for posting.
 
Nice work Daniel the walnut transom planking looks very good.

Mike
Good morning Daniel…that is good to hear. Wow the carvings are such good quality. I love the effect the boxwood has for the waterways too. Cheers Grant
Beautiful work. Thank you for posting.
Great job, Daniel! She is really progressing.
Thank you guys !!!!! I really appreciate your encouragement. And thank you to ALL !! the likes too. They meant a LOT.

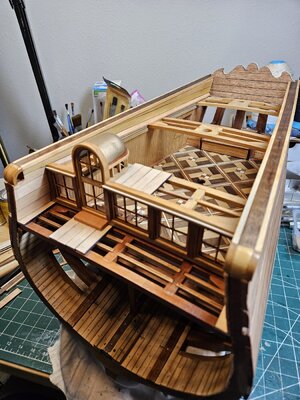
If you go to my last posting, and take a fast look to the the posted pictures, you will be able to notice immediately differences with the below pictures.

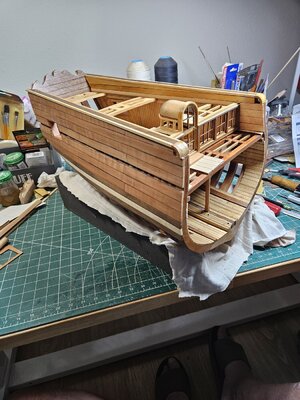
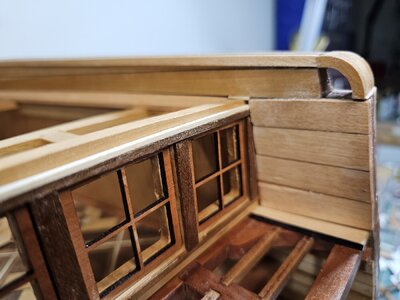
I finished the internal hull planking and did the cap rails. Doesn't sound like a lot, but it took a fair amount of time.

The original cap rail was all basswood. The idea was to paint it, the center section black and the sides gold, as on the prototype posted pictures. I did a different approach. The middle is Walnut and kept the sides basswood. In this way I kept the spirit of the original idea using 2 different colors.

Pictures please !!!! :)

20231102_182202.jpg20231102_182219.jpg20231102_182238.jpg20231102_182304.jpg20231102_182709.jpg

Cheers !!!
Daniel
 
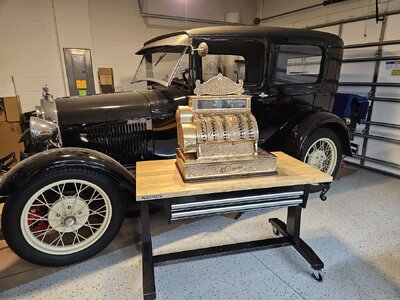
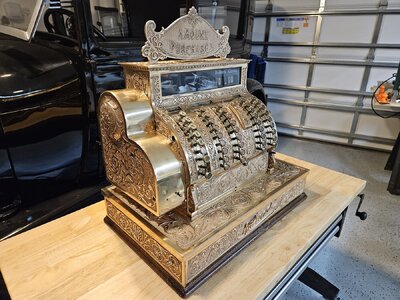
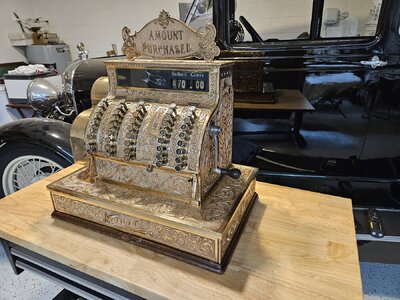
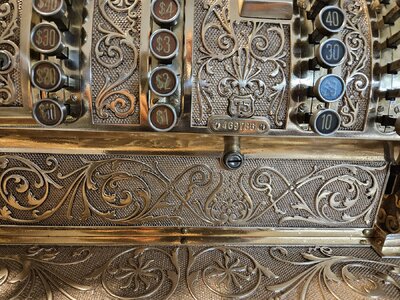
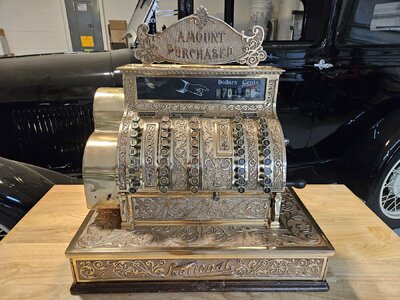
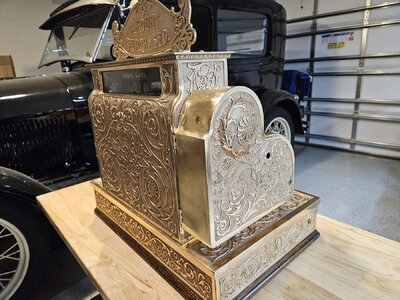
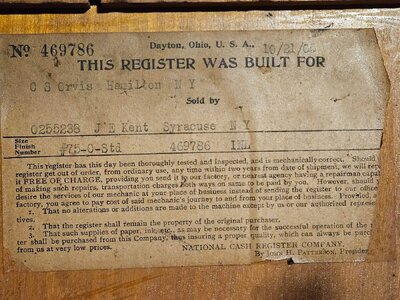
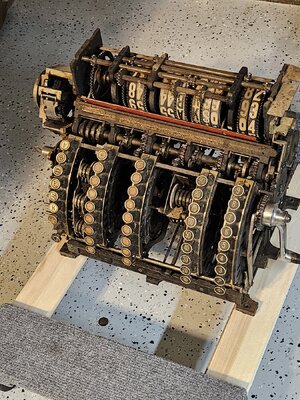
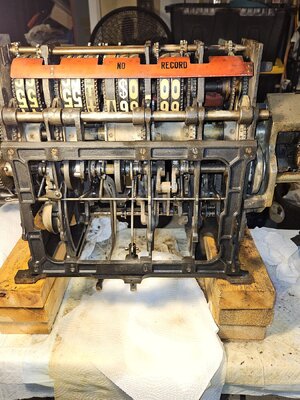
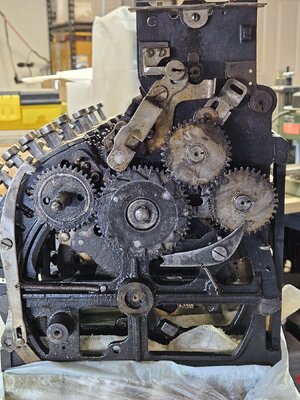
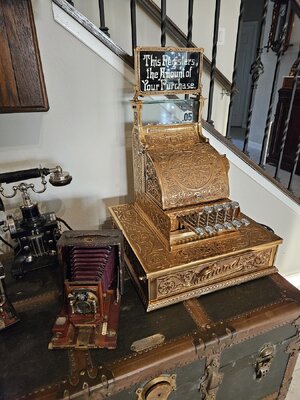
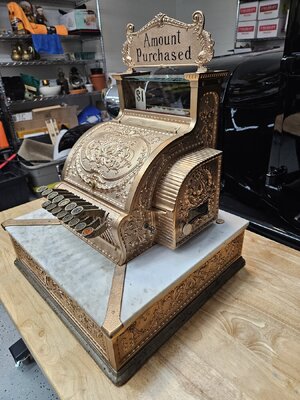
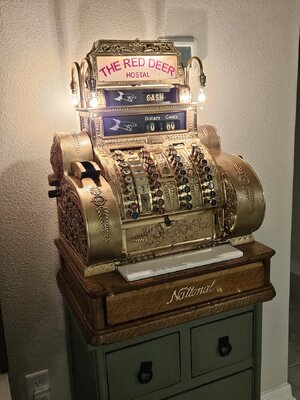
Ok guys, I need to explain what is going on with this bilding log. Last posting was in November. Family will be coming home for Christmas and we still had (and continue having) unopened boxes, plus the guest room wasn't ready at all (fully empty). So building stopped and started to work on the house. On December my parents moved to live with us and we are still moving stuff from their house to ours. They were living in another house we have nearby in FL. Ok, holidays went on January started and our oldest son, still on vacation, asked me "What is going on Dad with your cash registers?" . The answer was, "still covered in the garage". He decided to help me to move some inside (they are pretty heavy) and pushed me to start a project that was waiting to be done for 12+ year. The restoration of one of these NATIONAL CASH REGISTER. This one is from 1905. I finished it last week. I started another one this week. So I hope in one month to be again with my model ship hobby.

Finished project : NCR from 1905 Model 75 Scroll pattern, all brass.

20240204_084119.jpg20240204_084131.jpg20240204_084142.jpg20240204_084155.jpg20240204_084206.jpg20240204_084403.jpg20240204_084421.jpg

FB_IMG_1707329188868.jpg

Cheers
Daniel

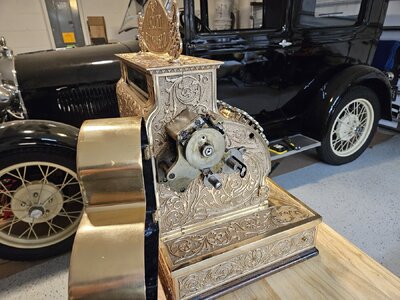
Ps: The mechanics
20240101_143934.jpg20240111_203706.jpg20240203_152717.jpg
 
Last edited:
Dear Daniel - am I glad to see this posting! You have the most amazing articles in your "collection". I am sure that if I were to visit your house, I would be lost for hours just drooling at all the amazing artefacts. The shots of the cash register with the Model A directly behind it, are just wonderful to look at. I am amazed to see how well the teeth of those gears mesh while even the label is in a remarkably preserved state for its age. I suppose it's a question of "they don't make them like they used to" (I don't even know if these type of cash registers are still being manufactured.)

With regards to the model, I feel like Rip van Winkel returning to the land of the living. Please tell Mike Shanks that he has created a beautiful model - the cabin in particular, has the proverbial "million dollar" look to it. I love the blue hues of his wales (the model's) being echoed by his couch.

And lastly, thank you for your mail about my whereabouts - I won't go AWOL again!
We all missed you !!

Briefly, NCR started around 1880 , still ongoing today. Look for NCR, John Patterson. He was a pioneer on the industry thinking on his employees. Improving their life quality. At the same time he developed lots of marketing strategies that are prohibited today. What he did to eliminate competitors was amazing. I bet my name you will be fascinated.

Brass cash registers were done till WWI, when brass was in high demand, like for bullets. The NCR company was very active supporting the US efforts on both WW.

Here is a tip of the iceberg if you are interested:


Cheers
Daniel
 
Last edited:
Spring arrived with all his power and, unfortunately, lack of rain on Central Sunny Florida. Working in the garage, on my cash registers, without AC, started to be difficult, very hot. My model ship workshop is one of my bedrooms. The big tools are in the garage and those are just used briefly (table and band saws, Milling tool, etc). So.....Back to Fubbs it will be.

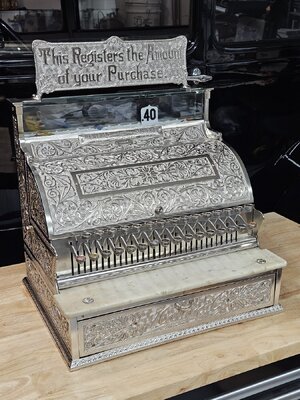
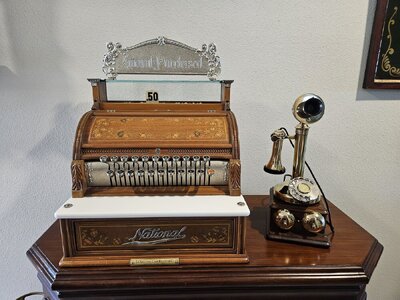
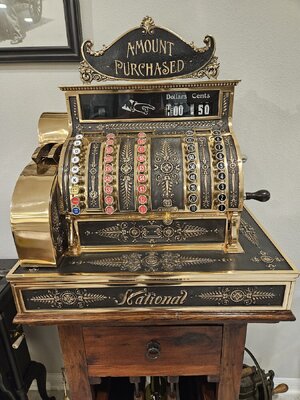
To start my mindset on Fubbs, I have done something small for my Fubbs. But before, I will post a picture of the cash registers I did a partial restoration (full will be like if they have just left the factory).

On my previous posting you have one. Here are the others.

20240217_191405.jpg

20240422_110907.jpg

The following 3 were professionally fully restored cash registers that I incorporated to my small collection.

20240418_190210.jpg20240415_152511.jpg20240320_220145.jpg

And this last one will be my first proyect for November/ December. Needs a good oiling and polishing.


20240503_211633.jpg

Now that you have enjoyed these pictures, lets start again with Fubbs.... next posting :)
 
Last edited:
Fubbs here we go.....

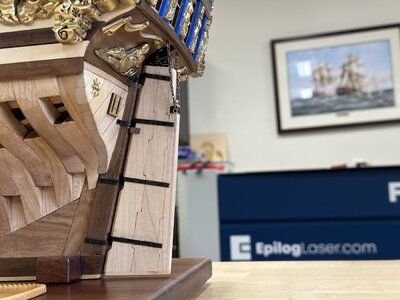
I didn't like this finishing (see picture)

20240511_084133.jpg

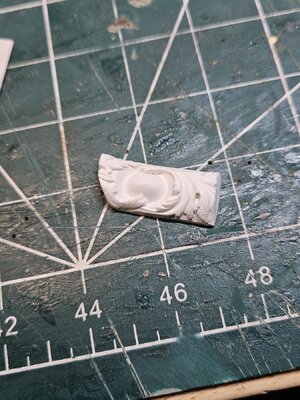
So I created a molding for both sides. Below is the right side.


20240511_084903.jpg


And here is the left side already painted and glued.

20240511_084443.jpg

20240511_085241.jpg


These moldings are a free artistic design that for sure didn't exist on the real Fubbs. But I already added dolphins to the stairs, so ..... why not this moldings here to cover that hole. Mike Shank did it with the plank. The plank ended rounded on that section. I did the molding. Later I will paint the other one.

I think I will continue with some decorating carvings and then move to the ruder, as I can still place the model upside down if needed.

Cheers
Daniel
 
Last edited:
Back
Top