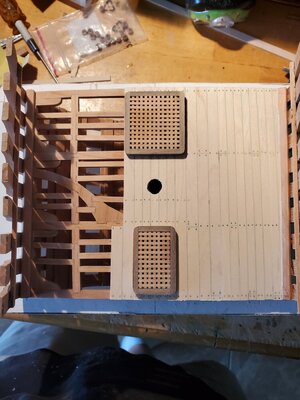
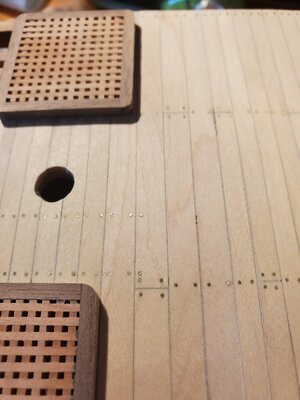
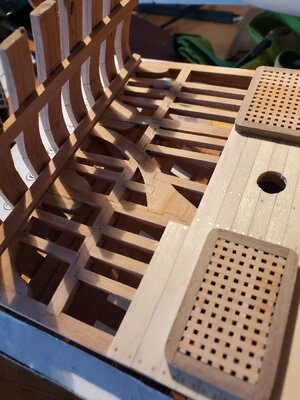
Anthony's 1/48th scale HMS Blandford [COMPLETED BUILD]

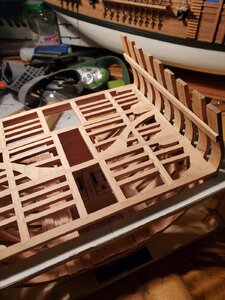
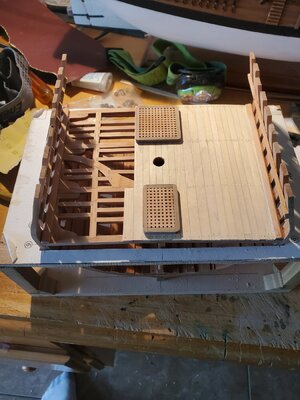
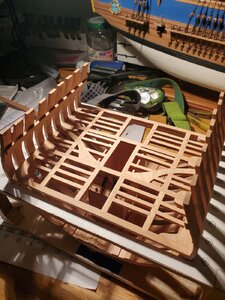
heres what i have so far , i made a lot of mistakes and had to remake quite a few parts to get the angles looking right but i like how it turned out, i know the next deck will be better , just out of curiosity how is everyone else forming the slots , i use several different files and check and fit a lot , it takes a lot of time i'm thinking there must be a better way maybe with a table saw but this is what i know.20200924_214538.jpg20200924_214547.jpg
the pictures definitely make it look better than it actually is...
 
One trick to remember on getting things like mast blocks to fit over keelsom is you work close and set medium or fine sandpaper on deck and then slide piece on sandpaper.

The paper conforms and matches mating surface and helps to sand top pieces to custom fit!
 
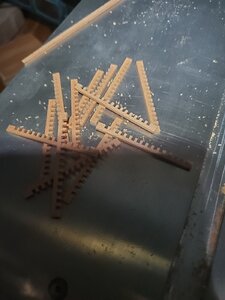
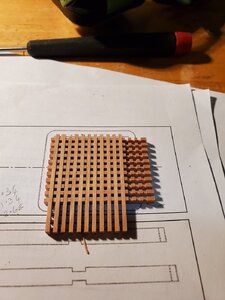
i had a look through my parts bin from previous kits to see if i had enough grating material left , i had some , it mismatched , so i thought i'd have a go at making my own , first attempt was too thin but did show promise, second attempt was a little better but i didn't make the cuts deep enough so i had to sand it down once it was glued together, third attempt worked , it took all night to figure out but i think its worth it,
second attempt.
20200927_223608.jpg

third attempt
20200927_223613.jpg

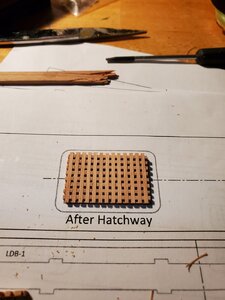
heres what the third attempt looks like ,its in cherry
20200927_223622.jpg
 
Great result absolutely worth making from scratch!!!! So... what is the technick\method you have been using to make them? Can you tell\show us?
 
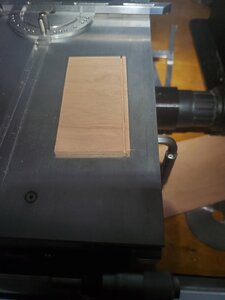
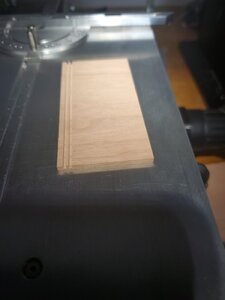
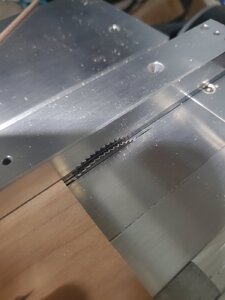
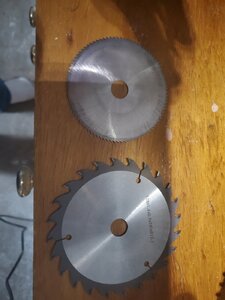
i have a piece of cherry that measures 3.3mm thick , i cut a piece off approximately 40 mm long , thats my blank, my saw came with a blade that is 1.34mm thick , i also bought one that is really thin with lots of teeth . the saw also has a fence .
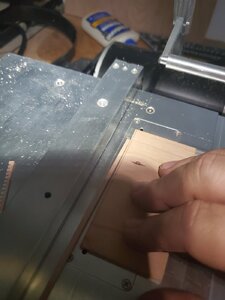
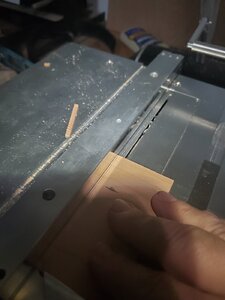
for the first cut i set the fence to about 2.5mm away from the blade and set the depth to just about half way through the wood,(trial and error on a scrap piece) and made the first cut ,lengthways , for the next cut i made a spacer out of some scrap wood that is the width of the wood plus the width of the piece in between , in my case it was 1.34 + 1.34 so the spacer was around 2.9 mm.
i slid the wood back until it was over the blade and undid the fence ,i placed the spacer between it and the fence , then moved the fence back into position with the spacer in place , removed the spacer , moved the wood to the fence and made my next cut .i kept doing this until all the cuts were made.
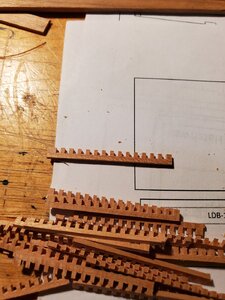
i measured the slot i had cut which was actually 1.5mm and , again through trial and error set the fence to that width and started cutting the pieces with the very thin saw blade , with 3 inches of wood i made enough pieces for 2 hatch covers , next time i do it ( i have to make 2 more for the main deck ,) i will take pictures
 
Many thanks for your detailed explanation, Anthony. Do you have any photos of the process by chance? We love images, thought. You cannot have them enough... ;)
 
so i measured the longest part of the grating and cut a slice just a little longer .
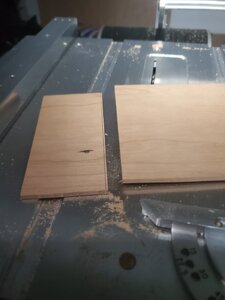

20200928_185645.jpg
next i checked the depth on a scrap piece of wood, it took me a couple of times to get the right depth
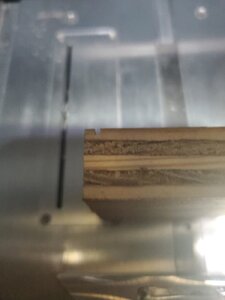

20200928_190009.jpg
then i made the spacer , this is the width of the slot plus the width of the grating space, i have included a drawing at the end of these pictures as i don't know how to move it to here . for the first cut i used my spacer against the blade and moved the fence up to it.(actually i did this before setting the depth)
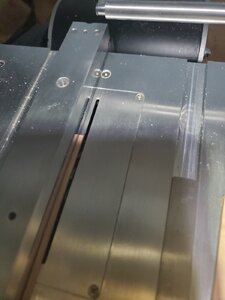
20200928_190301.jpg
heres the first cut
20200928_190359.jpg
with the saw off. and the wood over the blade , loosen the fence and move it away
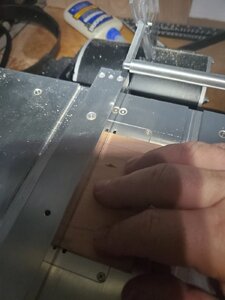
20200928_190414.jpg
put the spacer next to the wood
20200928_190458.jpg
and bring the fence back , remove the spacer , push the wood up to the fence and make the second cut
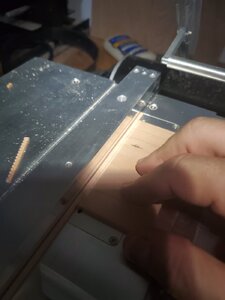
20200928_190520.jpg20200928_190539.jpg20200928_190558.jpg
turn the saw off and position the wood over the blade , loosen the fence and move it away , put the spacer in place and move the fence back , remove the spacer , move the wood to the fence and make the next cut
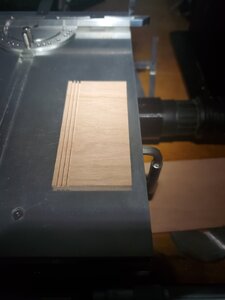
20200928_190714.jpg
keep doing this until you get to the end of the wood , it is very important to remember to keep your hands away from the moving blade and use a pusher if you can.
20200928_191153.jpg
change blades for the thin one and set the thickness of the cut
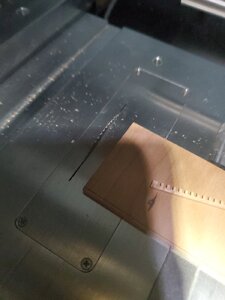
20200928_205909.jpg20200928_205957.jpg
check that the cut is right by fitting it into the slots that you already made , if its a good fit your good to go
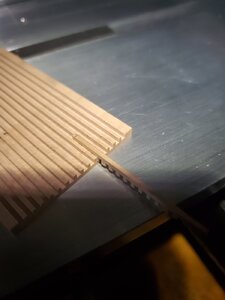
20200928_210041.jpg20200928_210208.jpg
keep going until your done,
heres the drawing explaining the spacer , if you want bigger holes make dimension A bigger , just make sure that a+b=c
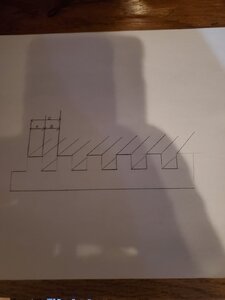
20200928_211537.jpg
i cannot emphasize enough to MAKE SURE YOUR FINGERS ARE NOWHERE NEAR THE BLADE WHEN CUTTING , i haven't had any accidents and i don't want to so be wary, please
hope this helps and let me know if you need some more explanation
 
Last edited:
a little more progress with the build , i used brass for the nails , it very thin and looks to be about the right scale , is there a way to blacken them without damaging the wood? or do i need to put a tiny drop of brass black on each one?
the the 20201004_103336.jpg20201004_103408.jpg20201004_103416.jpg20201004_103434.jpg
 
like i said before the pictures are deceiving , its not as accurate as you think , in this case the camera IS lying. believe me when i say that i think the same about your build and only hope mine comes out half as good as yours .
as far as the gratings go if you have a table saw with a fence and the right blades( mine are new and sharp ) its not difficult at all, it took me a couple of goes to get the right gaps and depths but then it went really quickly and the second lot ( the ones i took pictures of ) only took about half an hour with the pictures , you should give it a try you might surprise yourself (i know i did)
 
The fence on my micro mark is very wobbly as it does not allow for sliding into a good position, you have to untighten and retighten the lockdown nut continually until you get the fence set up correctly and accurately. I know they try to cut costs, but it would have been nice on my micro mark if they had some type of all-thread that the fence moved along. Your saw looks like a much better also has the metal mitre gauge whereas mine is all plastic.
When I have time, I am going to try your method of making the gratings.
 
so long as you have the spacer then its just a matter of pushing it up to the blade and locking it down , its worth a try
 
i'm about to start the constructions on the lower deck , i have the pump housing done , and i just noticed that in each of the 6 part downloads there is one called instructions , so i opened one of them up and along with instructions(go figure) there is reference to pictures , where are these pictures located , so far i've just been winging it with the help of doc blake ,mike 41 and donnies build logs , this next part looks a little confusing but i think ive got a handle on it now , some extra help wouldn't go amiss
 
Good job on the gratings!

There are trade offs with every tool. The accuracy/precision of the Byrnes saw, with it’s fabulous fence is essential for this kind of work. But the Byrnes has no tilting arbor, so I bought a Proxxon Fet for angle ripping. Unfortunately, the fence on the Proxxon is crap! Endless fiddling to get it placed correctly. Since I only use it to cut angled rips, and for gross cutoffs, I can live with it.
 
Back
Top