Anthony's 1/48th scale HMS Blandford [COMPLETED BUILD]

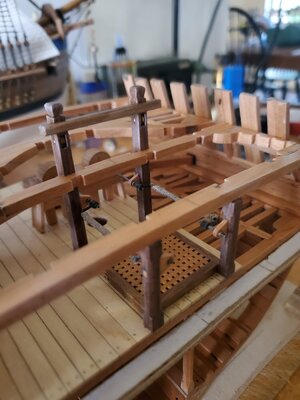
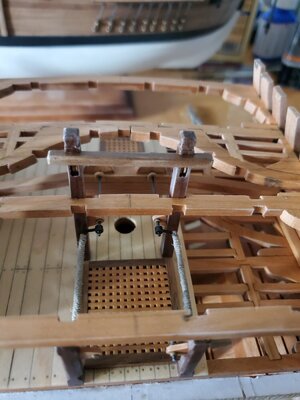
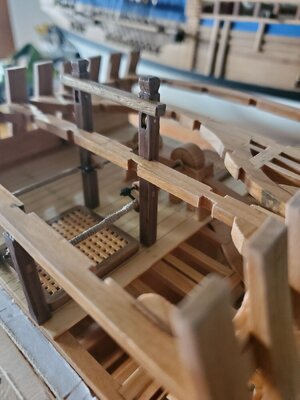
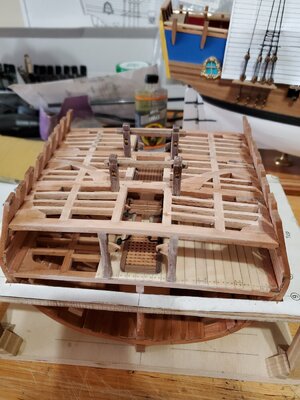
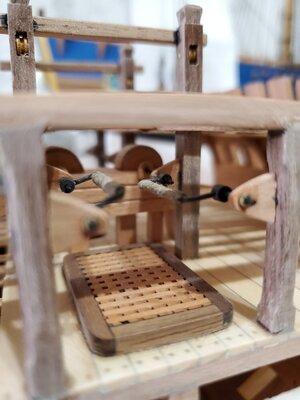
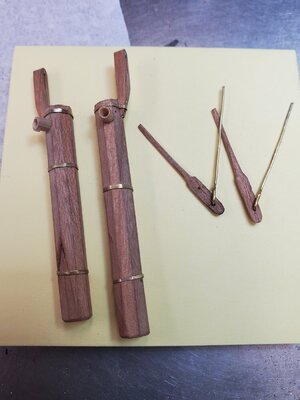
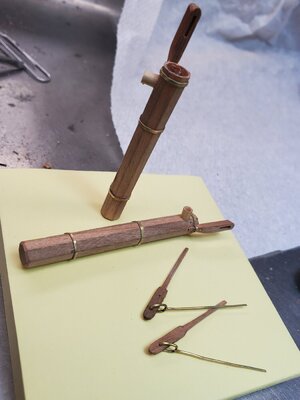
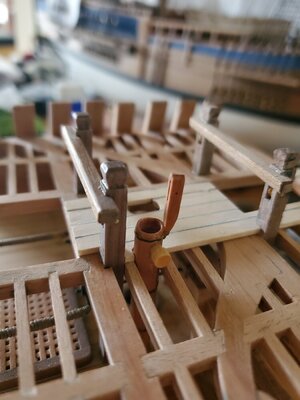
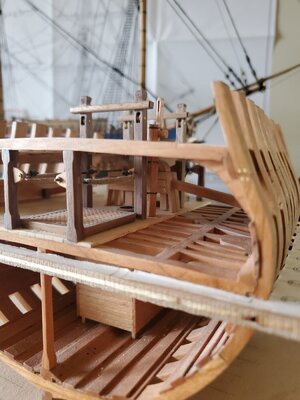
Post some photos of the pump housing, Anthony!

The pump handles, the bitts and the handle support planning and placement are the hardest parts of this build! Go slow, plan ahead, and ask questions. We’re happy to help if we can.
 
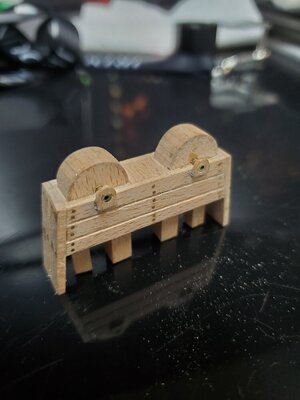
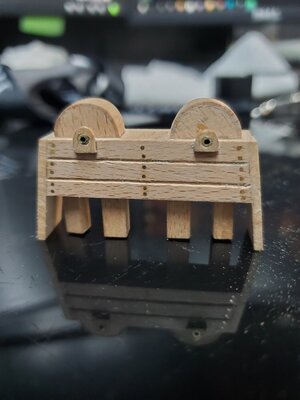
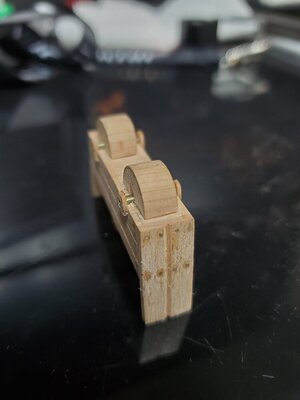
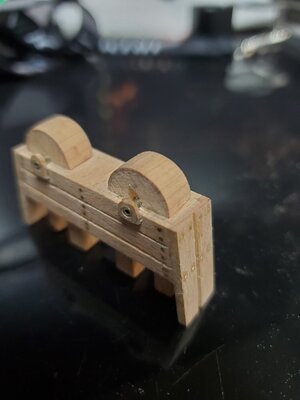
this is what i have so far , its not finished as there is a little cleaning up to do , i also went with my own thing for the bushings , i have made up the handles but have nowhere to put them yet, i'm trying to decide whats next, i think i have to cut the upper floor beams so that i have something for the pillars to attach to , then i can decide the height of the bushings for the handles .
i have built model aeroplanes from scratch in the past but this too is my first actual scratch built model ship , its something that i have wanted to do for a long time but never had any tools , with hardwoods i would say its essential , balsa and plywood are so soft compared to hardwood , not impossible with hand tools but a lot easier with good tools ,
when i started this model it was going to be an aside while i finished my HMS Endeavour , but its so interesting that i almost forgot i still have that to finish , i am really enjoying fabricating all my own parts and now have 3 kits that i'm not sure will ever get done , i keep thinking about the next scratch build,
anyway let me finish this one first and see where i go from there .20201016_104420.jpg20201016_104426.jpg20201016_104435.jpg20201016_104444.jpg
 
Absolutely Perfect - what more to say - I am jealous !!! ;)
 
While I agree that I am good with the small details they are still far from perfect ,my problem is with the larger structures. This is where you are so much better than me and the area that I have to concentrate on , I know you think my main structure is good too but trust me there are areas I wish I'd spent more time on in the beginning, then again its also my first scratch built boat and I have learnt a lot for next time ,taking actual measurements and not doing things by eye is a starting point
I am happy with my progress and how its turning out but there is a lot of room for improvement and the next one will be better.
I also think you should be very proud of what you have achieved and once again if mine turns out half as good as yours I will be very happy
 
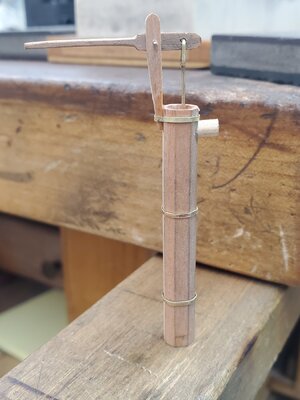
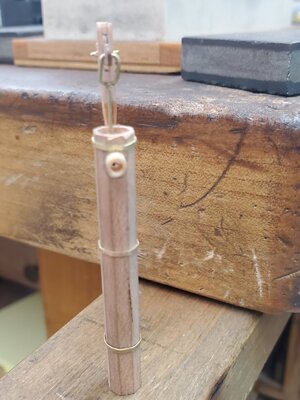
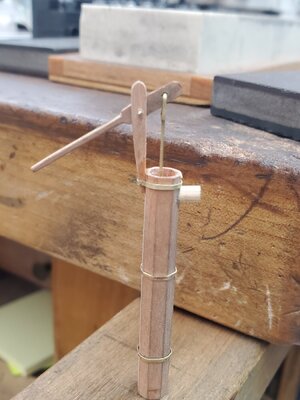
looks like i'm going to remake the pumps , the outlet is facing the wrong way , looks like it should be 90 degrees to the pump handle and i have it at 180 degrees , so not so perfect!
 
Well, I ran into the same problem with which way my outlets were facing too !!! :rolleyes:
 
this will actually be the third set of pumps , the first one i did were too short ,i went by the drawing in the aots book which shows the outlet and the pump handle opposite each other , its only now that i'm trying to get the position right that i realize the outlet is in the wrong place but theyre quick to make , i already have the octagonal base filed up and the new brackets , just have to redo the outlet and the bands and voila
 
Actually, I installed the handles nearly last as I kept breaking the handles as they were getting in the way of the Cannons/Carriages and other items on deck. So, I left off the handles (structure) until after the Cannons were done.
 
i was thinking of doing the same , if you look closely the handle is held by a pin that isn't finished off, its in there just for the photo , the handle is very fragile ,less than 1mm thick and very long , its almost certainly going to get broken before the model is finished .
 
so here's attempt 3 , youll notice that one is shorter than the other , luckily i made them longer this time so that i could trim them to get the right height, but after finishing the first one , believe it or not it was wrong again ,so i trimmed the top off and got it right , finally20201111_163807.jpg20201111_163840.jpg
 
Back
Top