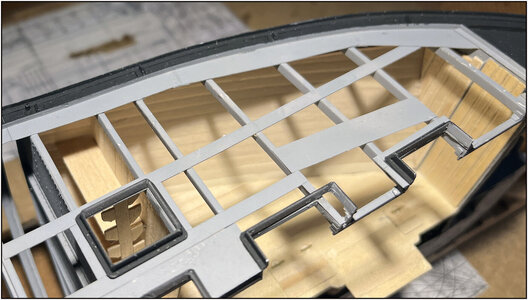
BALDER, Vlaardingen Herring Lugger from 1912, scratch build scale 1:50 Plate-On-Frame

Made the floor first:
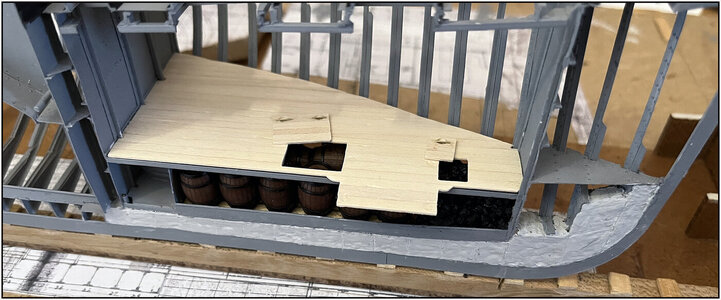
0293 Vloer.jpg
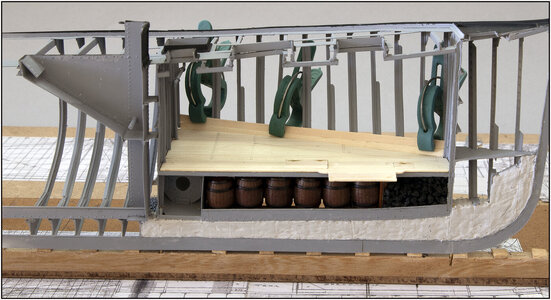
Plank by plank composed of slats of 3 x 0.8 mm, always checking the fit in connection with the recesses for the profiles and pipe on both watertight bulkheads.
With the 2 hatches for the barrel and coal hold. Both equipped with handles to take them out. Recessed into the floor to avoid tripping over it.
You will also see a part of the floor sticking out. The stove is in the middle.

With the check whether it also fits in the merged parts:
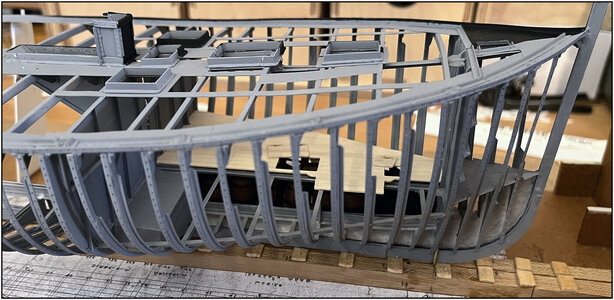
0294 Vloer.jpg
Still ok. It does mean that I have to make a recess in the construction plank for this. When I tilt the construction template when installing and aligning the frames that still need to be installed. Just like with the protruding mast tube and kossing.

The stove will be located between the shutters under the cove. It gets a sparks and heat trap:
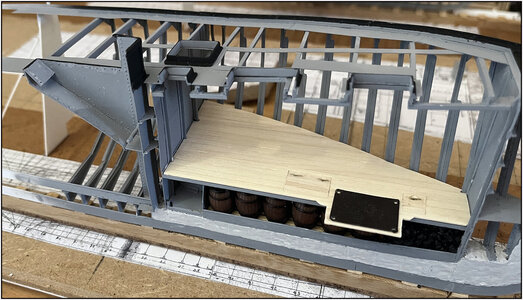
0295 Vloer.jpg
This has 4 eyes where the stove can be secured in heavy weather. The floor has recesses at the corners, just like the handles of the shutters. The hooks must be able to be hooked into the eyes.

Then I can now draw out the lines on the floor for the walls of the drying hold, the bunks and the Stee.
Once the appropriate slats have been glued to the floor, some extra sanding and polishing I can apply the floor with linseed oil.
The floor is not yet secured and can therefore be removed.
Regards, Peter
 
Every new chapter during the build starts with a plan. This is also the case here: further treat the floor with rakes, sand it and place it in linseed oil.
Then make walls to size and then build them modularly.

But the old specifications speak of 'People's Bunks made of pine wood. Everything in the cages was shot with wood.'
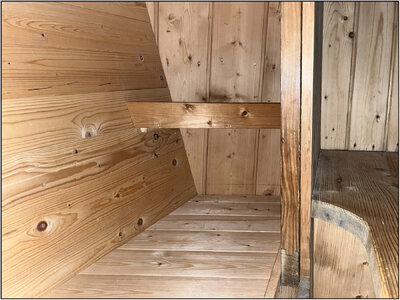
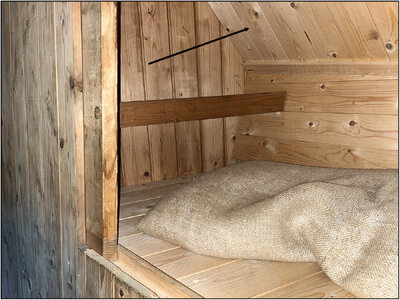
What can also be seen in the Balder:
0296 Wand.jpg
The tapered bunk towards the bow.
So if I place the walls first.......... I will no longer be able to get to the side wall to cover it.

Adjusted the plan, first glued the floor and started planking the rear:
0297 Wand.jpg
The advantage is that I can use my smallest clamps to let the glued planks dry in the curve of the frames. This must first be bent into the correct curve with heat to ensure as little tension as possible in the model.

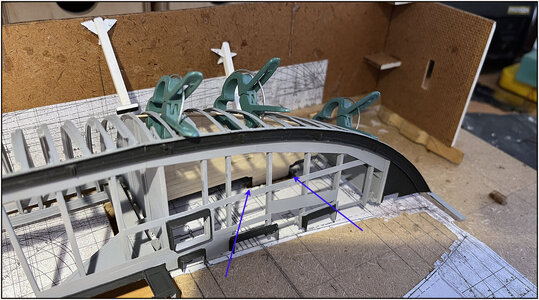
To check deformation I always tilt the construction jig. As mentioned, I did have to cut a slot in the building board for the protruding part of the floor:
0298 Uitsparing.jpg
The 2 arrows point to the recess.
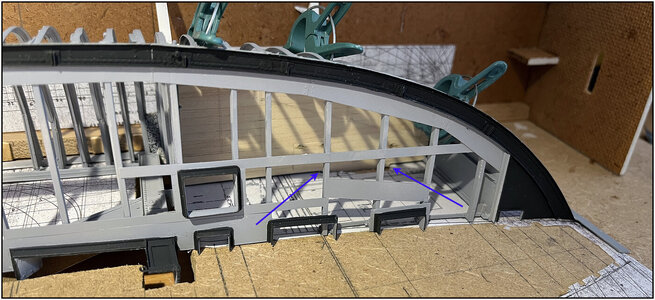
Then I can place this half flat on the construction board again:
0299 Uitsparing.jpg
To the left of the center the recess for the protruding mast tube and kossing can also be seen.

Will you see anything of that back wall later? If all goes well, through the sliding doors of the bunks. And through the hatch of the drying hold.
Regards, Peter
 
Last edited:
When planking the inside of the frames, I always have to wait until the glue has dried on each individual plank.
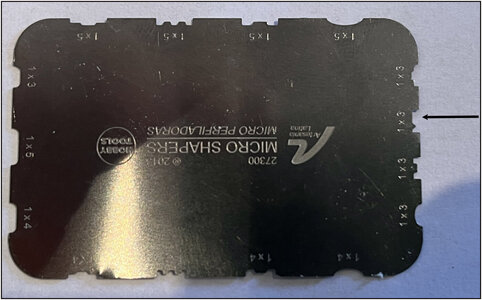
That gives me time to experiment with making the bead planks. For a 3 mm profile with 2 teeth on an Altesania Latina Scrapers, 1 tooth has been filed away:
0300 AL.jpg
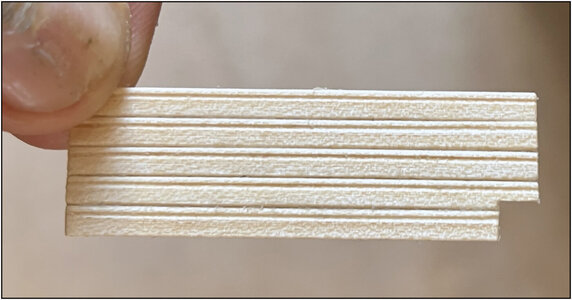
Used this to scrape a 3 mm slat and put a few parts together:
0301 Kraal.jpg
The sides of the slats are also rounded to create a 'bead' that looks neatly.

It is like a test panel for the front watertight bulkhead:
0302 Kraal.jpg
Also put it in linseed oil to see how it turns out.
I am satisfied with this.
Regards, Peter
 
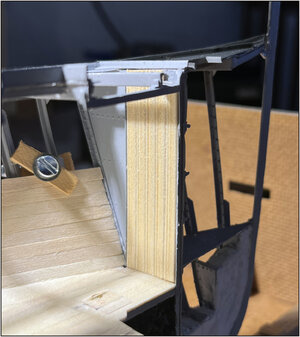
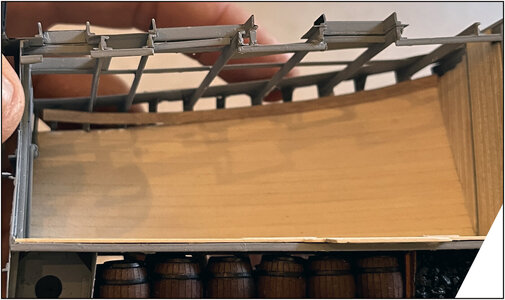
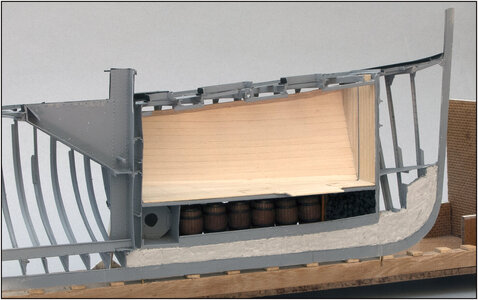
The paneling of the floor and walls has been done. This plank that sits on the slanting knees needed some extra attention:
0303 Top.jpg
Must be bent in a 'double curve'. Not completely sharp, operate the camera with one hand........ ;)
Here you can see it clearly in the photo in the Balder:
0304 Top.jpg
First raking and then cross planking was a bit too far for me .... ;)
With some support and a finger:
0305 Top.jpg
Then wait patiently until the glue sets.
Will you see that plank later? Maybe through the open doors of the bunks?

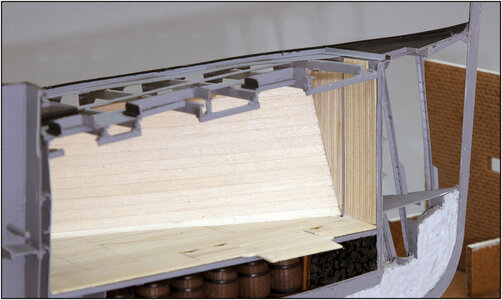
After the necessary hours of fitting and sanding, this is the result:
0306 Betimmerd.jpg
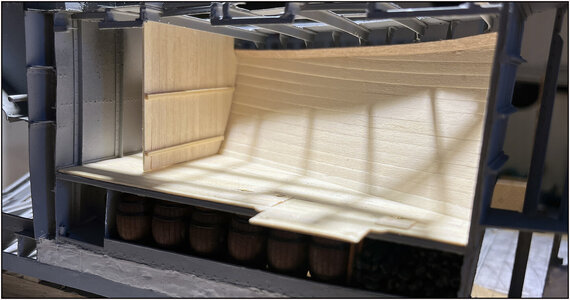
Zoomed in a bit and with shaving light:"
0307 Kraal.jpg
Only the right parts has already linseed oil. I have to glue a lot of wood on the other parts.
What is in plain sight gets the bead parts. Otherwise the regular cheaper planks.
I'm going to use that now to first make some between walls.
Regards, peter
 
The ship carpenter enjoys and makes progress:
The wall between the dry hold and the 2 transverse bunks:
0308 1e wand.jpg
At the front there are 2 cleats on which the floors of the 2 bunks will rest. The dry hold is intended for the storage of provisions for the crew.

Made a first draft for the vertical ladder in the hold:
0309 Hanetree.jpg
A bit inspired by the climbing holes in the planks in the aft hold. It must be a bit of a fool's test for those fishermen with their wooden shoes. Need to finish it some more.
The dry hold only has access via a hatch on the deck:
0310 Hanetree.jpg
The dry hold also has a shelf. The ladder helps support that shelf.
Soon only visible through the hatch opening because there will be another wall at the head of the hold and transverse bunks.
Everything is still dry-fit for the time being because I still have to figure out in which order I am going to build everything up. Perhaps the longitudinal bunks with their sloping wall first?
Regards, Peter
 
Everything is still dry-fit for the time being because I still have to figure out in which order I am going to build everything up. Perhaps the longitudinal bunks with their sloping wall first?
the way you've dry-fitted looks good. I guess the same order you may follow.
 
Back
Top