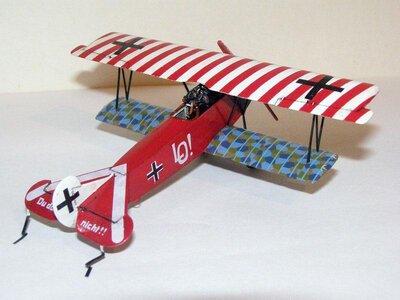
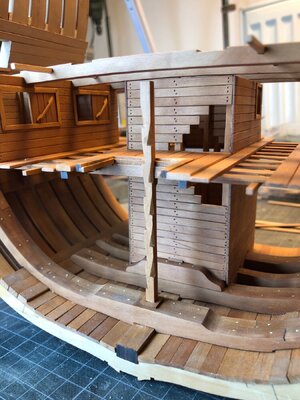
I had to think a little longer before making and installing the stairs.

On the left a photo from the restoration book of the Scheepvaartmuseum. On the right I took it myself in the Balder. It is a robust staircase that crew members can safely use with their clogs.
To the right of the stairs is the narrow passage to the galley. Behind the stairs is a piece of partition wall.
At the bottom right of the photo is an insert of the top stair tread. This is located on the same level of the deck. It also protrudes slightly in front of both stair stringers and the outer corners are bevelled.
First measured the angle of the stairs.
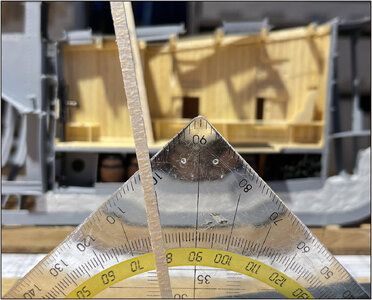
At the background a stringer in the model. Measured from the waterline it's 10 degrees.
Made a 2x10 degree mold and stuck it to the cross table with double-sided tape:

Glued both stair stringers also on the tape. The recesses for the 7 treads were then milled horizontally.
The treads will then also be horizontal to the waterline relative to the ship. So not in the corner of the keel or floor of the forecastle. Why? Have you ever walked on a staircase where the treads are tilted? That throws you off balance.
7 treads of 11 mm cut with the Ultimation:
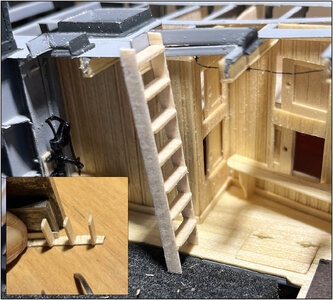
Bottom left: gluing the treads using the small square with a 0.6 mm spacer behind the tread. So that the treads protrude slightly at the front. With the slanted corners.
Given a color so that it looks like a hardwood staircase:
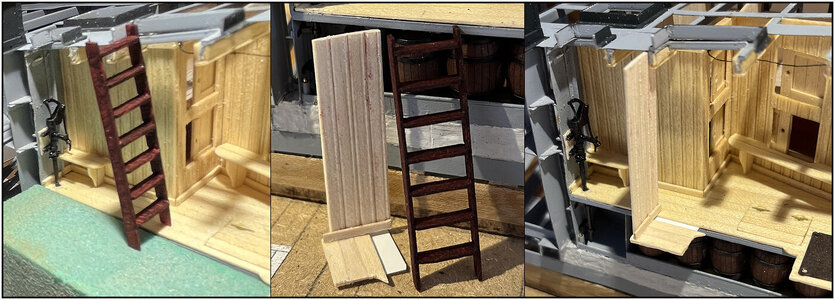
In the middle photo the piece of floor, back wall and skirting board that will slide over the current floor.
Partly applied in the right photo. A piece of thin foil under the floor slides between the floor and the beams to give the bonding some strength.
The test fit:
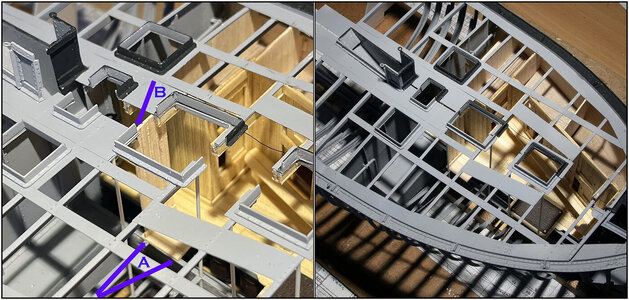
Left photo:
Arrows A: the piece of floor must slide over the floor profiles in the starboard half. Just like the piece of floor in front of the stove.
Arrow B: The wall must slide behind the profile of the deck beam.
Right photo: The two parts against each other.
In the starboard part you can see some uprights. I also removed the interrupted parts of the deck center beam in that part. As I wrote about the design of the port side, I didn't like it.
Glued in the piece of wall/floor and placed the stairs:
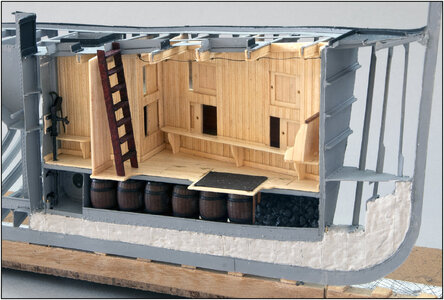
With a photo from the front to check alignment:
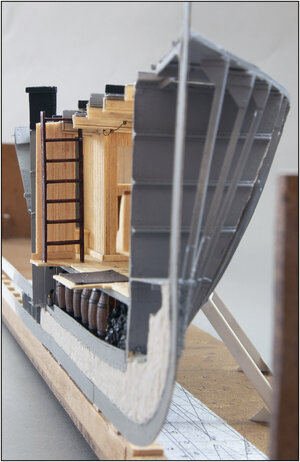
Unfortunately, I can't get a nice photo from the inside with the iPhone, so I have a comparison photo like the double photo at the beginning of the post.
The two parts combined:
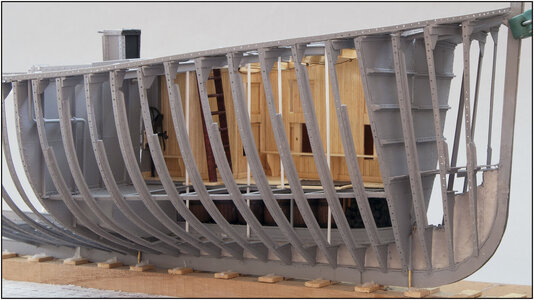
Both floors slide neatly over the beams of the starboard part.
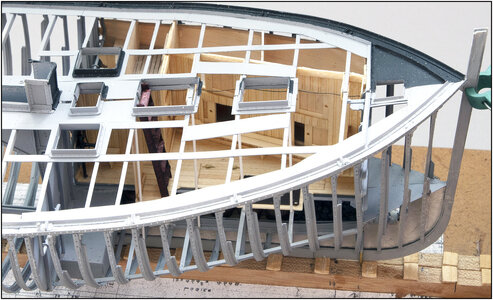
I don't know yet what I will do with the uprights in the starboard part. Maybe I'll leave them white to indicate that parts are not part of the gray construction.
So far, so good.
Regards, Peter
 1929
1929  1926
1926  1920's


