-

Win a Free Custom Engraved Brass Coin!!!
As a way to introduce our brass coins to the community, we will raffle off a free coin during the month of August. Follow link ABOVE for instructions for entering.
-

PRE-ORDER SHIPS IN SCALE TODAY!
The beloved Ships in Scale Magazine is back and charting a new course for 2026!
Discover new skills, new techniques, and new inspirations in every issue.
NOTE THAT OUR FIRST ISSUE WILL BE JAN/FEB 2026
You are using an out of date browser. It may not display this or other websites correctly.
You should upgrade or use an alternative browser.
You should upgrade or use an alternative browser.
I’d call that a WIN Donnie!
Thank you all for the kind words.
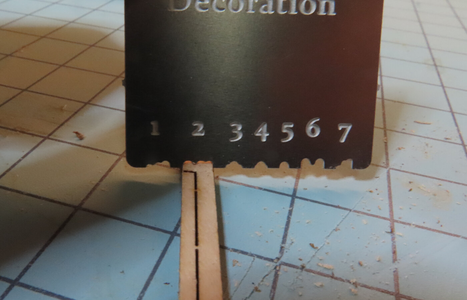
I have moved on to the next major step and that is installing the "Z" parts. They will have the DECORATIVE MOLDING plate #2 used on all of these. It is important to have the strips and plate oriented in the correct fashion. The plans DO NOT show the decoration (moldings) - using the color images on the back of the book, I believe that I have come to the conclusion of how the moldings should be set.
The "Z" parts.

The molding plate using #2
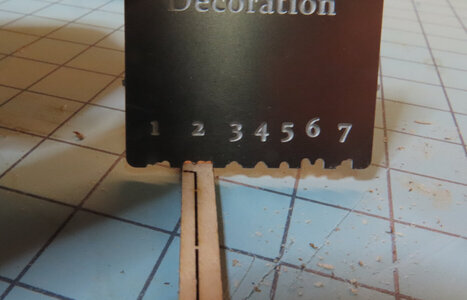
Final results so far. (the grain is not too forgiving as the decorations are rather rough. This might can be smoothed out with fine grit later).
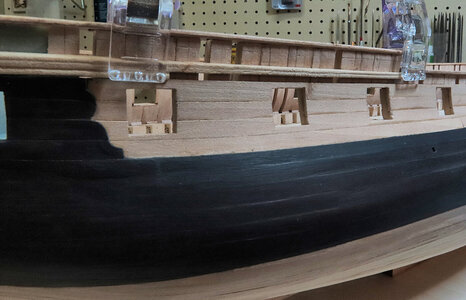
I have moved on to the next major step and that is installing the "Z" parts. They will have the DECORATIVE MOLDING plate #2 used on all of these. It is important to have the strips and plate oriented in the correct fashion. The plans DO NOT show the decoration (moldings) - using the color images on the back of the book, I believe that I have come to the conclusion of how the moldings should be set.
The "Z" parts.

The molding plate using #2

Final results so far. (the grain is not too forgiving as the decorations are rather rough. This might can be smoothed out with fine grit later).

All is well that ends well! It’s a SOS secret now! 
I am not sure how much experience you have with the profilers. However I learned it is very important to go in the direction the grain lays down. Otherwise it lifts the grain, and the profiler, and results in a rough and inconsistent depth profile. Multiple passes and going with the grain ensures a good result. 
Great result Donnie!Dean that is correct as I am finding out the hard way I guess.
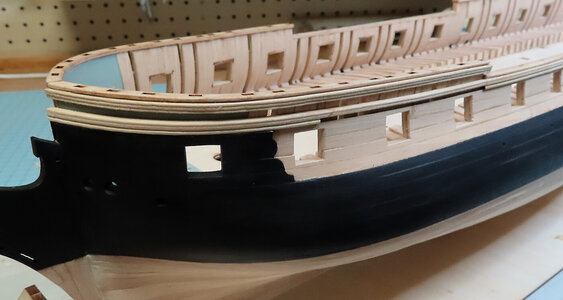
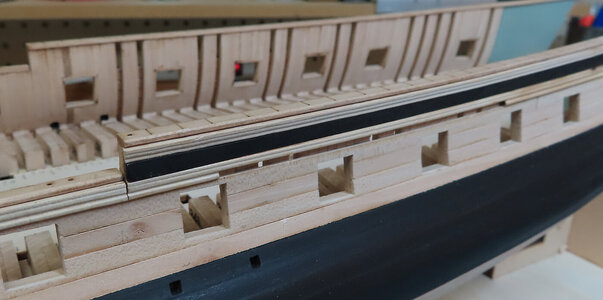
So, the latest is continuing the use of the "profiler" (which is the best term I have heard - from Dean). There is a considerable amount to do. The image below just shows the orientation of the profile as it is installed on the hull.
Small disaster succesfully averted. Looking great again. 

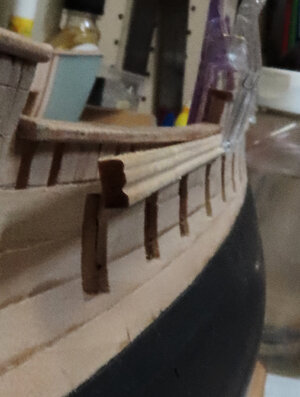
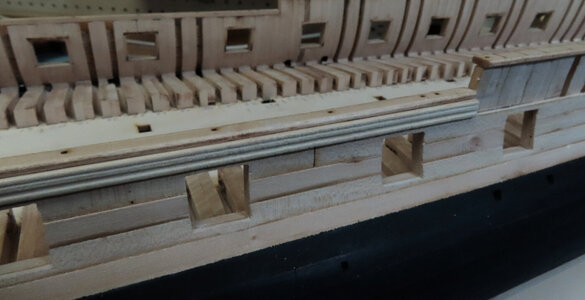
thank you all for the compliments - you all are too nice. Well, moving forward with the profile strips. The strip right below the handrail is "Y" strips which are two of them. The strip at the bottom right above the Cannon Ports are "Z" strips.
That "Z" strip at the AFT of midship is all ONE strip even though it has notches in it. The best way is to profile that strip BEFORE cutting out the notches which should be evident. These strips are already brittle and a few broke, but the repair is nearly unnoticeable.
The "Gap" between the profile strips will have Planking Strip #1 and will fit in between the Y and Z strips. The #1 strip should be painted first (MHO) and then glued in due to the tight fit.

Kurt Konrath
Kurt Konrath
Great repair work and install of profiled rails.
One of the greatest secrets is if you don't tell us of your mistakes, your good enough of a modeler now most of us would never notice or know of them until you point them out after the repairs you have completed.
I am sure she will be a prize winning ship when outfitted and rigged as final completion. Can't wait to see those photos down the road.
The final result is looking very good - well done my friend 
Hello Donnie,
just catching up on your build log, and the model is looking very impressive.
just catching up on your build log, and the model is looking very impressive.
Lovely work Donnie. A nice recovery from the earlier misstep and nice detailing on these recent posts.
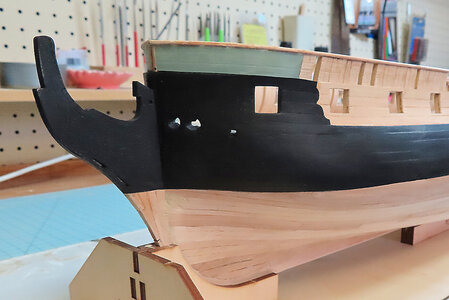
Good morning Donnie. Beautiful. Cheers GrantThank you all. Now I do believe this is the last planking strip and it is #1 a and #1 b these two go in between the profile shapes.
View attachment 326499
View attachment 326500
- Joined
- Jan 31, 2021
- Messages
- 570
- Points
- 353

Donnie, what is the tool your using to create the moulding? Thx, PaulDean that is correct as I am finding out the hard way I guess.
So, the latest is continuing the use of the "profiler" (which is the best term I have heard - from Dean). There is a considerable amount to do. The image below just shows the orientation of the profile as it is installed on the hull.


