Blandford 1/48 by Modelship Dockyard

you ment the rubber bands, or?
Here is the link (I choose page 8 where you can see it better)
BTW: Ken ´s method is working only with such colourful rubber bands - never use bands with a unique colour !!!! ;)
Hi Ewe, It was the two steel rules that I was referring to, the rubber bands were just a side show.
 
More problems... all my fault
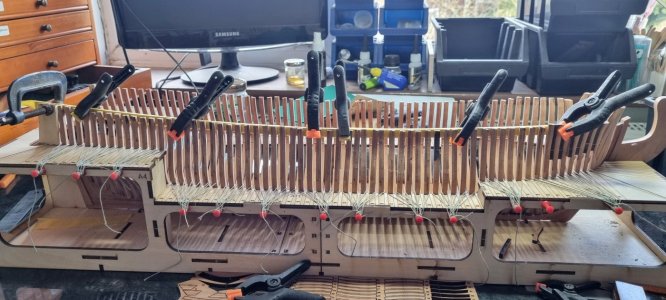
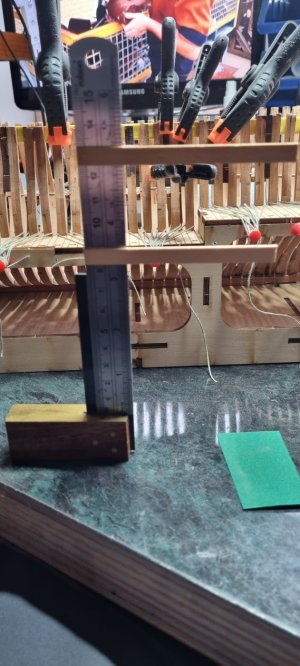
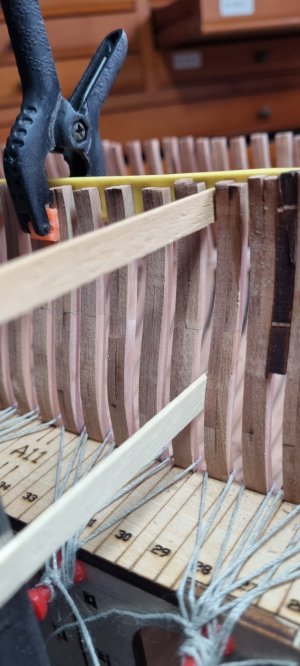
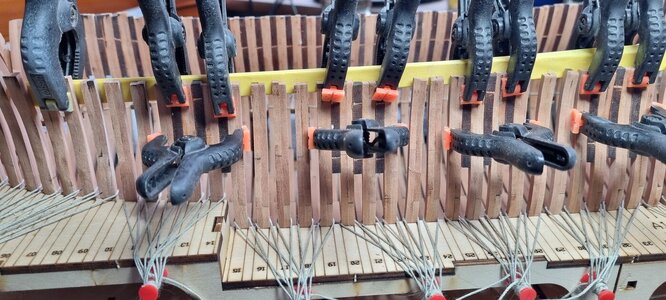
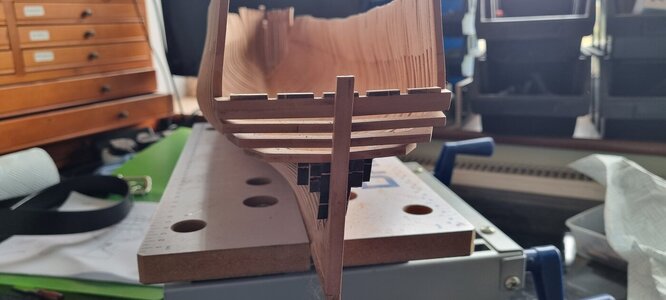
I started to fit the spacers using a modified version of Kens build I used a length of timber covered in tape to prevent it sticking to the frames
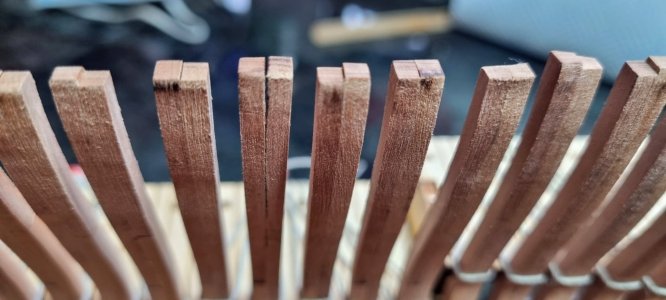
Although I checked the thickness of the spacers close to the building jig I found that as I progressed the frames were getting more and more not vertical.
I think that the problem is caused by my bad building if the frames. I have mentioned before that using tape to hold them in place wasn't quite good enough. And so now I have a few gaps this is making the frames wider at the top.
Do I try to separate the glued frames and re glue or do I slightly taper the spacers ???
Decisions decisions...a cup of coffee and a think is needed

20240308_115714.jpg

20240310_103724.jpg
 
A quick update before I have to take another break whilst dog sitting
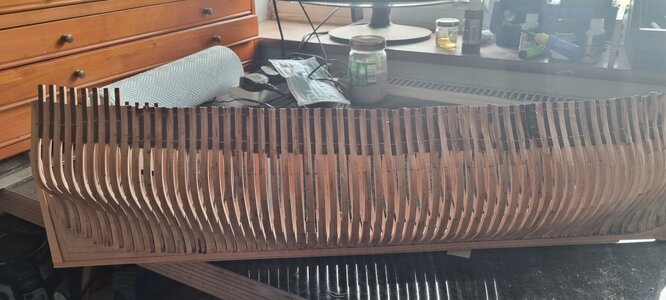
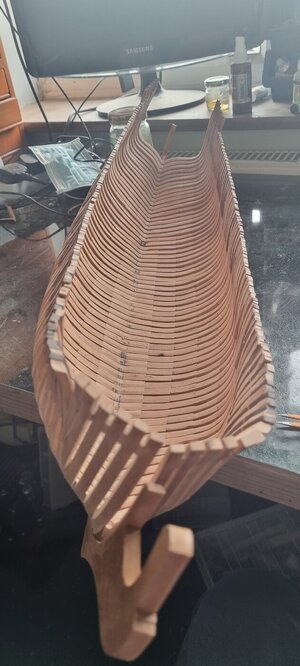
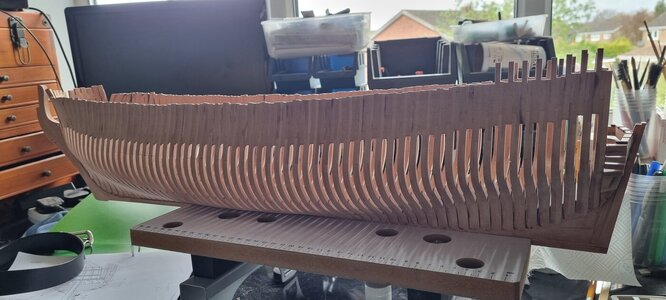
I started on the 2nd side fitting the spacers.I fitted them 3 at a time with a gap of 3 between them these could be adjusted until they were vertical using my jig. The spaces were then filled once the glue had dried.This seemed a lot more accurate than doing them all at once
After leaving for a day the hull could be removed from the building jig
Looks OK to me we will see what it looks like after a good sanding but that is a while away

20240312_160421.jpg

20240314_105424.jpg

20240314_105447.jpg
 
Congratulations for reaching this working step - It is for me everytime special when I have the first time the hull structure in my hnads
Happy sanding
BTW: It is looking very good - accurate work
 
I have a problem AGAIN !!
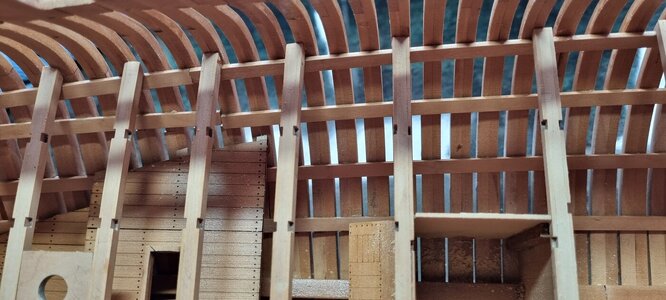
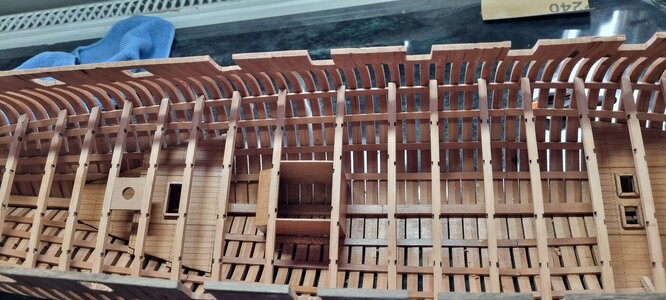
I have fitted the beams and rested them on the horizontal planks
I am now trying to fit the knees do I have to cut into the horizontal planks or do I cut into the knees ? If I don't do something then the knees will not fit up to the hull OR have I made a mistake in placing the horizontal planks and I need to start again
Thanks in advance
Abdy17162001516774021642667533364860.jpg17162001897024573844873556029682.jpg
 
Just caught your build and would like to say it is extremely well done. Will you be tapering the knee of the head as was done on the ship itself? From The Elements and Practice of Naval Architecture the taper goes from 11 inches at the stem to 4 inches at the seat of the figure head. This is missed on the majority of builds for some reason but is easy enough to accomplish. You can also see this on page 55 of the AOTS book Blanford by Goodwin although he does not give the dimensions.
Allan
Thanks for your kind words and the suggestion
I have ATOS book and will check it out
Andy
 
Just caught your build and would like to say it is extremely well done. Will you be tapering the knee of the head as was done on the ship itself? From The Elements and Practice of Naval Architecture the taper goes from 11 inches at the stem to 4 inches at the seat of the figure head. This is missed on the majority of builds for some reason but is easy enough to accomplish. You can also see this on page 55 of the AOTS book Blanford by Goodwin although he does not give the dimensions.
Allan
Hi, It’s coming along very nicely well done. The knees as they come out of the sheet don’t fit, I cut into them and shaped each one for the correct curve and fit. Don’t worry too much if they aren’t perfect as when the beams and buttons are fitted you can hardly see them then when the next deck goes on you can’t see them at all. Ken
 
Hi, It’s coming along very nicely well done. The knees as they come out of the sheet don’t fit, I cut into them and shaped each one for the correct curve and fit. Don’t worry too much if they aren’t perfect as when the beams and buttons are fitted you can hardly see them then when the next deck goes on you can’t see them at all. Ken
Thanks Ken
I am getting a great deal of help from your build but part of the "fun" is trying to solve the problems as they come up
 
Thanks Ken
I am getting a great deal of help from your build but part of the "fun" is trying to solve the problems as they come up
Hi again. Be aware that some of the knees towards the stern are above the beams, I think they may be called hanging knees, I spotted them quite late. If you think that solving problems is fun then your going to have a great time
 
Be aware that some of the knees towards the stern are above the beams, I think they may be called hanging knees,
Hi Ken,
Hanging knees hang down from the deck beams, and for Blandford are bolted to the side of the beams from what I can see of the drawings. Honestly I am not nit picking, but knees that rise up above the top of beams are standards, sometimes called standing knees or in the case of the 1719 Establishment, standard knees.
Allan
 
Hi Andy,

Whether you will taper the knee of the head as was done on the ship itself, or not, you doing a great job as your first POF model. I like your perseverance and diligence while assembly. I must admit, this is not an easy kit, but I am sure it will become a great model once completed assembly. Keep yem (images) coming.
Thanks Jimsky it is totally different from the kits I have made before but an enjoyable challenge
 
Back
Top