-

Win a Free Custom Engraved Brass Coin!!!
As a way to introduce our brass coins to the community, we will raffle off a free coin during the month of August. Follow link ABOVE for instructions for entering.
-

PRE-ORDER SHIPS IN SCALE TODAY!
The beloved Ships in Scale Magazine is back and charting a new course for 2026!
Discover new skills, new techniques, and new inspirations in every issue.
NOTE THAT OUR FIRST ISSUE WILL BE JAN/FEB 2026
- Home
- Forums
- Ships of Scale Group Builds and Projects
- Bluenose PoF Group Build
- Bluenose Group Build Logs
You are using an out of date browser. It may not display this or other websites correctly.
You should upgrade or use an alternative browser.
You should upgrade or use an alternative browser.
Thank you Gennaro. Are you saying I’m a scary looking sailor…lolThey turned out beautifully. Great job. Hate to say, but Deanrich avatar freaks me out for some reason.
Dropped part of turnbuckle in carpet…sigh! But I found it! 
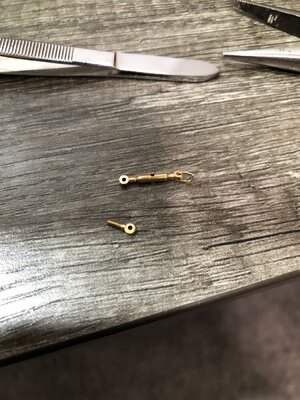
Then I did two of the lines, tedious work of course…I have 4 more to go, hope to finish them tonight. Then with the bowsprit properly supported, I can do the forward stays on the foremast. Then stays between main and foremast. Then the fun job of shroud lines on the foremast…
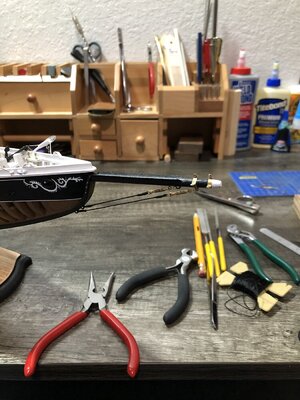
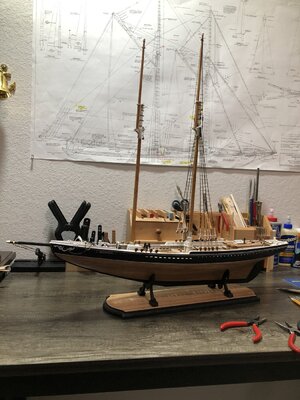
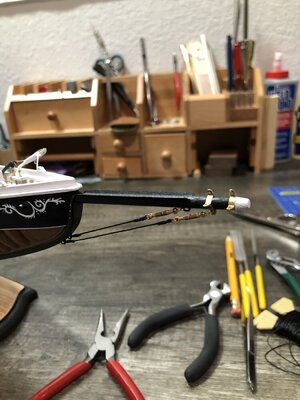
And a few of the foremast…
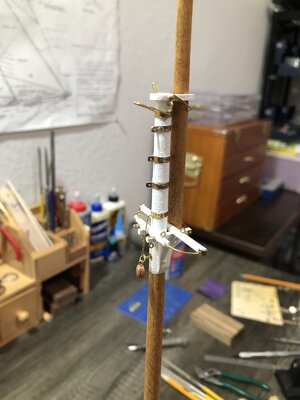

Then I did two of the lines, tedious work of course…I have 4 more to go, hope to finish them tonight. Then with the bowsprit properly supported, I can do the forward stays on the foremast. Then stays between main and foremast. Then the fun job of shroud lines on the foremast…


And a few of the foremast…


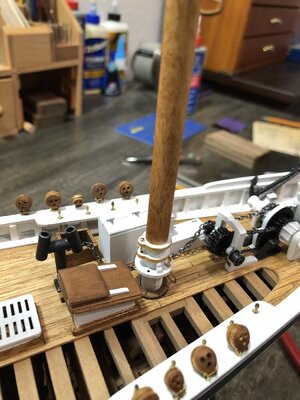
She is going well. The foremast boom fitting two pieces in wood greatly simplify making those with the vertical rod much easier.Dropped part of turnbuckle in carpet…sigh! But I found it!
View attachment 251841
Then I did two of the lines, tedious work of course…I have 4 more to go, hope to finish them tonight. Then with the bowsprit properly supported, I can do the forward stays on the foremast. Then stays between main and foremast. Then the fun job of shroud lines on the foremast…
View attachment 251842View attachment 251843
View attachment 251844
And a few of the foremast…
View attachment 251845View attachment 251846
That is my present small metal parts mission now. Having previously/prematurely placed the belaying pin band, lack of preplanning and impatience to get some thing in place after threading the sail hoops above, I now have to make the metal bands around the mast and secure them tightly in place with the pin through the mast end fitting. I seem to keep doing the two step from prior impulses and have to take the back step now.
One thing that is very evident, the more times that I have to go back the more damage for repair is created in the present. I hope that other builders avoid this wasteful dance.
There are no signs of such needed repairs or redo's in your work. Well done.
Rich
Looks good, Dean! The Black/White/Brass combinatie made a nice contrast. Those turnbuckles did the job where they where inventid for: nice tight tension.
Regards, Peter
Regards, Peter
Not only does the model and color combinations look great but as in real estate, it is "location, location, location" with the model presented for photos on the black granite counter top. Well done my friend with an artists eye. RichLooks good, Dean! The Black/White/Brass combinatie made a nice contrast. Those turnbuckles did the job where they where inventid for: nice tight tension.
Regards, Peter
I don't know man. I put some money on the side, but I think I'll spend it on Byrnes disk sender rather than on shrink to figure this out.Thank you Gennaro. Are you saying I’m a scary looking sailor…lol
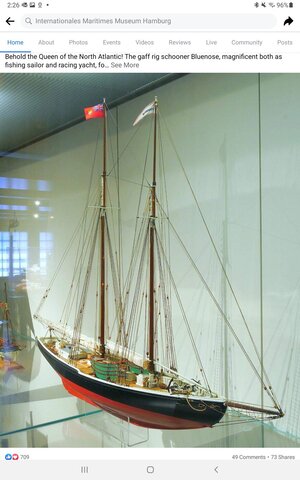
Beautiful outcome with the precise rigging. The acrylic base presents it very simply and without competing distraction. Rich (PT-2)This image posted today on facebook....from the International Maritime Museum HamburgView attachment 252039
We'll know how salty you are if you swagger across the pitching and rolling deck on your way to your work benchThank you Gennaro. Are you saying I’m a scary looking sailor…lol
Beautiful ship! Thank you for sharing!This image posted today on facebook....from the International Maritime Museum HamburgView attachment 252039
Interesting that the booms and gaffs are painted white. I plan to paint the jaws and the ends (tips) white on mine. That’s why I painted the end of the bowsprit white. I have a theme in mind.
Last edited:
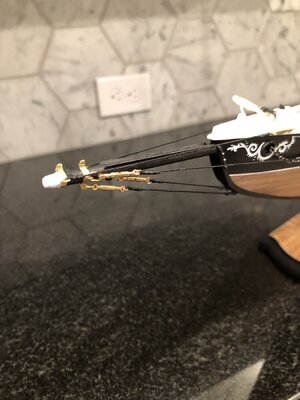
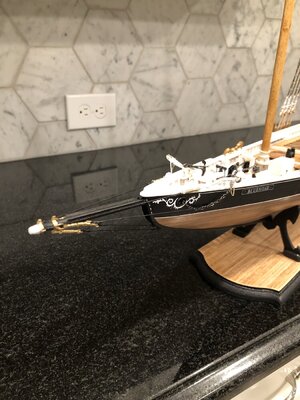
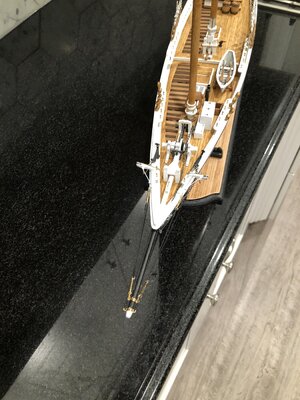
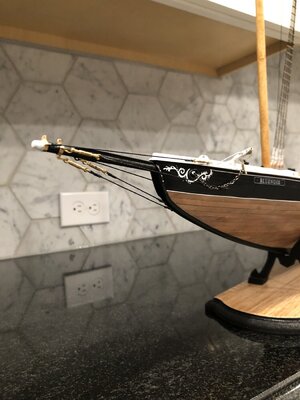
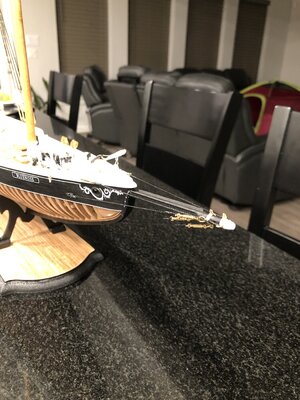
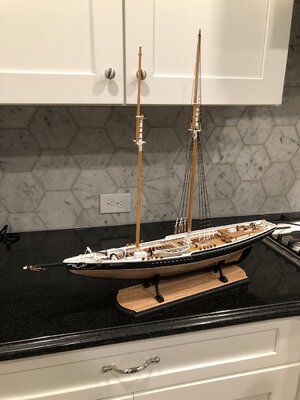
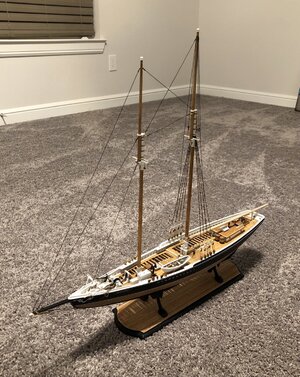
Put on some stays, now that the bowsprit is done!
Going to do blocks for upper foremast next and then the shroud lines, and finally rat lines.
I am waiting to do the back stays on the main mast until I do the main boom and gaff, otherwise they would get in the way.
As most of you know, the order is important…not just to be able to reach lines, but on stays if you tension one line too much it will put slack on some previous lines! So it’s a delicate balance. And for that reason I had to do the bowsprit, so I could do the jumbo jib stay, so I could do the shroud lines. All that because the stay goes on the mast first before the shroud lines.
Anyway…pics
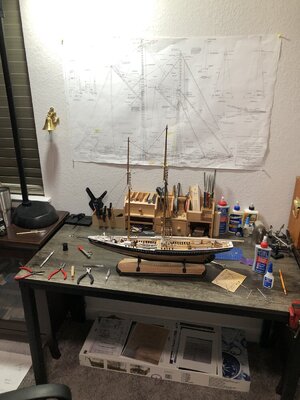
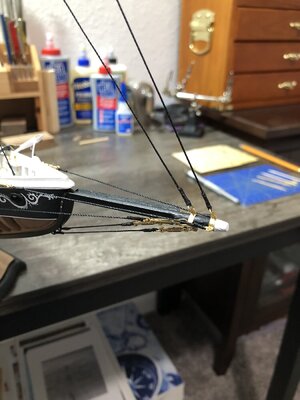
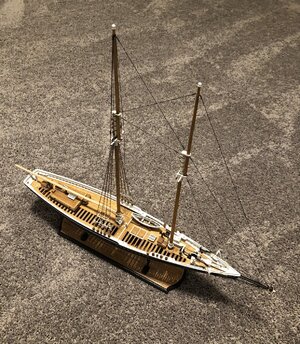


Very will done with clean end connections. The photo on the carpet with bow into the wind as long windblown saragasso stream by although possibly accidentally placed is a true oceanic voyage reality, Capt. Dean. You are truly at the helm guiding her along her voyage. Rich (PT-2)Put on some stays, now that the bowsprit is done!
Going to do blocks for upper foremast next and then the shroud lines, and finally rat lines.
I am waiting to do the back stays on the main mast until I do the main boom and gaff, otherwise they would get in the way.
As most of you know, the order is important…not just to be able to reach lines, but on stays if you tension one line too much it will put slack on some previous lines! So it’s a delicate balance. And for that reason I had to do the bowsprit, so I could do the jumbo jib stay, so I could do the shroud lines. All that because the stay goes on the mast first before the shroud lines.
Anyway…pics
View attachment 252081View attachment 252082View attachment 252083View attachment 252084
Thanks Rich. I am learning that when it comes to serving the line, less is better, to avoid an ugly out of scale bulge. I’m not happy with all of them, but I am getting better all the time. The next step will be to use better rope!Very will done with clean end connections. The photo on the carpet with bow into the wind as long windblown saragasso stream by although possibly accidentally placed is a true oceanic voyage reality, Capt. Dean. You are truly at the helm guiding her along her voyage. Rich (PT-2)
Thanks Rich. I am learning that when it comes to serving the line, less is better, to avoid an ugly out of scale bulge. I’m not happy with all of them, but I am getting better all the time. The next step will be to use better rope!
I am interested in the way that you serve your stays, say at the bowsprit to foretop mast at the ends.Thanks Rich. I am learning that when it comes to serving the line, less is better, to avoid an ugly out of scale bulge. I’m not happy with all of them, but I am getting better all the time. The next step will be to use better rope!
When I strop blocks I use an alligator clip on an elastic cord to hold the block and then after passing the stropping or stay line around the back of the block I touch some glue to the back over the groove and gather the two ends into a second clip from the other direction an gently pull a tension. The to serve the block I take my thread to form a loop to the left side and open end to my right where I wrap the serving around back to the loop; then push the serving thread through the loop and gently pull both thread line ends in opposite directions pulling the thread under the wraps to secure it before another touch of glue and cutting the ends off along with the excessive "stropping" or stay thread.
On stays I would try to secure one end, bowsprit fitting for example; then pass the stay line through the fitting folding it back for serving. As this closed condition does not allow me the same freedom of serving I have not been using the pull loop system but only wrapped the serving thread around the folded back stay line and then with a clip on each end touching each with a spot of glue. When it is set I cut off the excess with a razor blade which does leave the bitter end fragments protruding at times.
Are you using the closure loop system for neat finished ends of the serving? I cannot tell from the photos but your system/touch is very smooth and clean. My dock is always open for suggestions as I am very close now to those stays. My deadeyes on the mast shrouds did not come out as neat and clean as I would like and certainly not as well set at yours.
Thanks for your recommendations if you have time to pass those back. Rich
Rich, I simply fold the line back on itself and use CA to glue it. I don’t use a knot on the line itself. Then I use thread, and tie a knot around the line where folded on itself. Then I put CA on the outside of the line, and wrap the thread around it. Then cut the end of the thread after wrapping, with an xacto. Then I use flat black paint, to paint over the served area. This gets rid of any shiny spots or other blemishes. That’s how I do the stays. On the shroud lines, I use small rope.I am interested in the way that you serve your stays, say at the bowsprit to foretop mast at the ends.
When I strop blocks I use an alligator clip on an elastic cord to hold the block and then after passing the stropping or stay line around the back of the block I touch some glue to the back over the groove and gather the two ends into a second clip from the other direction an gently pull a tension. The to serve the block I take my thread to form a loop to the left side and open end to my right where I wrap the serving around back to the loop; then push the serving thread through the loop and gently pull both thread line ends in opposite directions pulling the thread under the wraps to secure it before another touch of glue and cutting the ends off along with the excessive "stropping" or stay thread.
On stays I would try to secure one end, bowsprit fitting for example; then pass the stay line through the fitting folding it back for serving. As this closed condition does not allow me the same freedom of serving I have not been using the pull loop system but only wrapped the serving thread around the folded back stay line and then with a clip on each end touching each with a spot of glue. When it is set I cut off the excess with a razor blade which does leave the bitter end fragments protruding at times.
Are you using the closure loop system for neat finished ends of the serving? I cannot tell from the photos but your system/touch is very smooth and clean. My dock is always open for suggestions as I am very close now to those stays. My deadeyes on the mast shrouds did not come out as neat and clean as I would like and certainly not as well set at yours.
Thanks for your recommendations if you have time to pass those back. Rich
Thanks. That is a lot easier than pulling the end under the wraps with the loop method. I may have done something somewhat similar to you when I did m Pilot Boat about two or three years ago. Wrapping the thread around the stay/shroud between adjacent lines just takes steady hands and good narrow nosed tweezers to pass and grab. I will follow that tack for the mainmast shrouds deadeyes. I had not thought of painting over the served area but it makes sense. RichRich, I simply fold the line back on itself and use CA to glue it. I don’t use a knot on the line itself. Then I use thread, and tie a knot around the line where folded on itself. Then I put CA on the outside of the line, and wrap the thread around it. Then cut the end of the thread after wrapping, with an xacto. Then I use flat black paint, to paint over the served area. This gets rid of any shiny spots or other blemishes. That’s how I do the stays. On the shroud lines, I use small rope.
- Joined
- Jan 9, 2020
- Messages
- 10,566
- Points
- 938

You are flying along. Wow I had top do a lot of catch-up and cannot believe how much you got done in amazing. And - may I add - all done with the usual aplomb and perfection which has now become an intrinsic hallmark!
I just ordered one of those tools myself Dean , thanks for postingI finished all of the metal work on the foremast and glued it in place. Next I have to make some of the single blocks for the gaff, and hook them on the foremast, in preparation for rigging.
I also got to use my new wire bending tool. Works very well. I bought it so I can make my own eyes and hoops.
View attachment 251260View attachment 251261View attachment 251262


