I would offer to make and mail you a new piece but at the speed you are going you'll have her fully rigged and in a showcase before the piece gets to you!! 
Looking good!
Looking good!
 |
As a way to introduce our brass coins to the community, we will raffle off a free coin during the month of August. Follow link ABOVE for instructions for entering. |
 |
 |
The beloved Ships in Scale Magazine is back and charting a new course for 2026! Discover new skills, new techniques, and new inspirations in every issue. NOTE THAT OUR FIRST ISSUE WILL BE JAN/FEB 2026 |
 |


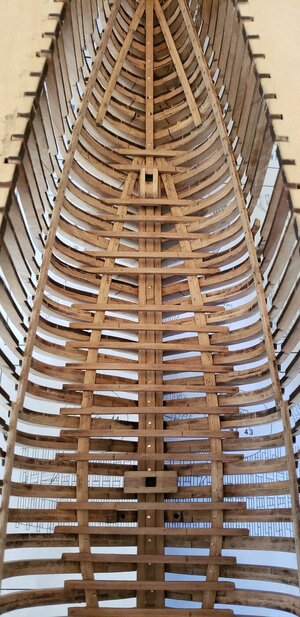
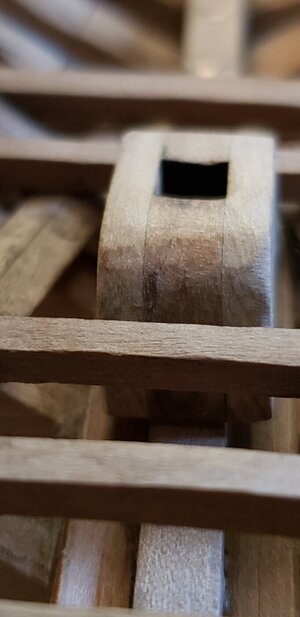
With your amazing speedy progress I am not sure when you arrive at the stage of installing the two pump risers (dowels from what I saw earlier posted for the holes), you may consider that those pump riser casings were not round but planked, possibly octagonal at the most gross assumption and likely more sides with each vertical plank beveled and likely tongue and grooved into each other as well as caulked. For a more precise presentation of those you may want to file off from round to multifaceted riser column. That would trick it up to the precision that you are working with in the exposed starboard side. Just a thought for contemplation. . . Great work. Rich (PT-2)This morning before work, I squeezed in a bit of shipyard labor. Made and placed the fore- and main maststeps.
View attachment 205612
Suggestion: the fore maststep is not made to straddle the keelson. I was able to secure it fairly well, but I decided to file a fine groove at the base to seat it over the keelson. I would suggest that future versions of the kit correct for that if possible. It should just be a matter of extending the cheek pieces 1-2 mm in height, and I don't foresee that affecting any other areas of the build. (Just really picking nits here on an extremely well-made kit)
View attachment 205613

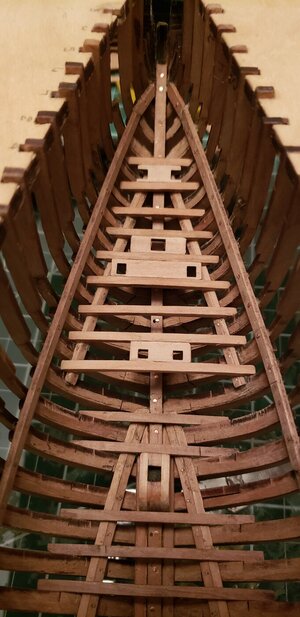
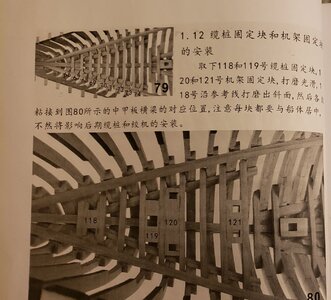
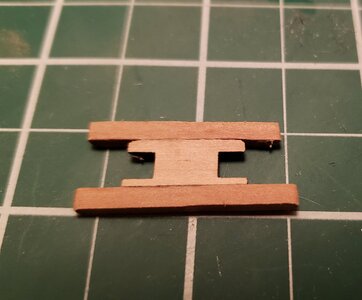


great progress and it's looks amazingI decided to stay up late and push through to finish this set of deck beams. Very straightforward process of laying them down in place, but it took some time to sand these all down in preparation. I did somehow manage to break one of these (I really am an oaf), so there is a gap at frame #, but I think I can get away with it as there are a couple of other intended gaps here. Next up...looks like mast steps....and more beams.
View attachment 205487
Man, what a kit and what an execution! Beautiful. Please, keep pictures coming.
TOP Eric!

I did make a replacement from a scrap of the parts sheet. I was worried about finding a big enough scrap. Not only did I find one, I even found one that matched the camber of the deck.Can’t you make a new one out of the rest-wood of a sheet?
Regards, Peter


Hi Eric,Here you go, @Dean62 .
Halfway through, and then she'll need a good surface sanding.
View attachment 206163
