- Joined
- Sep 3, 2021
- Messages
- 5,190
- Points
- 738

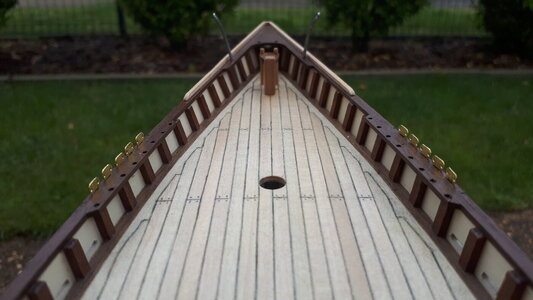
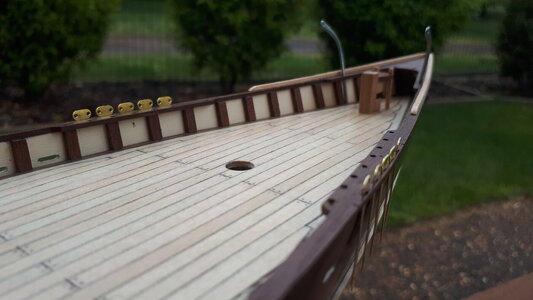
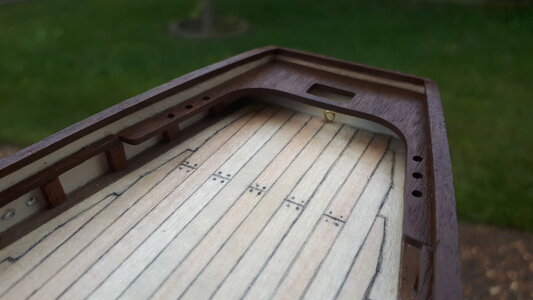
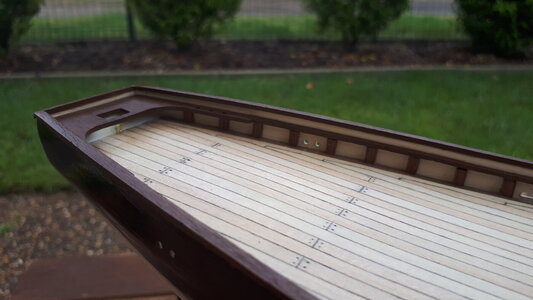
#Wiping sweat from brow#That is one nice thing about the YQ kit, the scuppers are precut on the upper bulwarks used to plank with. Saves a lot of time and headache!
 |
As a way to introduce our brass coins to the community, we will raffle off a free coin during the month of August. Follow link ABOVE for instructions for entering. |
 |
 |
The beloved Ships in Scale Magazine is back and charting a new course for 2026! Discover new skills, new techniques, and new inspirations in every issue. NOTE THAT OUR FIRST ISSUE WILL BE JAN/FEB 2026 |
 |

#Wiping sweat from brow#That is one nice thing about the YQ kit, the scuppers are precut on the upper bulwarks used to plank with. Saves a lot of time and headache!
Thanks PeterI can imagine that it created ‘some’ tension when making the scuppers. Drilling into the tight hull of so many openings. They completely determine the view. But they all fit nicely and in line. Bravo Mark!
Regards, Peter

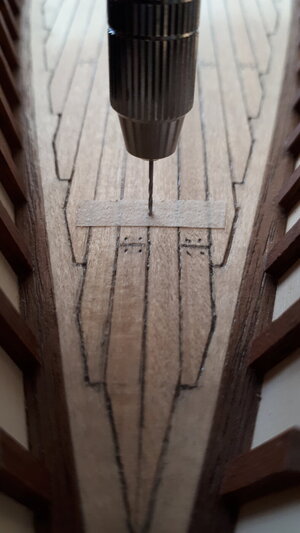
Ok, I feel better now that I know it was fraught with riskCan't say I ever tried to make scuppers, but all of the available methods are, IMHO, full of risk;
- Inside-out: risk of damaging one's decks, drill angle not parallel to deck or normal to planks.
- Outside-in: risk of damaging one's decks, scuppers to high or to low.
- Off ship: risk of misaligned scuppers, both horizontally (stansions) and vertically (decks).
Once came across a solution where the scuppers were printed (white) on (black) paper and glued to the ship's hull. From a normal viewpoint rather convincing, only a close inspection would reveal the truth.
For those who succeeded with their selected/preferred method: chapeau! That includes you, Mark; consistent in dimensions and positions, at least as far as I can see; very nicely done.
![scupper_template[1].jpg scupper_template[1].jpg](https://shipsofscale.com/sosforums/data/attachments/248/248082-a40460f8e7df2c566c8501bf1be69183.jpg?hash=pARg-OffLF)
Lucky!That is one nice thing about the YQ kit, the scuppers are precut on the upper bulwarks used to plank with. Saves a lot of time and headache!
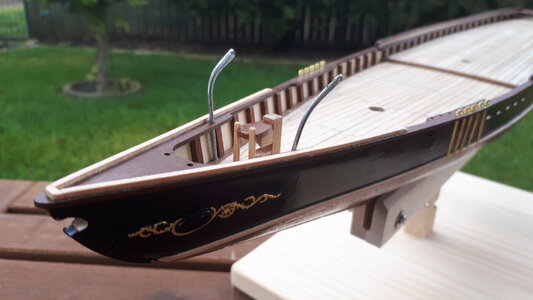
Looking very nice! Good work!Simply add a couple of rubbing strakes and suddenly my Bluenose has a touch of class and elegance about it
Rubbing strakes. That's right up there with Garboard strake. Got to love this language
View attachment 263640
Thanks again DeanLooking very nice! Good work!
What one line can make a big difference. Elegant!Simply added a couple of rubbing strakes and suddenly my Bluenose has a touch of class and elegance about it
Rubbing strakes. That's right up there with Garboard strakes. Got to love this language
View attachment 263645
Thanks PeterWhat one line can make a big difference. Elegant!
Regards, Peter

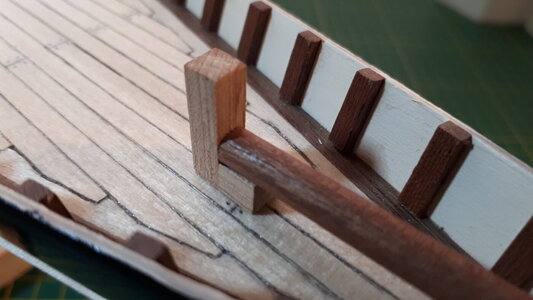
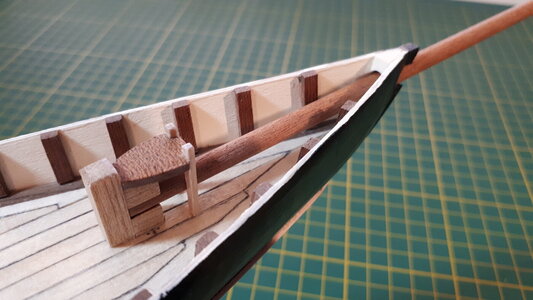
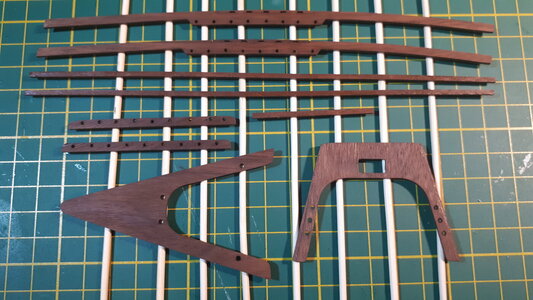
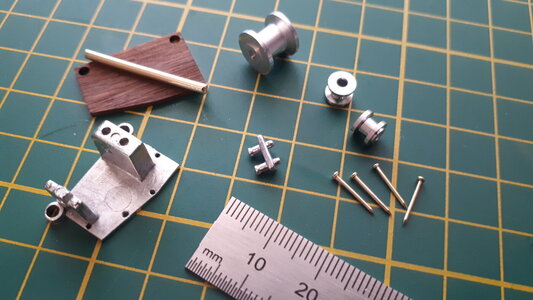
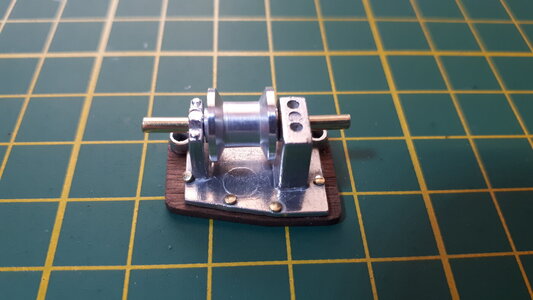
NIce clean work up here on the bow. Interesting idea to add your "rubbing strakes" which are different than hull strengthening strakes called wales. You gave her a clean new line and appearance. Rich (PT-2)I have been looking forward to constructing the bowsprit, to me one of the most attractive aspects of a sailing ship. First things first though, the assembly of a bracket to support the bowsprit on the foredeck.
View attachment 263988
The key to this procedure was to keep everything lined up with the centre of the deck, the mast openings, and the bowsprit opening at the stem.
View attachment 263989
Contrary to instructions, I kept the bowsprit itself loose for the time being. There seems to be too much work ahead with stays and tighteners to warrant cemeting the bowsprit to the bracket just yet.
View attachment 263990
Good Job!Added the hawseholes and the shiny embellishments that surround them, giving the ship, however far from finished, a certain touch of class
View attachment 265553
Thanks Dean. Baby steps, but I'm getting there.Good Job!

Nice, very nice. And those curves...Added the hawseholes and the shiny embellishments that surround them, giving the ship, however far from finished, a certain touch of class

Thanks!Nice, very nice. And those curves...

You have very precise and uniform brush stroke widths in those vines. It looks very nice. RichThanks!
Thanks Rich, still a long way to go thoughYou have very precise and uniform brush stroke widths in those vines. It looks very nice. Rich
