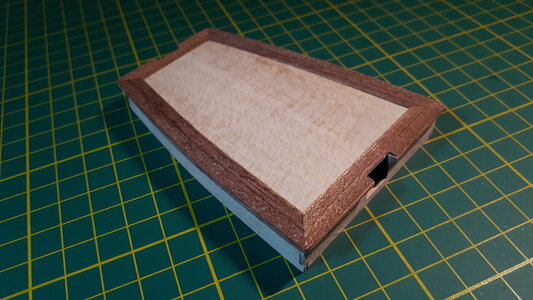
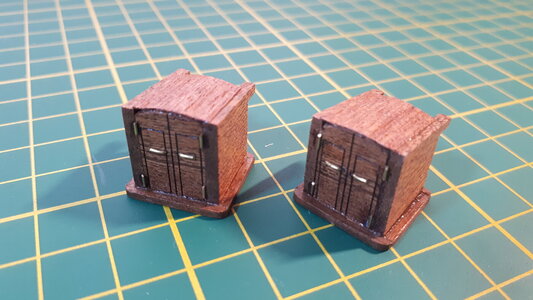
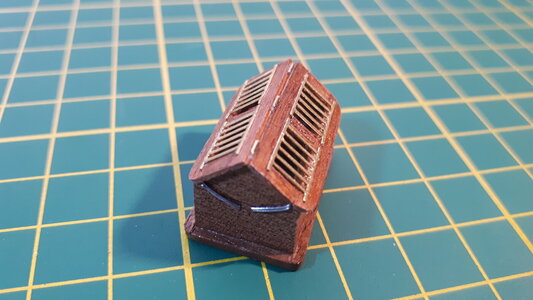
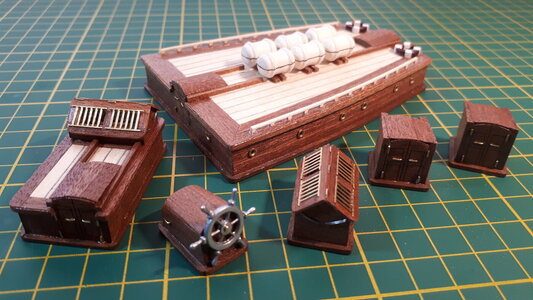
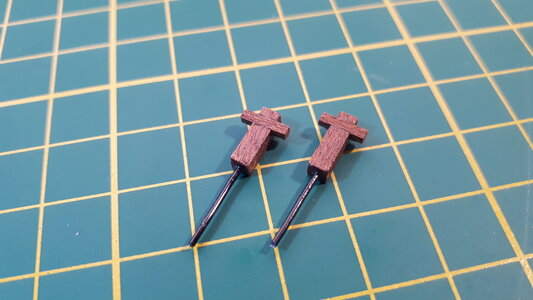
I made a start with the deck furniture while waiting for my stanchion wood to arrive. The stern cabin was the largest of these items, and began with a plywood box assembly that fitted together well enough.
View attachment 259030
Sapele cornicing and exterior cladding were then added to the roof of the cabin. Diagonal joins at the corners were not called for, but the effect looked a lot tidier somehow.
View attachment 259031
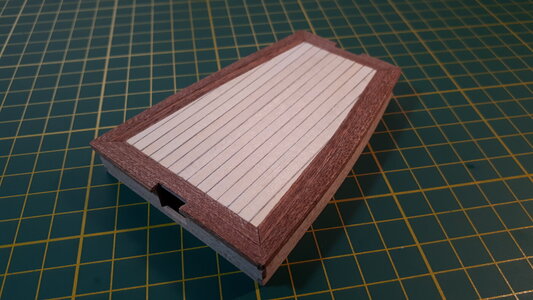
Basswood planking completed the roof of the cabin, and it had the same look and feel as the deck planking that I seemed to have done so very long ago. Symmetry was the key, and a .5mm 2B pencil lead took care of the caulking.
View attachment 259032
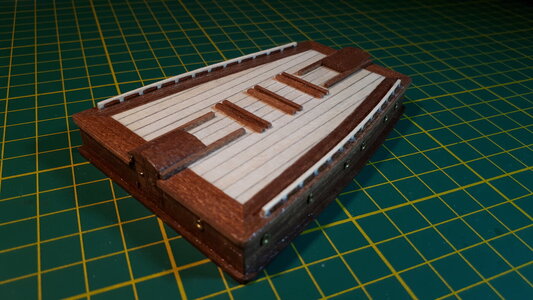
A quick varnish to get the best out of the Sapele wood, followed by a series of drilled holes around the sides to accommodate the bulls-eyes. And then things started to get a lot smaller. The brass wire cuttings that made up the door handles and hinges on either side of the cabin were barely visible, and my close-range sight was severely challenged when I saw three pieces between my tweezer ends when there was in fact just one
 View attachment 259033
The handrails and container trims were next ...
View attachment 259034
... and finally six life-raft containers and two red-and-white lifebuoys brought the stern cabin to life. My Tamiya white paint did not take to the boxwood containers and I eventually applied the same ivory white paint that was used for the inner bulwarks and transom. The Tamiya red paint did sit well on the cast-iron lifebuoys however, and were complemented by the same ivory white paint to give them their red-and-white marine look


