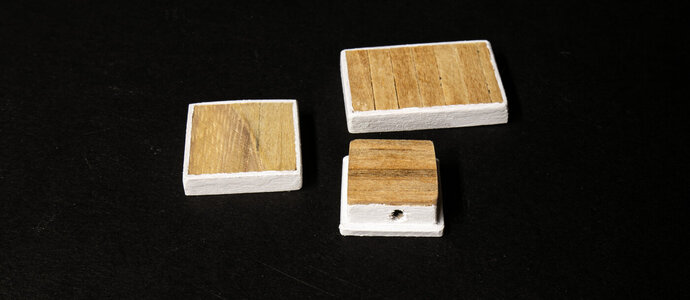
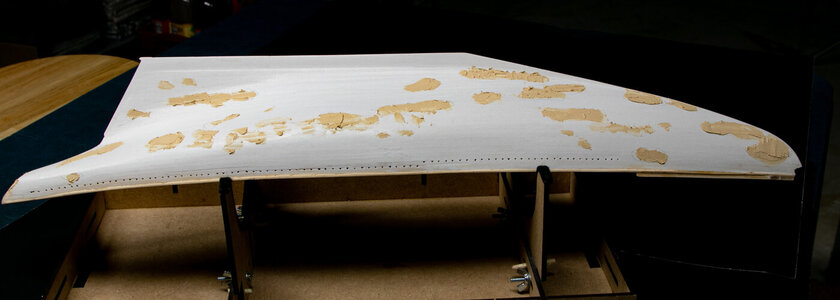
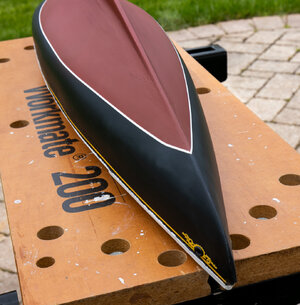
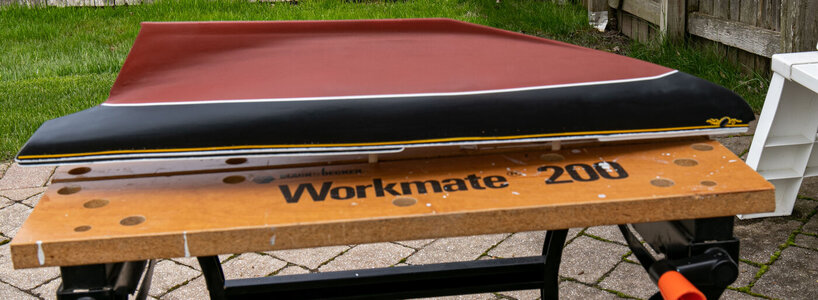
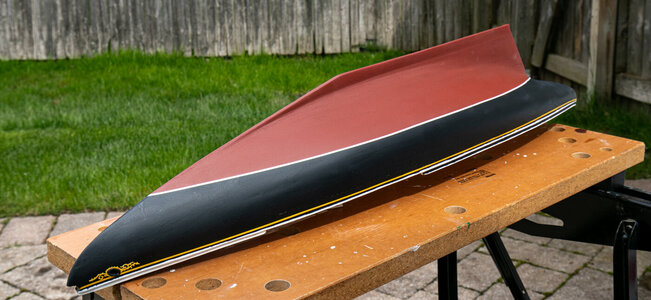
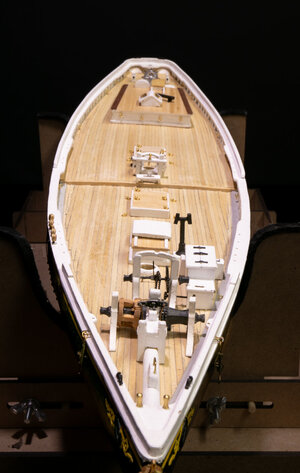
More deck structures assembled.
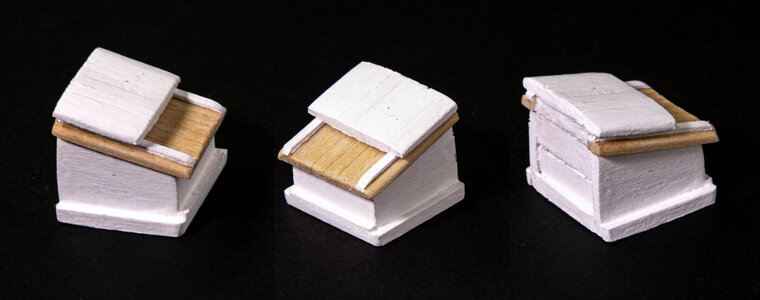
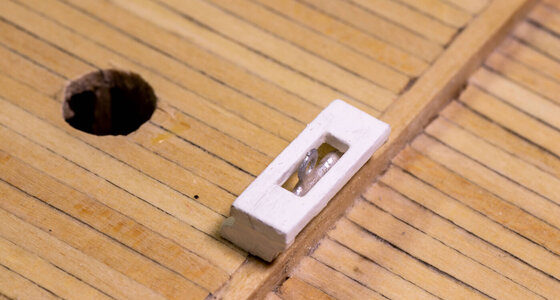
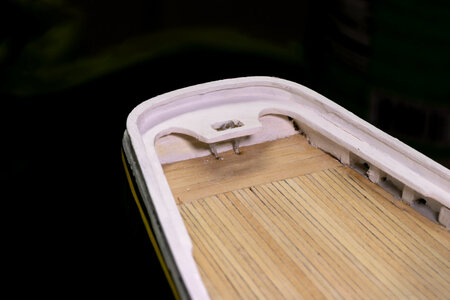
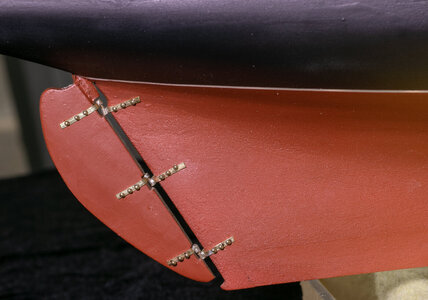
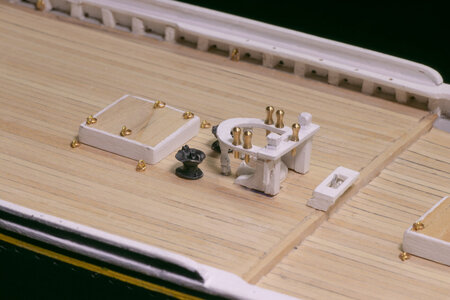
Sheet boom buffers. The one in the stern was problematic. The legs were too short, so I had to cut them off, drill holes and add some 0.5mm nails for the legs. Along with being too short, I should have installed the piece before doing the stern rail. I could not find a way to install the piece under the rail so it would extend into the slot in the rail correctly. I ended up cutting the slot for the sheet buffer boom off of the rail and then installing the piece. Once in place I glued, puttied, sanded and repainted the slot area of the rail.
View attachment 376776View attachment 376777
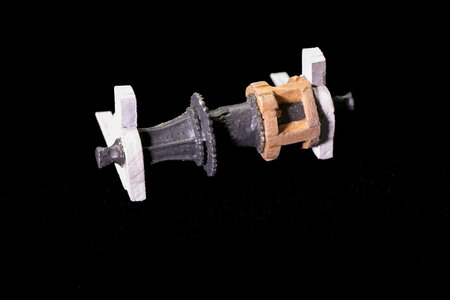
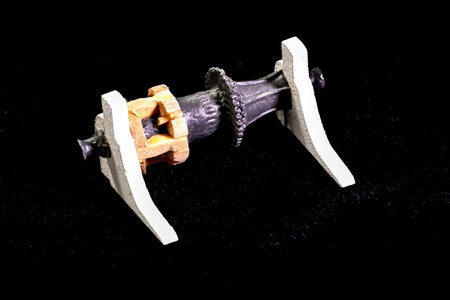
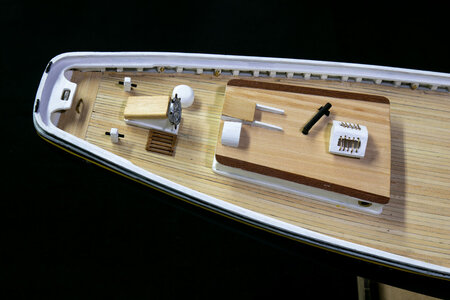
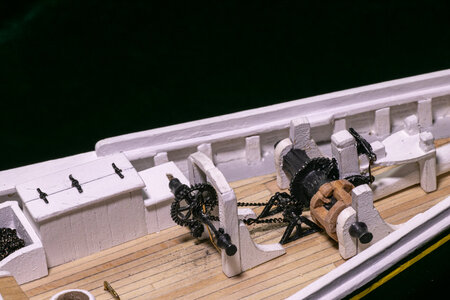
Next was working on the bow machinery. Once you have spent some time studying the plans drawings it makes some sense regarding where everything goes. I started with the windlass. This part requires the port end built for hauling chain and the starboard end built for hauling rope. Brass wire was glued to the port end of the windlass and a wooden "cage" was built around the starboard end. The windlass was painted and then the laser cut supports were assembled with the windlass. I painted the moving parts of the machinery a grimy black/grey color and the non-moving parts black. Wooden supports are white.
View attachment 376781View attachment 376782View attachment 376783
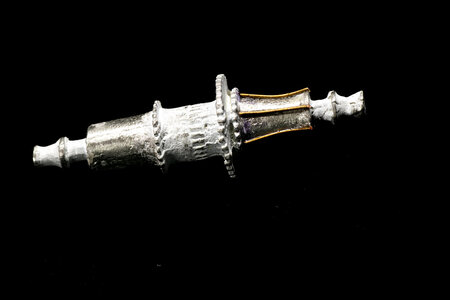
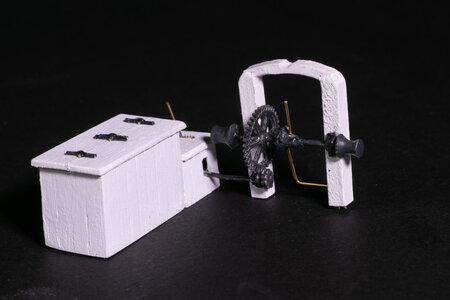
The next piece I worked on was the drive from the engine. There is a large gear that needs to fit onto the supplied Britannia metal shaft unit. The difficult part is that the unit has to have the shaft removed and replaced with a new axle to fit the separate larger gear. So, I cut the Britannia shaft off and drilled the faired ends and the small sprocket. I use a long brass nail for the new axle.
View attachment 376780
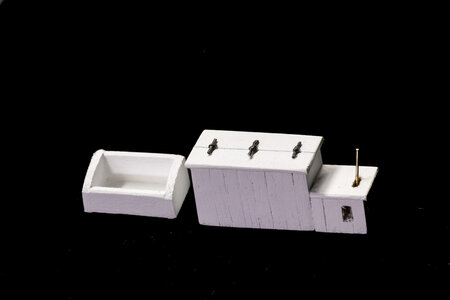
Onto the engine box and the box for extra chain. The engine box was made from 2 solid pieces of scrap covered with thin planking. The cover was made and then scored more deeply to represent a 2-part hinged cover. Hinges were mad from small brass rod and copper strips (scrounged from extra materials from my whaleboat build). Slots were cut into the lower part of the engine box for the sprocket shaft and the handle for engaging the gears inside the box. For those builders who are interested the plans show the equipment that would need to be made if you wanted to have the hinged top open.
View attachment 376784
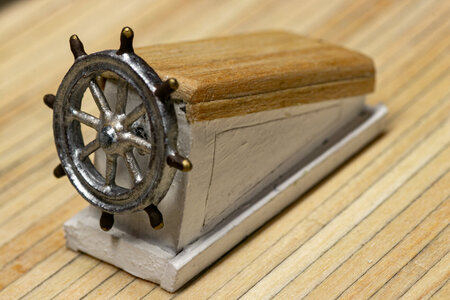
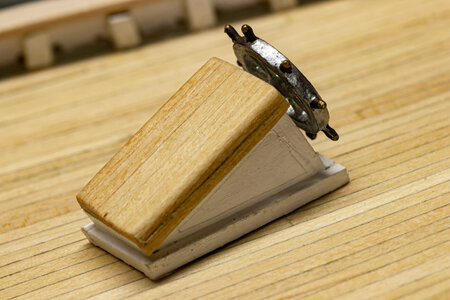
Finally, the last piece was constructed and the gears put into place. I simulated the lever that engages the chain sprocket with a L-shaped piece of brass wire. Here's what the engine box and gearing will look like on the deck.
View attachment 376785


