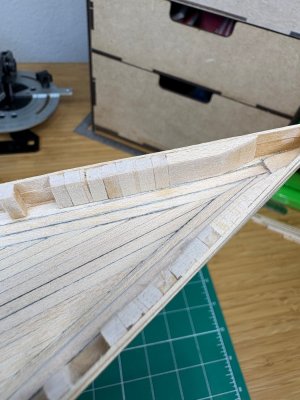
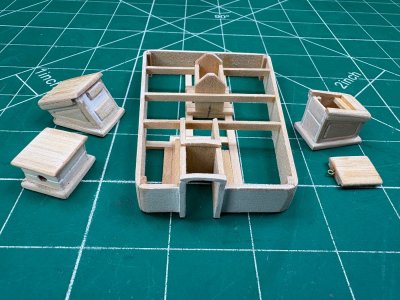
Planking the quarter deck
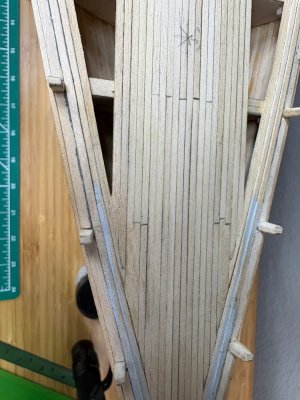
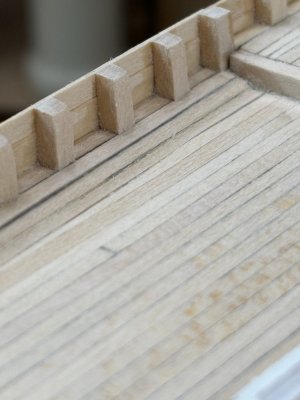
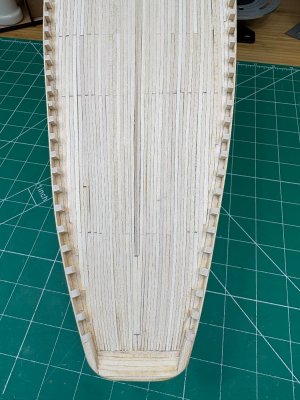
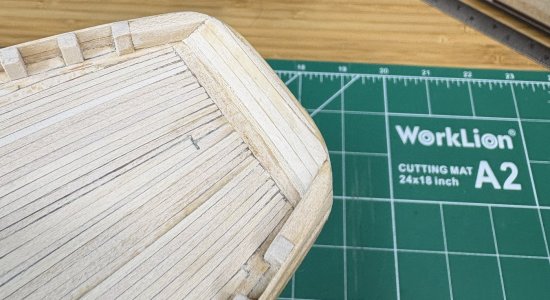
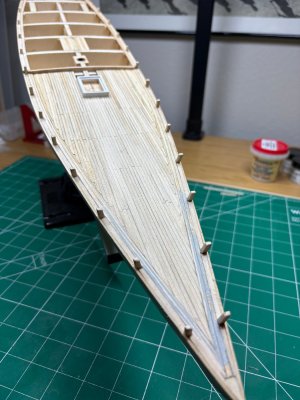
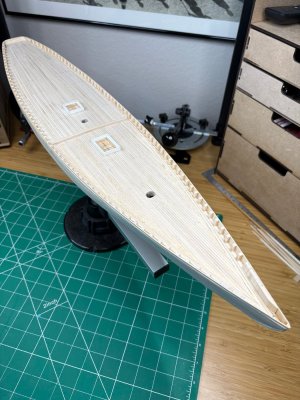
The obvious challenge on the quarter deck is the tapering of the planks going aft. I hand cut the first six planks - two down the centerline then the four notched planks ending at the transom's cross planks (I had preinstalled those after shaping the filler blocks, more on the transom later).
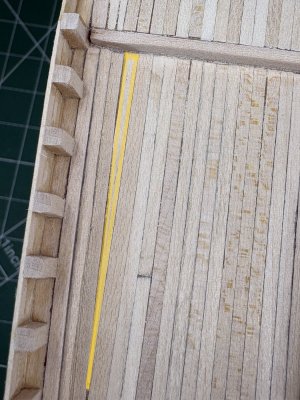
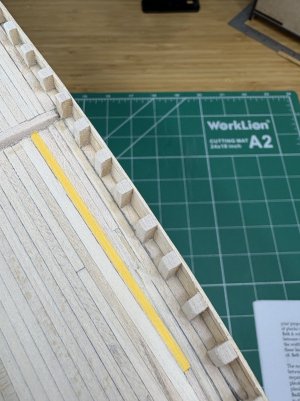
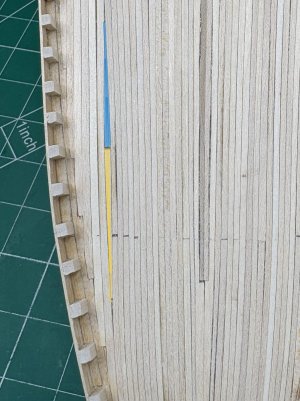
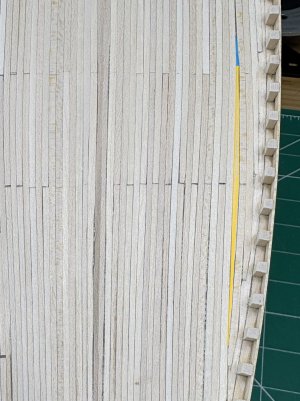
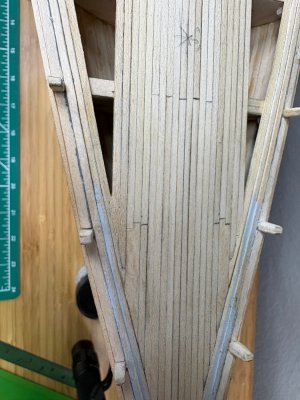
For the rest of the tapered planks, I used my mini block plane and started the tapers about 6" from the end, then gradually planed closer and closer to the aft end (about 4-5 total strokes). Not every taper ended the same width but the general stack up turned out ok. I found this easier and more consistent than cutting with a knife, with no sanding required. Similar to the fore deck, I did have to custom fit four planks to fill in the converging angles (highlighted in yellow and blue). Not text book but they did the job.
Despite my apprehension going into it, the quarter deck was much simpler than the fore deck (which was self-induced I'm sure LOL).
View attachment 606933View attachment 606935View attachment 606934
Waist planks
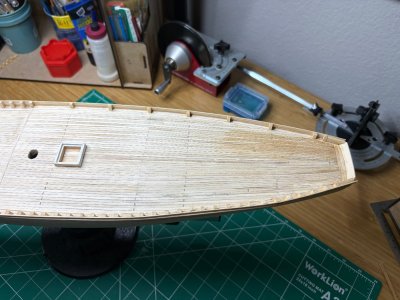
I experimented adding scuppers using a small diameter gouge and did install one waist plank with them. I soon decided my method wasn't consistent enough and was not to scale. I removed the plank and reinstalled without scuppers. I recall one of the scale modeling rules of "can you see it at scale?" (in this case 1/64" x 3/64" slots) and decided that was good enough for me!
I guess I wasn't paying attention when I installed the waist planks because I did leave some small gaps between the planks (I probably should have wet shaped them). Nothing a bit of filler won't hide but it was a miss on my part.
Transom
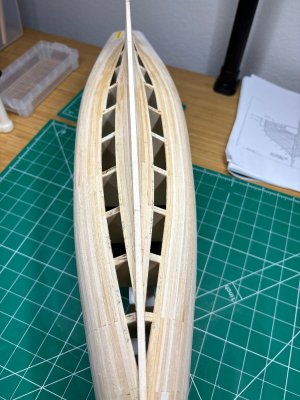
Back at the framing stage, I installed the filler blocks without much trouble. I roughed the shape in the garage using small hand saws, then got closer with my oscillating spindle sander. After gluing them in, I hand sanded as close to the plan profiles as I could. Once I started on the stern blocks and transom framing/planking, I fine tuned the filler block profiles.
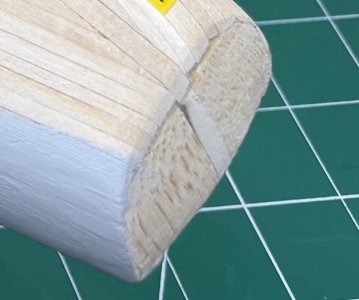
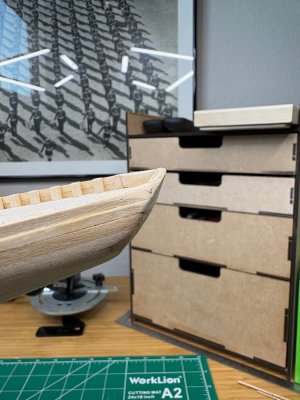
Now for the biggest rework I've created so far. Soon after hull planking was done, I absentmindedly trimmed the planks flush to the filler blocks, ignoring how to transition with the transom planks! Only when I started work on the transom did I realize this. Also notice where I had sanded a few planks down to the filler block!

I later carved fake plank joints and brushed on some primer. Big lesson learned, especially when I build a natural finish hull.
View attachment 606936
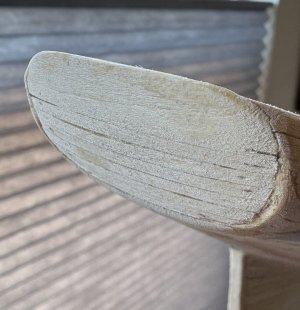
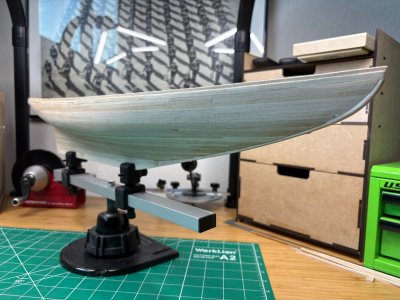
I played with shaping a curved filler piece to serve as a joint between the hull and transom planks but abandoned that idea. I then decided to go big and carve out the filler blocks to allow transom planks to butt up against the now exposed hull planks. This took some time but with the help of my carving knives, I was able to get it pretty smooth. Yeah, I effectively shortened the stern but I'm good with it and the profile seems to look ok.
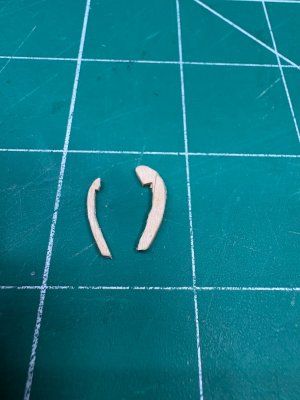
Starting at the bottom, I then shaped and installed six thin planks and was able to tuck them in reasonably well so the hull planks overlap. Instead of installing the support pieces called out on the plan, I decided to shape and install a wider strip near the top, which will also support the planking on the deck side. I'll likely carve out some fake joints across the wide strip. I'll continue sanding/filling soon but given the wrong turn I took earlier, I'm happy with the fix. Oh yeah, I started to shape "fashion pieces" called out at the transom, in case I can make heads or tails on how they fit! So far, I haven't found an example!
View attachment 606941View attachment 606938View attachment 606951
I then shaped and installed transition blocks between the last fake stanchions and the that wide strip. I then installed the interior planks and shaped everything to resemble the profile on the plan.
View attachment 606939
Back at the bow, I installed my interpretation of the hawse timbers and knighthead using using 1/8" stock. I still need to install the chafe block.
View attachment 606940
Fake stanchions
I forgot to mention these. Like others, I thought I'd be able to utilize the bulkhead extensions but once I installed the first fake stanchons, it was obvious they would not do! Oddly shaped, varying thicknesses - just battered LOL. They definitely served a purpose during the install and I cut them off along the way. After all of the stanchions were in place, I went back and sliced a bit off most of the fronts so they fell even with the waterways - especially on the quarter deck. This way the painted stanchions will be even with the waterway (likely painted as well) and not the main deck planks.
Ok, I think I hit the major areas so it's time to move forward!







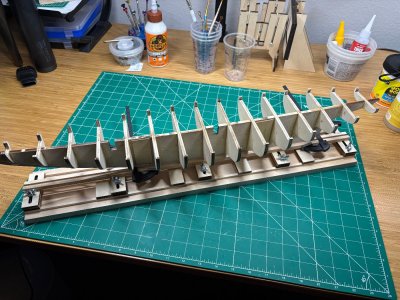
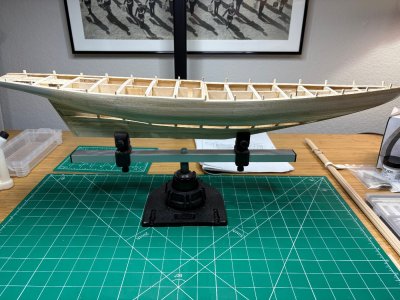








 I have to say it's therapeutic to write down part of my journey over the last few months - let's hope I apply all of this going forward.
  Thanks for allowing me to share...