
Superb build and great pictures. I have just acquired the Phoenix kit as my next build. Your build log will be extremely useful when I start.

-

SUBSCRIBE TO SHIPS IN SCALE TODAY!
The beloved Ships in Scale Magazine is back and charting a new course for 2026!
Discover new skills, new techniques, and new inspirations in every issue.
NOTE THAT OUR NEXT ISSUE WILL BE July/August 2026 -

Win a Free Custom Engraved Brass Coin!!!
As a way to introduce our brass coins to the community, we will raffle off a free coin during the month of August. Follow link ABOVE for instructions for entering.
You are using an out of date browser. It may not display this or other websites correctly.
You should upgrade or use an alternative browser.
You should upgrade or use an alternative browser.
Brigantine Phoenix, by Master Korabel [COMPLETED BUILD]
- Thread starter moreplovac
- Start date
- Watchers 47

Hi Pter, thanks for your comment, much appreciated. I have few kits on my shelf, one being Xebec but need to make some showroom for its scale so i decided to do the tribute to Christopher Columbus and to work on Pinta and Santa Maria. Always wanted to do two ships in parallel, just to taste the water...Beautiful ship she has become. You must be very proud! I like this kit and have it on my wishlist for a while. Your own input make her standing out from "the rest". Congratulations with this result and I'm curious which model will be the successor?
regards,
Pter
Cheers
Thank you Walterone.Nice model and excellent build log, a real encyclopedia.
Thanks Heinrich, no worries, you can always follow my next build, two ships of Columbus fleet. Polotsk might come in the future but have no plans at this moment. I do have Xebex and Norske Love on the shelf which might be one of the next builds...Beautiful final result my friend. I am very happy for you, but sad at the same time that I will not be able to follow along this build. How about the Polotsk some time in the future?
Thank you Jimsky, appreciate your comments. There are plenty of other modellers on this forum that assisted with valuable comments making this ship build a success.I know, because I follow your build log from the ground up. As I said before and will repeat again, your patience and diligence have done their job! You have crafted a beautiful model to be proud of.
Cheers
Thank you Short John Bronze.Superb build and great pictures. I have just acquired the Phoenix kit as my next build. Your build log will be extremely useful when I start.
The kit is very interesting and very well build, you will certainly enjoy it... Glad you are finding my log useful..
Cheers
Hunted some useful how-to of making ship' lifeboats, I am out to make two, for both Pinta and Santa Maria. These will be made from scratch and i will post steps..
Happy modelling..
Happy modelling..

Good if you would share your findings with the rest of us. I am sure it will help us down the road.Hunted some useful how-to of making ship' lifeboats, I am out to make two, for both Pinta and Santa Maria. These will be made from scratch and i will post steps..
")
Certainly, will make a short how-to...Good if you would share your findings with the rest of us. I am sure it will help us down the road.
Here is a short one: https://shipsofscale.com/sosforums/...maria-and-pinta-kit-by-amati.8964/post-219209
Many thanks!! I just saw it!!! I think we can task it...
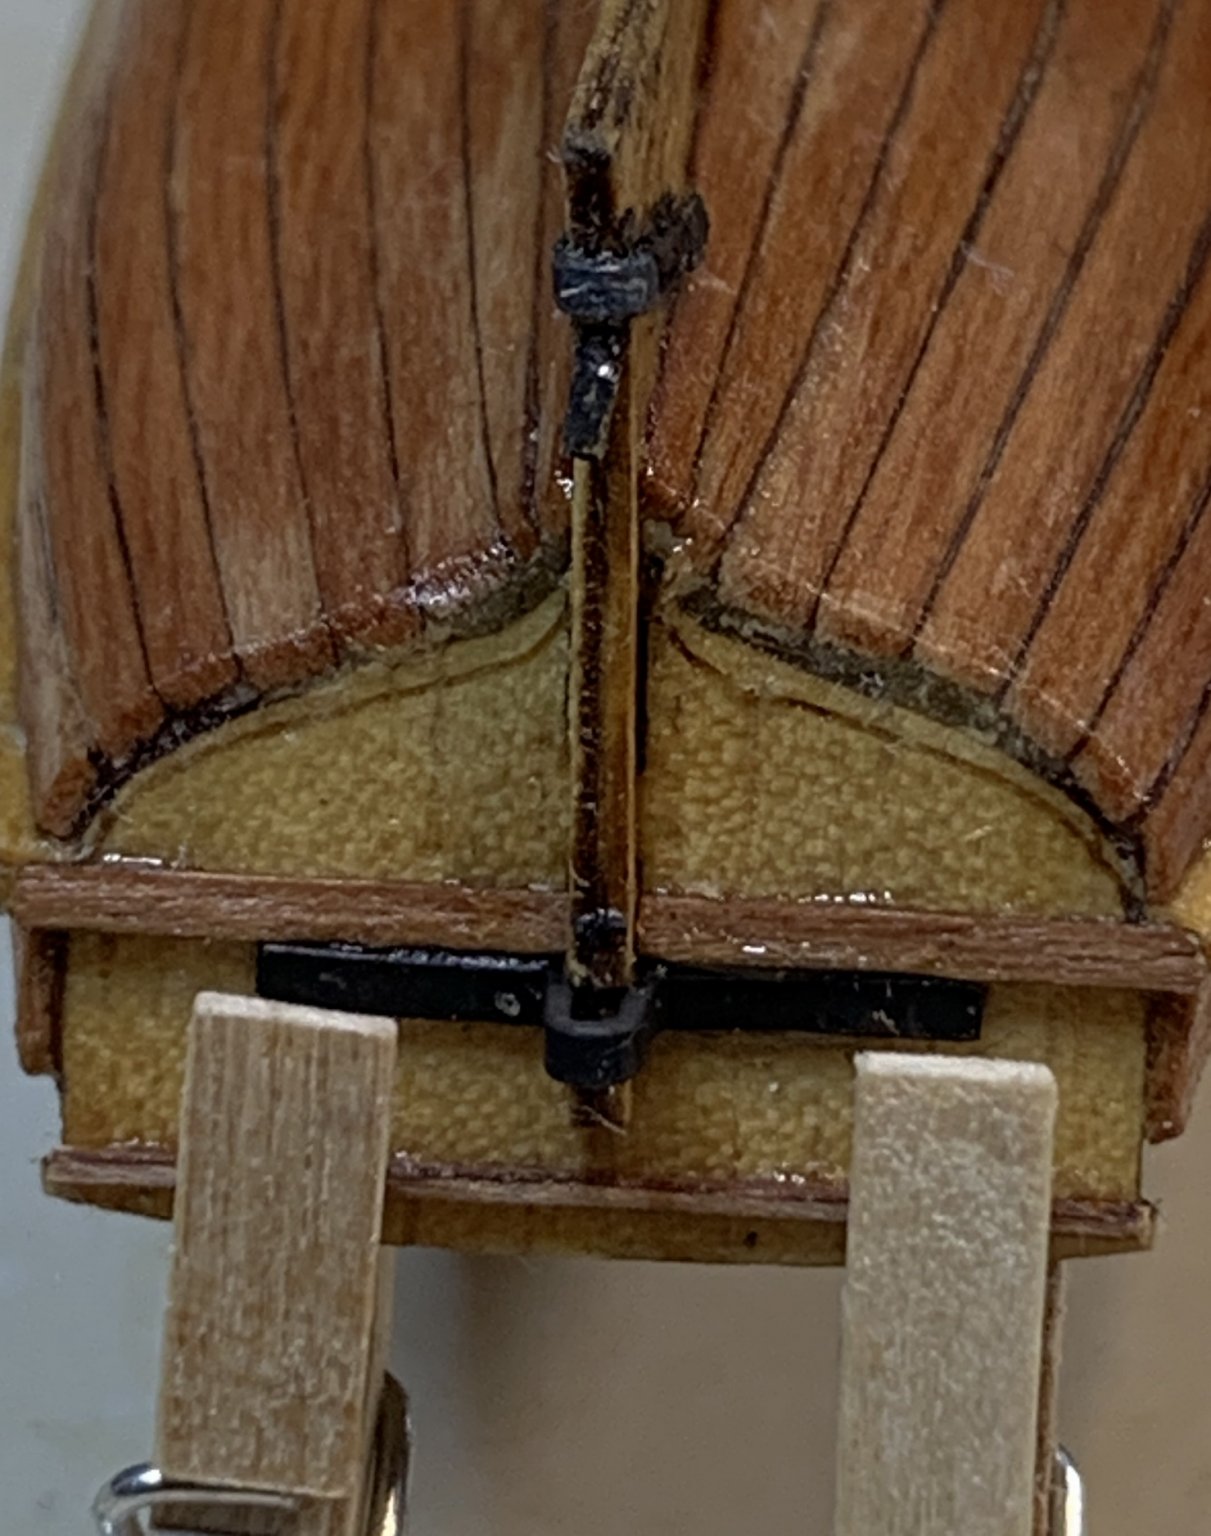
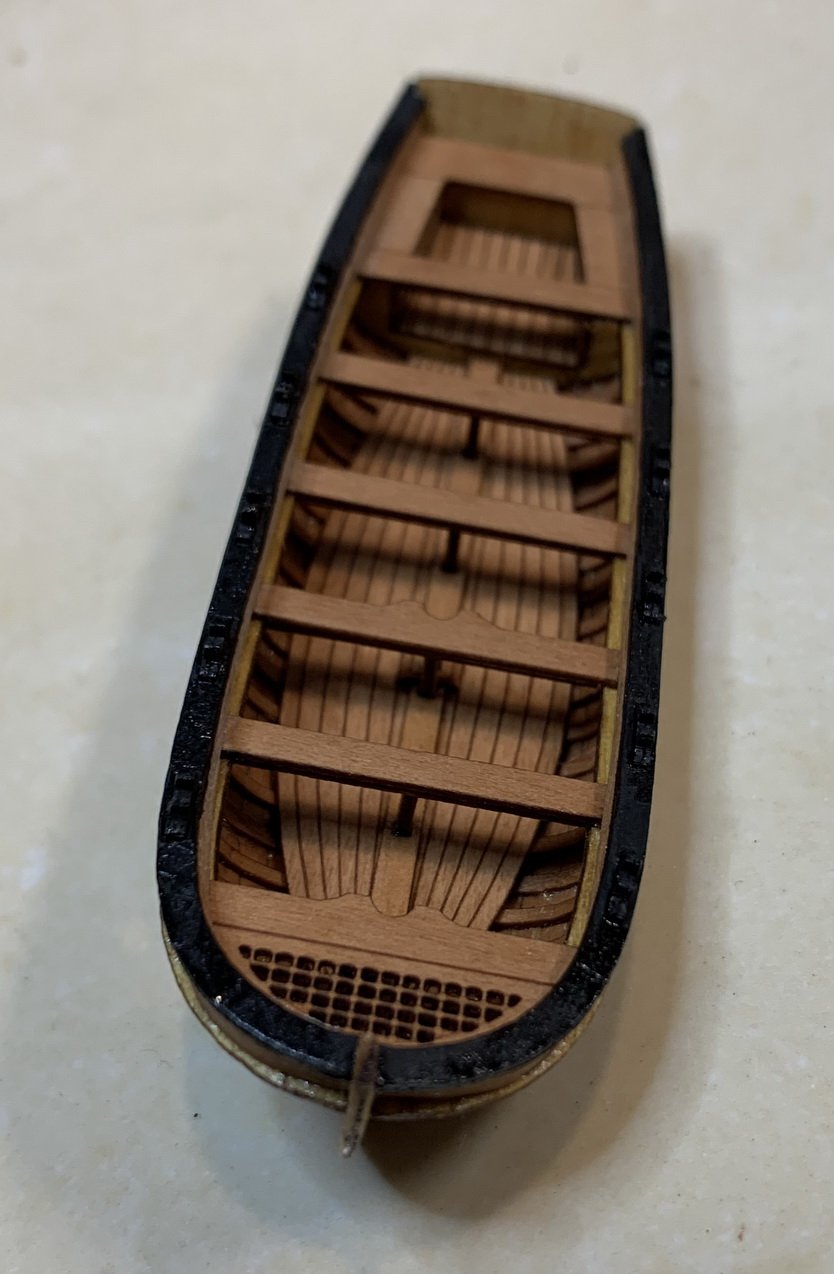
Hi,Gunwales fixed, rawlocks glued and all painted in flat black, ready for assembly.
In attempt to blackening the pin and rudder gudgeon, i left them in the blackening solvent, and forgot. Today they were all disintegrated... so new parts have to be made.
i use a piece of copper wire, flattened it down and made a new parts..
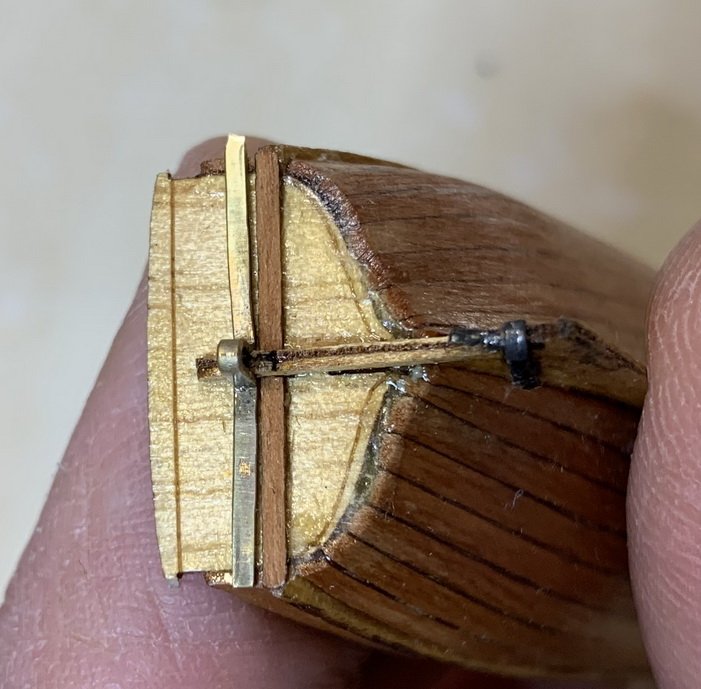
Fitting testing on rudder
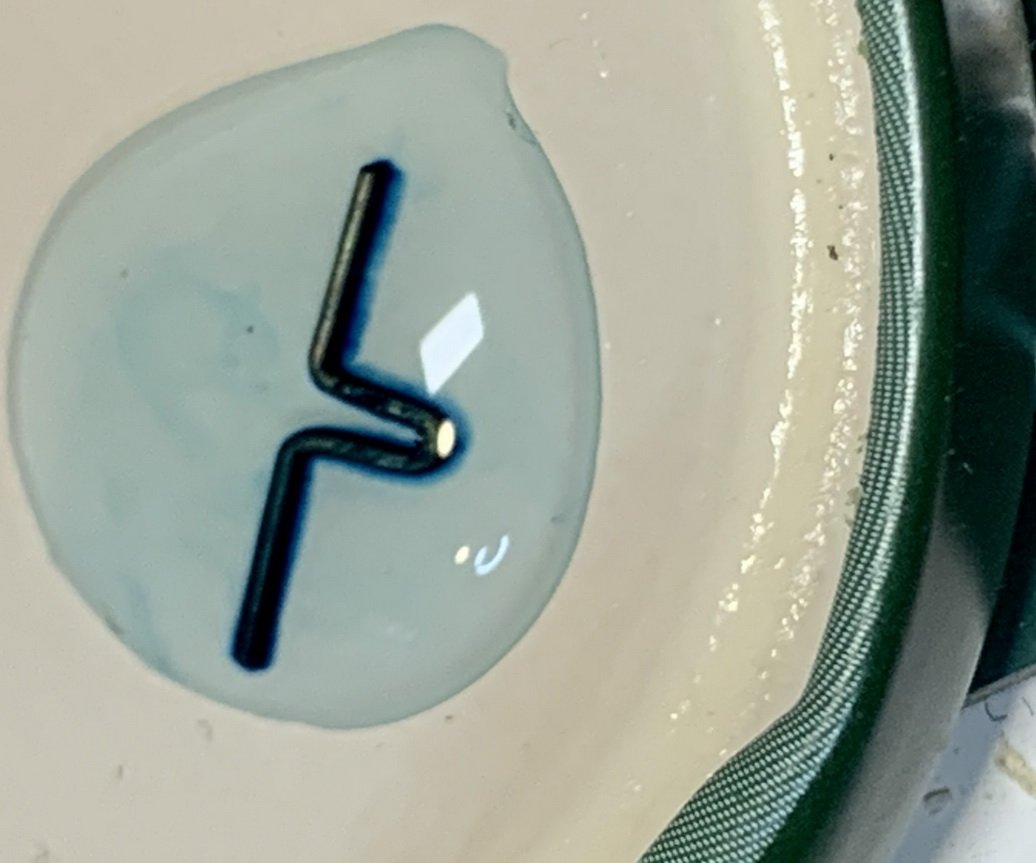
Blackening, this time in controlled fashion View attachment 140877
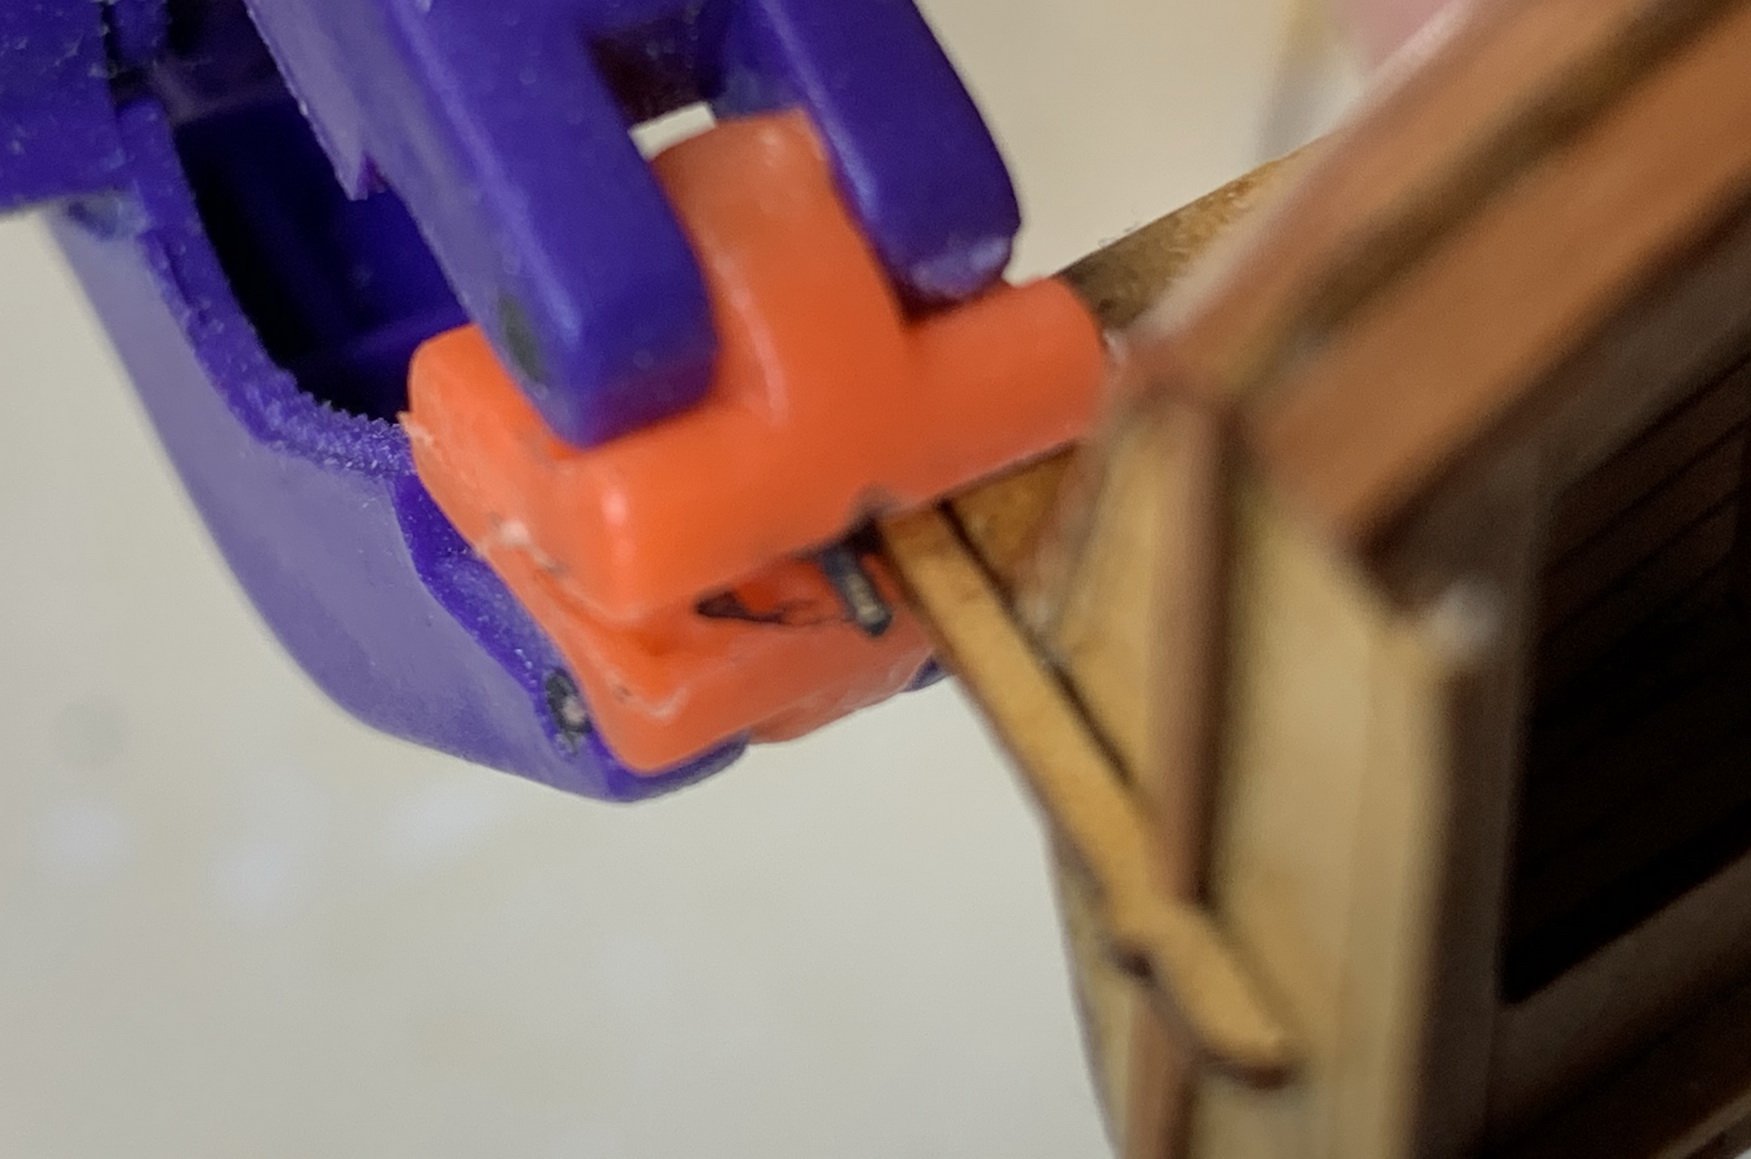
Glued to the boat...
Another piece glued (sorry not sure what is the name of it)...
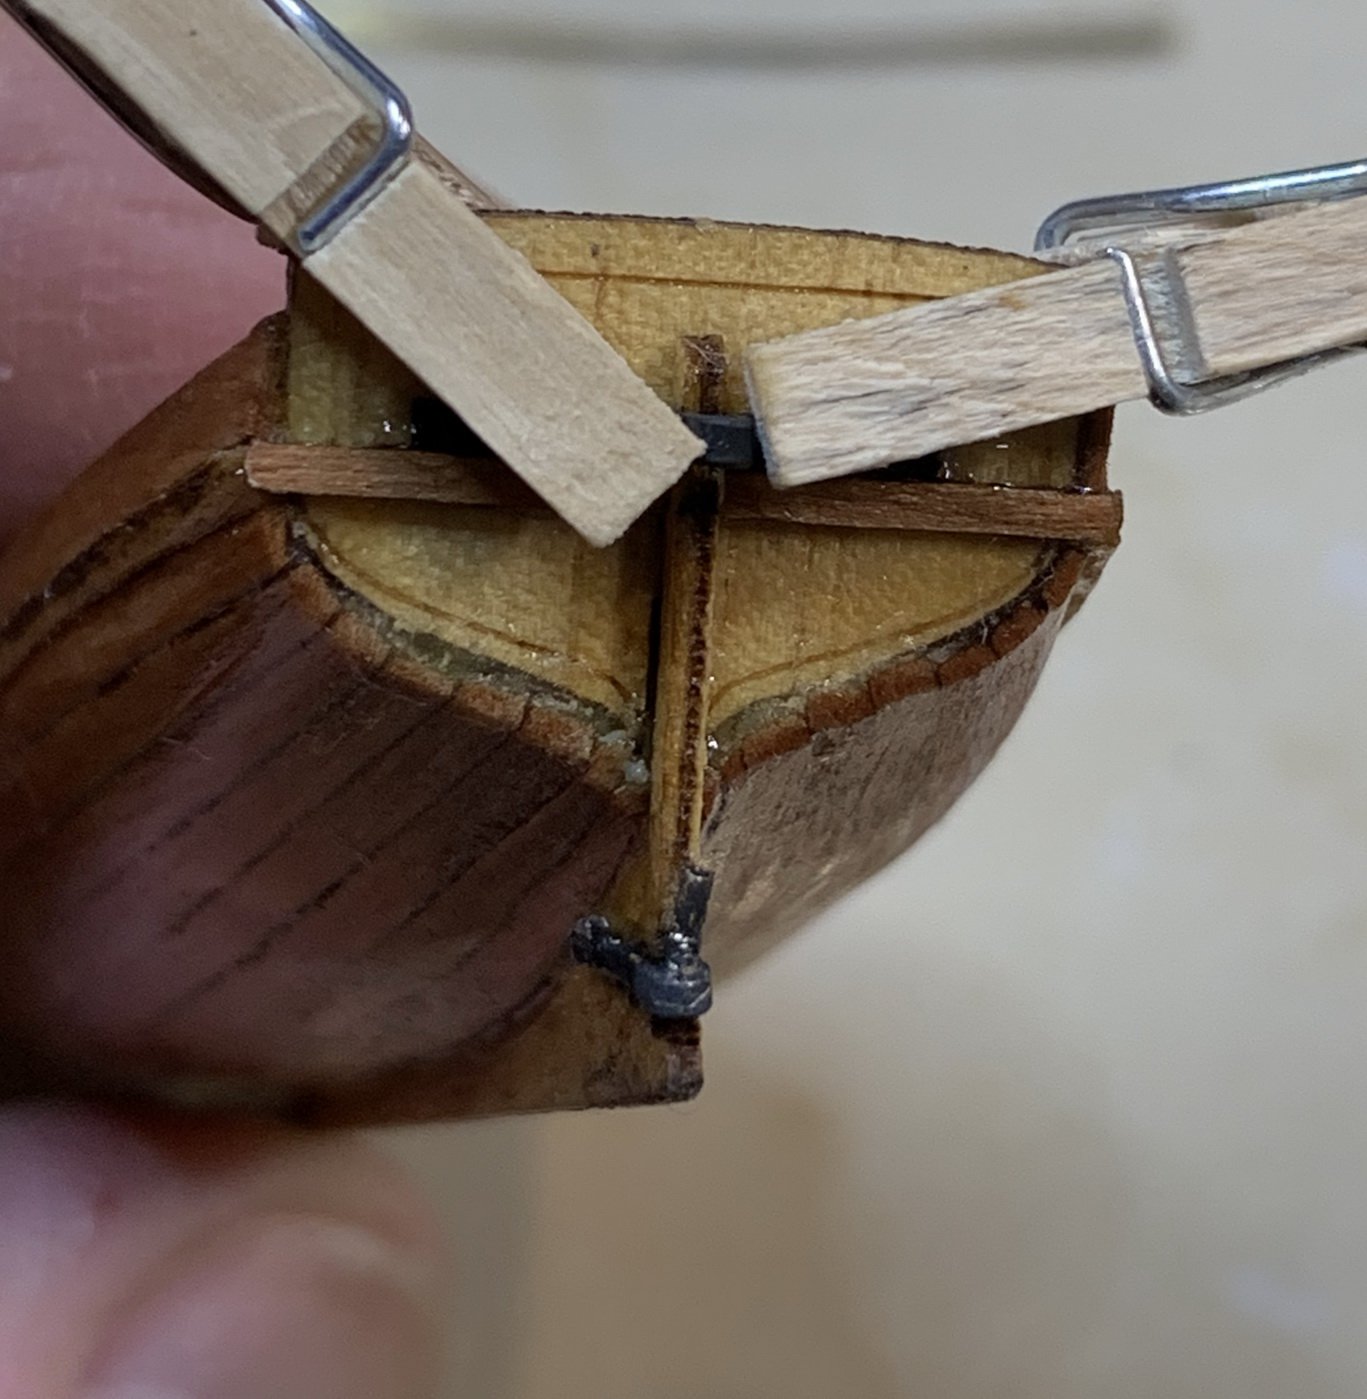
The gunwales are mounted...
And another view..
Happy modeling..


i am just starting the Phoenix and your wonderful build log has been my primary source. I was curious about what you used to blacken the hardware for the ship’s boat. In the photo it looks like it might be something like dish soap - which I heard can do the job. I have had problems making Casey’s work very well.
thanks for posting a great log
Chuck
Hi Chuck,Hi,
i am just starting the Phoenix and your wonderful build log has been my primary source. I was curious about what you used to blacken the hardware for the ship’s boat. In the photo it looks like it might be something like dish soap - which I heard can do the job. I have had problems making Casey’s work very well.
thanks for posting a great log
Chuck
Thank you for following and using my blog.
For metal parts I used Birchwood Casey' cleaner/degreaser and Brass Black Metal finish; here is a link to Amazon.com.
For wood parts I used just flat black Tamiya paint.
Regards,
- Joined
- Jun 26, 2022
- Messages
- 1
- Points
- 3
I can't tell you how much I appreciate the build biography. It really gets interesting when I've already progressed beyond what is completed in a photo and discovered looking back new...... frequently better techniques,Hooks have been made and installed on the lanyard...
While on the other side i am working hooking up hooks, the simple wire is making sure the distance will stay approximately the same for both ropes...
View attachment 200434
In the process of seizing..
View attachment 200435
It took me about one hour to have hooks built and attached...
View attachment 200437
View attachment 200439
View attachment 200438
View attachment 200436
View attachment 200440
View attachment 200441
Happy modelling...
Glad it made it useful...I can't tell you how much I appreciate the build biography. It really gets interesting when I've already progressed beyond what is completed in a photo and discovered looking back new...... frequently better techniques,
Cheers
Hi,Work continues by installing jumbs around gun ports.. There are three wood pieces in the kit for this purpose but i would use a different one that is a bit more wider so it allow more precise sanding and fitting...
Lets start then...
View attachment 182165
Measuring, cutting with a guillotine, glue, sand...
View attachment 182166
A bit of a sanding after all...
View attachment 182167
Happy modelling...
first of all thanks for posting a great build log.
I am currently building this model and have been relying on the YouTube videos and your build log with a little help from the instructions.
I have a question about the lining of the gun ports. I don’t see reference to the lining/framing you show in this series of photos. I had lined them with darker wood before the inner and outer bulwark planking went on.
Is this your own “modification” or did I miss a step in the instructions? If it is your own modification - would you do it this way again?
Thanks
chuck
Hi Chuck,Hi,
first of all thanks for posting a great build log.
I am currently building this model and have been relying on the YouTube videos and your build log with a little help from the instructions.
I have a question about the lining of the gun ports. I don’t see reference to the lining/framing you show in this series of photos. I had lined them with darker wood before the inner and outer bulwark planking went on.
Is this your own “modification” or did I miss a step in the instructions? If it is your own modification - would you do it this way again?
Thanks
chuck
The gun openings are marked on the wider planks, installed just under the black railing. I decided to replace all lining/framing pieces from the kit, with a wider pieces, which allowed me to align (sanding excess carefully not to damage the planking) those with inner and outer planking, inside the gun opening. My planking were not perfect so I had to hide few mistake with wider lining/framing parts. If I do it again, I will make sure planking (outer and inner around gun openings) are fitting perfectly and will use my own parts for lining/framing. Cannot recall, but for some reason my inner opening gun sides were not perfect and I had to do some sanding...
Hopefully this make sense; if I can assist further let me know..
Cheers