The build process is divided into two parts: all wooden parts and metal parts.
Hi, Jimsky. How did you make wooden carriage parts? This should be quite a task if you made them.
 |
As a way to introduce our brass coins to the community, we will raffle off a free coin during the month of August. Follow link ABOVE for instructions for entering. |
 |
 |
The beloved Ships in Scale Magazine is back and charting a new course for 2026! Discover new skills, new techniques, and new inspirations in every issue. NOTE THAT OUR FIRST ISSUE WILL BE JAN/FEB 2026 |
 |
The build process is divided into two parts: all wooden parts and metal parts.
Thank you for your trust, there are plenty of seats on the opposite side as most members are left due to a long time of inactivityHi Jim, after all this time I only happened across your log yesterday. I started reading from your first entry in 2018 and over the years you have given some truly excellent information and techniques.
I found a chair at the back of the room under a tarpaulin so will edge forwards and follow along.
Thank you, this was the idea of those jigs. A repetition of the work makes you think about jigs not as much to speed up the process, but more to make all the parts and the same. more jigs to come...stay tuned.I like your approach to your canon redo, especially the jig you made to ease the process and to ensure repeatability and consistency.
Could you please tell how you made the carriage wheels? As you did not use the lathe I am curious if you used technic described in this video for drilling a center hole in round dowel:All of the wooden parts, Including the tracks, were made using MF70 and a table saw.
Hello, Yuri. Thank you for the great video, something you learn every day. Not sure if I will disappoint you, but I am not using dowels to make cannon tracks (wheels). I found the tutorial I posted earlier, the way I like to make the tracks.Could you please tell how you made the carriage wheels? As you did not use the lathe I am curious if you used technic described in this video for drilling a center hole in round dowel:
Thanks, Jim. Results look fantastic! You actually turned the mill into an improvised lathe.Hope this will address your question.
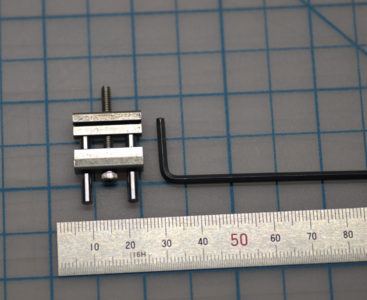
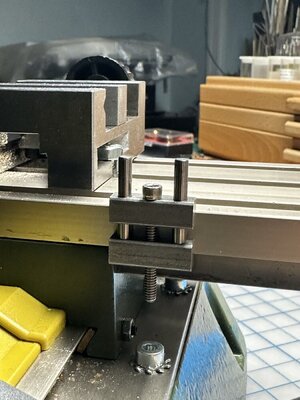
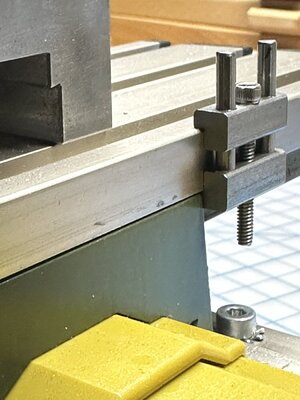
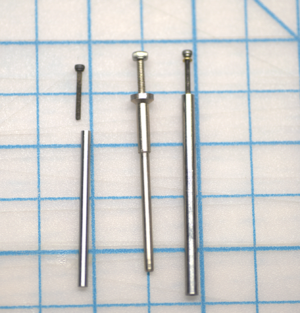
Exactly! With the lathe, you will have more functioning length to make tracks. With a bit longer bolt, you may have more blanks sandwiched for a single cut. With one specific jig, you will make them identical in diameter. I will post this jig (tool) later today.Thanks, Jim. Results look fantastic! You actually turned the mill into an improvised lathe.
@Y.T. Here is the device I use in the mill to make the tracks' diameters identical.Exactly! With the lathe, you will have more functioning length to make tracks. With a bit longer bolt, you may have more blanks sandwiched for a single cut. With one specific jig, you will make them identical in diameter. I will post this jig (tool) later today.
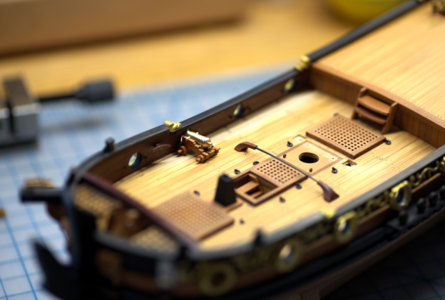
This is how to make gun carriages….. Stunning Jim.Well...well... well... I was trying to remove some dust accumulating at my Charles Royal Yacht was stored in the plastic bag (Dry Dock) when one of the guns disengaged from the deck and dropped in my hand... No, the guns were not glued permanently, they were just attached via brass ping in the middle of the front axletree. I wasn't disappointed, on the contrary, I was very happy! Why? Those guns were bothering my eyes every time I cleaned the model, something was not played nicely, and the gun in my hand was the exact proof of it! So..., I scream Re-DO it!!
Yes, I made a sharp turn and decided to redo the guns. I didn't like the kit's supplied carriages from the beginning. First, they represent the Continental (French) pattern of carriages, while the Charles Royal Yacht was a British one. Then, the square axletree for the tracks, really? Also, the barrel supplied in the kit was a bit small for the caliber. Check this out on your own.
View attachment 395042 View attachment 395043
All this combined led me to make my carriages, just using the kit-supplied barrels. There is no need to repeat the process of making the carriages again, it was well described earlier in the log, Considering the small size of the entire canon, it turned out great, with additional details such as Linchpins, and Capsquare assembly (Capsquare Eyebolt, Capsquare joint bolt, and Capsquare key). It does look OK on the deck as well.
View attachment 395055 View attachment 395056
But...until the recent cleanup. Well, it happens...., I realized that the carriage looked out of scale (smaller), and the barrel's shape was a concern from the beginning. So unexpected event, made me reconsider, and I decided to redo the cannons.
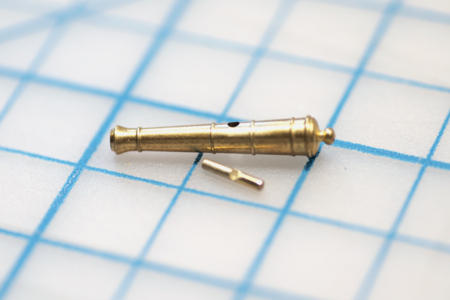
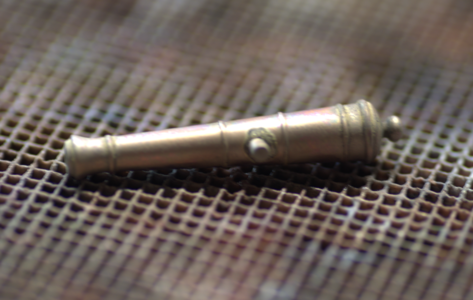
First, I acquired new barrels. I couldn't find the exact size and bought a close match, but I mostly like the shape and how well they were CNC-turned: clean and accurate. The only drawback is the trunnion hole wasn't drilled off-center, but each barrel has its own turned trunnion (not the wire). The bore was the same size as the original barrels.
View attachment 395064
View attachment 395065
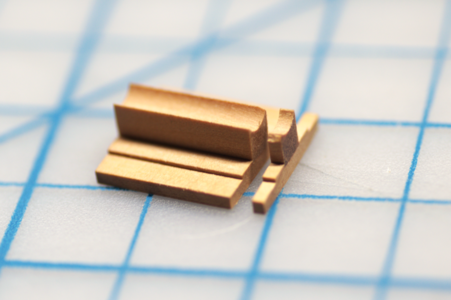
To avoid another mistake of creating the wrong size carriages, and make sure it will fit nicely, I made the model. By creating the model, I could learn and adjust the processes (if needed) for the rest of all 8 guns. The build process is divided into two parts: all wooden parts and metal parts. All parts made from wood are below. I tried to mimic all the parts the actual gun was made of.
View attachment 395066
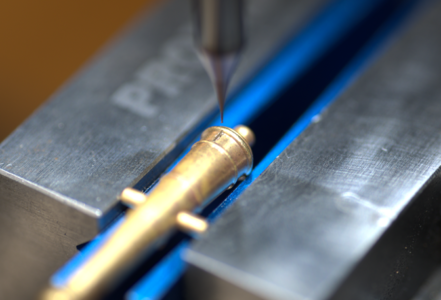
To assemble everything, I made a simple jig. You guessed it right, I use my MF70 to mill the grooves for the front and hind axletrees. Also, the grooves for the tracks positioning. I must admit, the jig met all my expectations and served well at all stages, mostly drilling various holes...
View attachment 395070 View attachment 395071
One of the tasks, using the jig, is to adjust the height of the transom.
View attachment 395080 View attachment 395081
The tracks were held to the milling wise using the double-stick tape, then I made them all the same height.
View attachment 395090
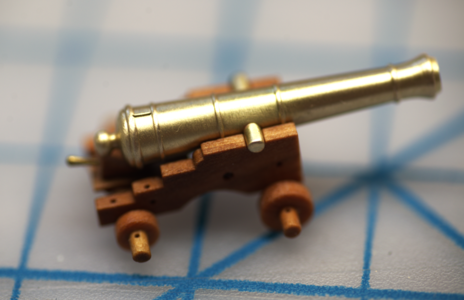
The wooden part has been completed, App parts are glued using PVA glue, the below images reflect how the carriage looks assembled and glued.
View attachment 395094 View attachment 395095
Will do the metal parts the next... Thank you for stopping by, to be continued...

Thank you, Grant!! The process is not really difficult.This is how to make gun carriages….. Stunning Jim.
