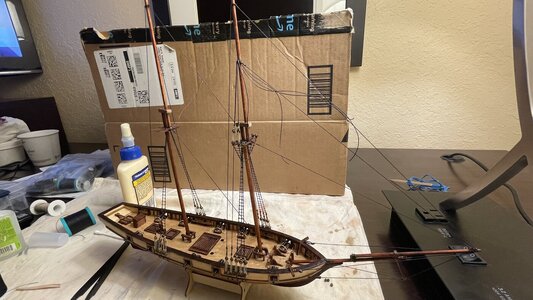
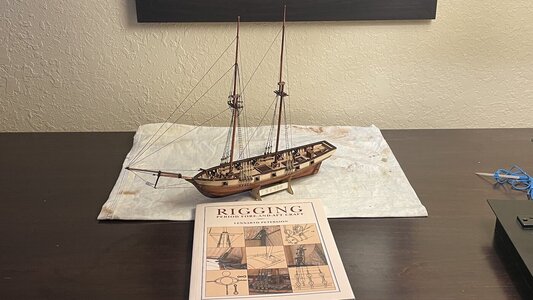
Cheap Chinese Halcon speed build [COMPLETED BUILD]

Day 22

The microscopic sized belaying pinrails were mounted on the bulwarks. Belaying pins from Falkonet, 9mm long, will be cut a bit shorter and used in the pinrails.

The 9mm belay pens from Falkonet are actually thinner than the 8 mm pins they sell. They fit into the tiny holes of the belaying pin racks.
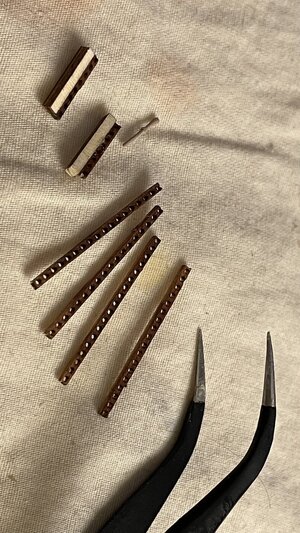
IMG_2219.jpeg

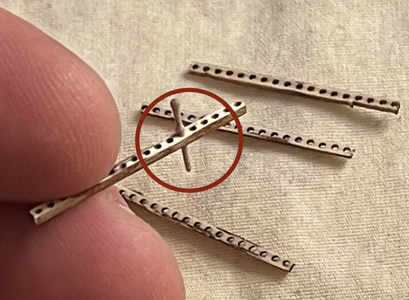
Here is one of the pens inserted into a hole in a pinrail. They are quite small!
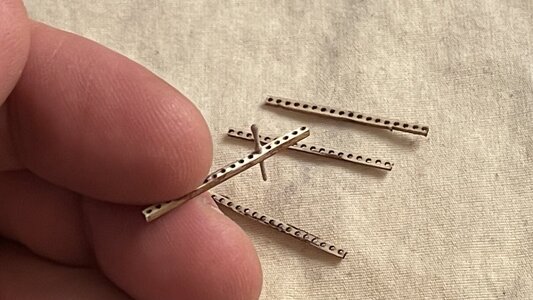
IMG_2218.jpeg

The sticks of plywood provided in the kit are the perfect sized to act as standoff pieces for the pinrails, so that the pins can be inserted without interfering with the gunwale.
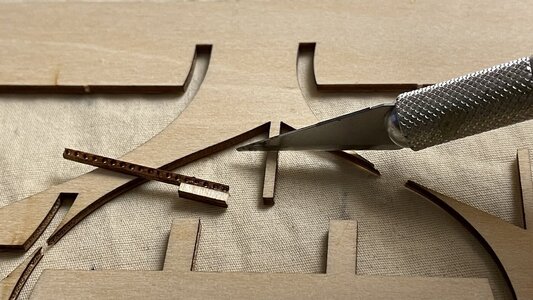
IMG_2223.jpeg

The sticks are glued to the edge of the longer pinrails with gaps left for the frames.
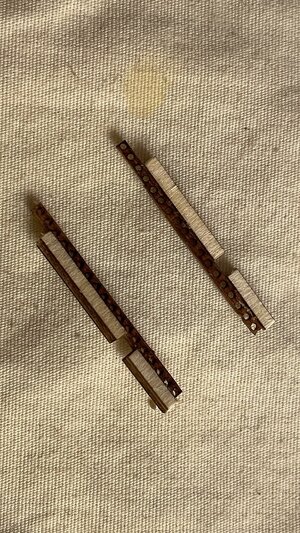
IMG_2224.jpeg

Glue is applied to the bulwarks using a toothpick.
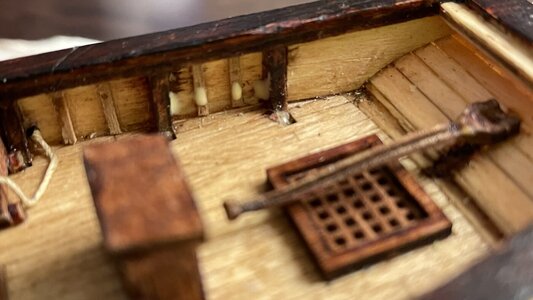
IMG_2220.jpeg

The pinrail and standoff block are glued to the bark, shown here at the after end of the ship.
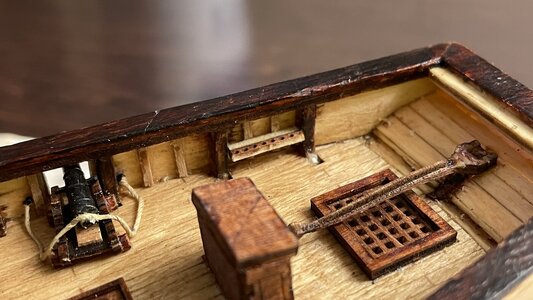
IMG_2222.jpeg

Here you can see the short pinrail installed at the bow.
IMG_2212.jpeg

The long pinrails near the main mast are installed next.
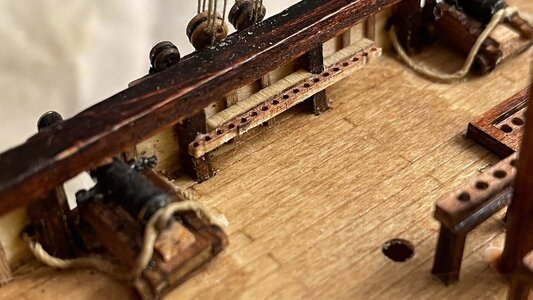
IMG_2225.jpeg

This long pinrail is one of two installed near the foremast.
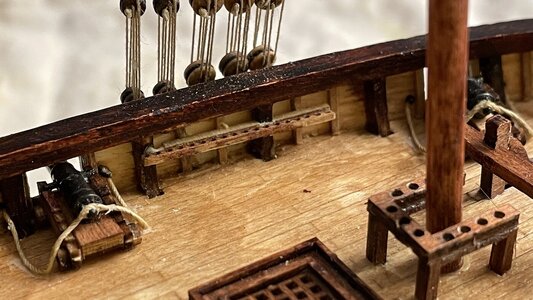
IMG_2226.jpeg

Now that all of the racks are installed, pins can be inserted one at a time, as each line is rigged.
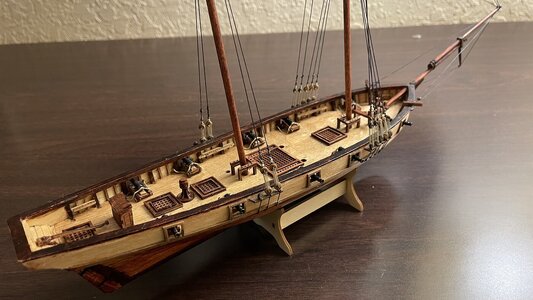
IMG_2227.jpeg
 
Last edited:
I like the style and size of the belaying pins, are were those part of the kit? It's just perfect!!

View attachment 415660
The pins were purchased separately from Falkonet in Russia. Falkonet makes the smallest blocks and belaying pins available from pearwood. Remember never to glue the belaying pins in the rails, because you will have accidents and break some no matter how careful you are, and you will have to replace them. In case of this small schooner model, the 9mm pins would be shortened by 1.5-2.0mm so they would not touch the deck, because even these pins are four times larger than they should be. Because of the close spacing of the pins on the rails, lines will be fixed to the pin by a simple overhand knot loop from the bottom of the pin, and later hanks of rope will cover the top of the pin so the lines will have the appearance of being properly belayed, and the line itself will not crowd the lines of adjacent pins.

You can buy these pins here at: Crafty Sailor.
 
Last edited:
Day 26

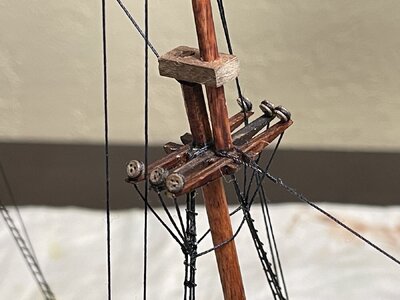
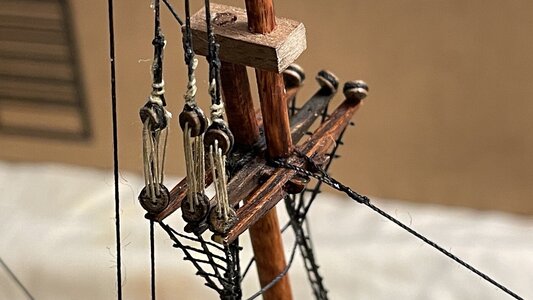
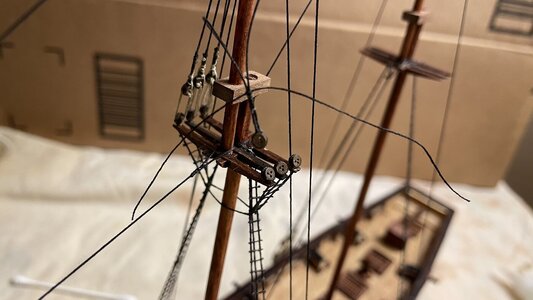
Another hour, another step toward completion. The futtock shrouds and lower deadeyes for the fore topmast shrouds was rigged using heavy coat thread and 2mm deadeyes. It’s tough doing tiny work like this in the hotel room without the magnifying headset.

Drilling tiny holes in the crosstrees.
IMG_2434.jpeg

A dead eye is tied with an overhand knot, on one end of the thread, and the other is fed through the hole in the cross tree.
IMG_2436.jpeg

Because of the small scale, the futtock shrouds are also the catharpins.
IMG_2437.jpeg

The center deadeyes and futtock shrouds on each side are rigged separately, being tied to the center shrouds with a simple overhand knot. All knots are secured with PVA glue.
IMG_2438.jpeg

The finished result.
IMG_2439.jpeg
 
Day 22

The microscopic sized belaying pinrails were mounted on the bulwarks. Belaying pins from Falkonet, 9mm long, will be cut a bit shorter and used in the pinrails.

The 9mm belay pens from Falkonet are actually thinner than the 8 mm pins they sell. They fit into the tiny holes of the belaying pin racks.
View attachment 415645

Here is one of the pens inserted into a hole in a pinrail. They are quite small!
View attachment 415646

The sticks of plywood provided in the kit are the perfect sized to act as standoff pieces for the pinrails, so that the pins can be inserted without interfering with the gunwale.
View attachment 415647

The sticks are glued to the edge of the longer pinrails with gaps left for the frames.
View attachment 415648

Glue is applied to the bulwarks using a toothpick.
View attachment 415649

The pinrail and standoff block are glued to the bark, shown here at the after end of the ship.
View attachment 415650

Here you can see the short pinrail installed at the bow.
View attachment 415651

The long pinrails near the main mast are installed next.
View attachment 415652

This long pinrail is one of two installed near the foremast.
View attachment 415653

Now that all of the racks are installed, pins can be inserted one at a time, as each line is rigged.
View attachment 415654
Nice wish I did that! Actually still can and increase the number of fake bulkhead doodads.
 
Day 27

The futtock shroud ratlines and topmast shrouds and deadeyes were rigged today.

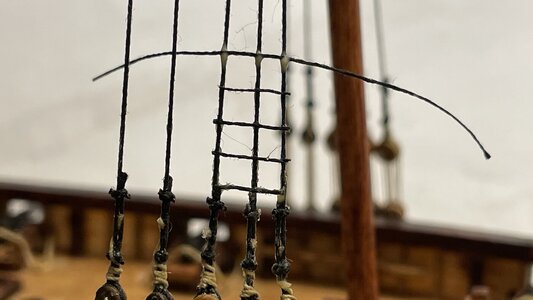
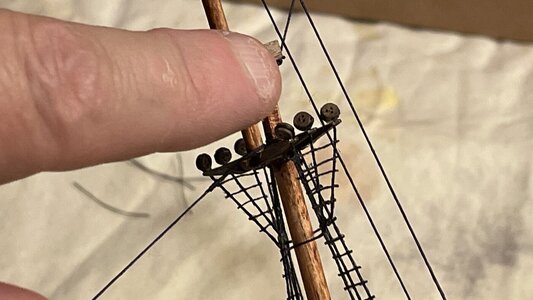
Rat lines made of thin thread, are glued directly to the futtock shrouds.
IMG_2457.jpeg

The ends are trimmed off.
IMG_2459.jpeg

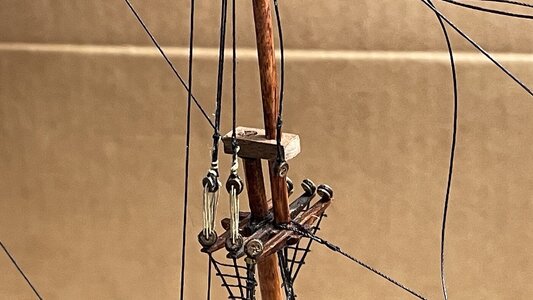
Rigging the topmast shroud deadeyes begins.
IMG_2463.jpeg

Progress so far.
IMG_2464.jpeg

Deadeyes on starboard side done.
IMG_2465.jpeg

Now for the port side.
IMG_2466.jpeg

Next will be ratlines on the fore topmast.
IMG_2467.jpeg
 
Day 27

The futtock shroud ratlines and topmast shrouds and deadeyes were rigged today.

Rat lines made of thin thread, are glued directly to the futtock shrouds.
View attachment 418842

The ends are trimmed off.
View attachment 418843

Rigging the topmast shroud deadeyes begins.
View attachment 418844

Progress so far.
View attachment 418845

Deadeyes on starboard side done.
View attachment 418846

Now for the port side.
View attachment 418847

Next will be ratlines on the fore topmast.
View attachment 418848
she is looking great !
 
What fun and good result one can have with this 'chaep' kits!
BTW How can you get those deadeyes so equal? Some sort of template?

Keep on this good work!
 
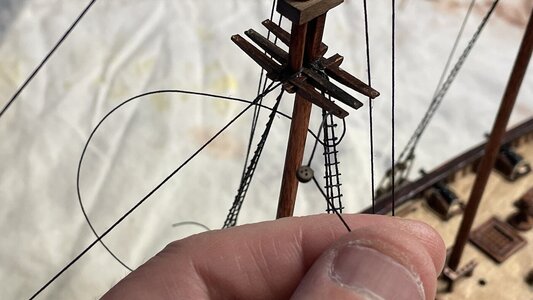
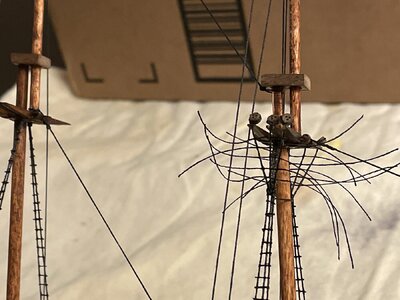
The image of your thumb is a helpful reminder of the tiny scale which is not served well by the tight closeup photos which magnify every anomaly, like the hairy thread. Virtually invisible under normal unmagnified viewing! I look forward to the final finished pictures from a normal viewing perspective. Thumbs-Up
 
What fun and good result one can have with this 'chaep' kits!
BTW How can you get those deadeyes so equal? Some sort of template?

Keep on this good work!
They are all done by eye. I tend to get picky about alignment on the better models because it's the first thing a viewer can pick out if they know their ships. (This is NOT one of the better models. As kits go, it's the worst one I know) Getting them even just comes with practice.

The steps I use on this model are these: Tie the shroud at the masthead, then make an open overhand knot to accept the deadeye at the other end. Place the deadeye in the overhand knot loop and cinch the knot around the deadeye at medium tightness. holding the deadeye, draw the shroud tight by moving the deadeye into the desired position above the channel. Adjust the overhand knot around the deadeye to lengthen or shorten the shroud until the deadeye is at the height you want it at. When satisfied, apply a bit of CA glue to the point in the overhand knot where the strands overlap to secure the knot. This is at the top of the deadeye. Before the glue dries, draw the bitter end of the shroud line up and against the standing part of the shroud, pinching the lines together atop the deadeye, so they run in parallel, and hold the line there until the CA dries, which is about 20 seconds or less. Sieze the bitter end of the shroud to the standing part just below where the bitter end will be trimmed off, using a length of thread and an overhand knot. Add CA to the knot to secure it. Trim the bitter ends of the seize and the bitter end of the shroud. Now you're ready to lace the upper and lower deadeyes together.

Not all my deadeyes are dead even, such as the ones on the fore topmast. I got a little sloppy there last night, but hey... the model costs less than the tiny 2mm deadeyes I used. It's not going into a museum. It's a practice boat and it will be gifted to a friend when I'm done.
 
Last edited:
Back
Top