Constitution Cross Section MS20245 Model Expo

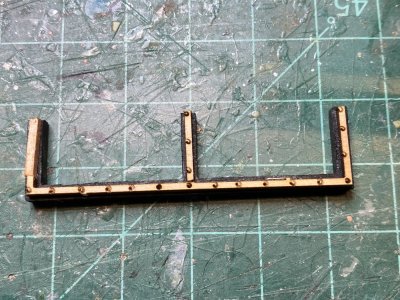
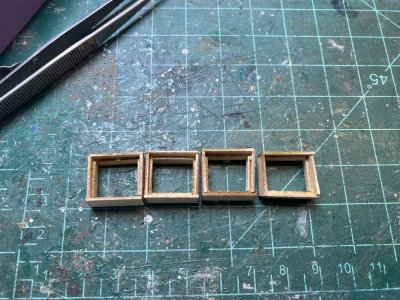
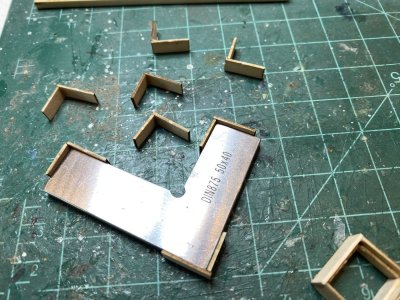
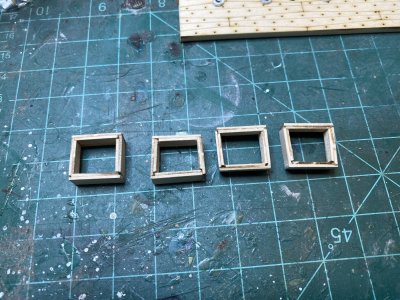
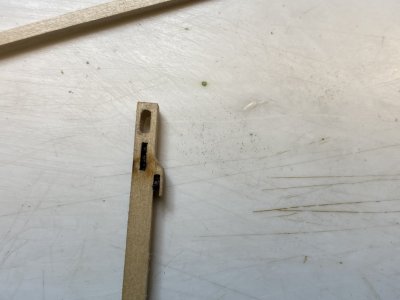
While working on the upper part of the main hatch frame I managed to snap a piece off. Even though I work with an approved green cutting matt it did not prevent the carpet monster from devouring the piece.
IMG_9884.jpeg
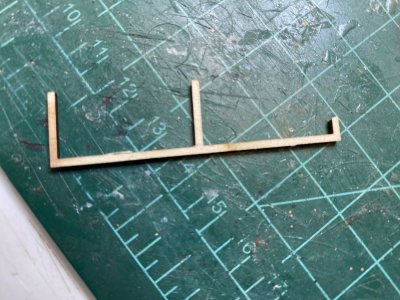
After a fruitless search for the piece that has, in all probability, now appeared on the green cutting mat of an model boat builder in a distant galaxy I decided to replace it. Looking around I found scrap piece of wood about the same thickness. The upper part of the main frame fits upon a more substantial lower main frame piece.

IMG_9885.jpeg
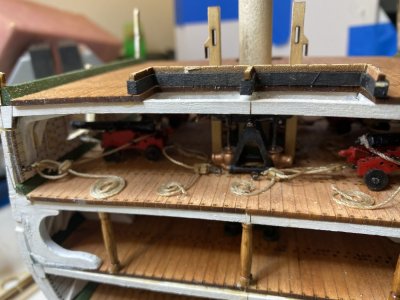
I painted the lower main hatch frame black and glued the section of the upper main frame hatch into place


IMG_9887.jpeg
 
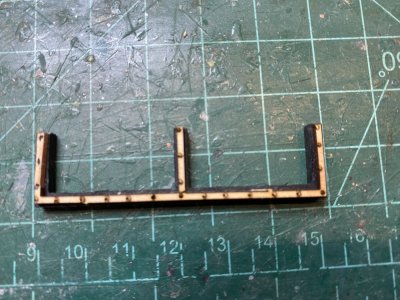
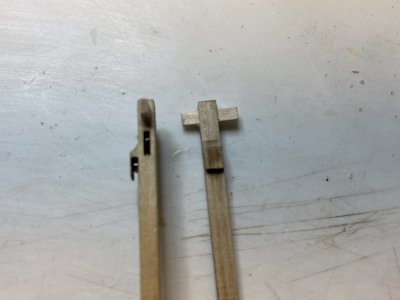
I then squared off the end of the broken piece and glued the other strip into place
IMG_9888.jpeg

The other piece was a bit thicker so I cut it a bit narrower using a #17 chisel blade. Then using a fine point pen with archival ink, I made three dots to represent screws.

IMG_9892.jpeg

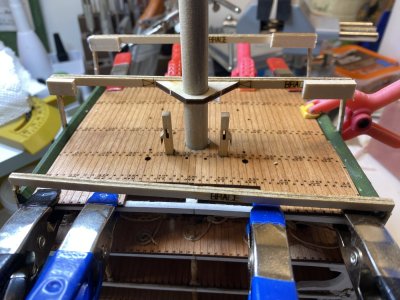
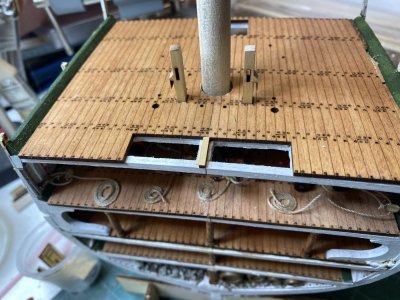
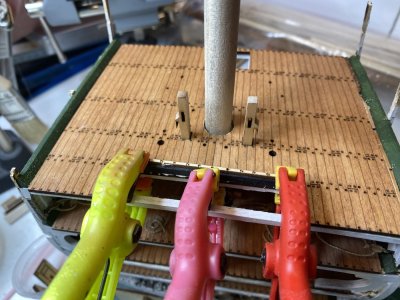
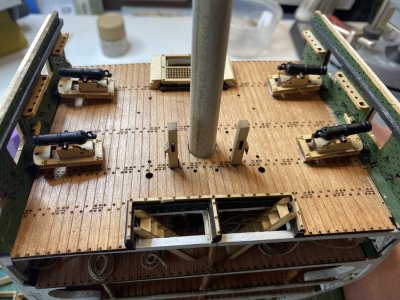
After wasting time with the repair, I fitted the spar deck onto the deck frame. I had to trim one side and I enlarged the hole for the mast. I also made sure the Bitt posts fitted through into the deck below. When all that was done, I glued the deck into place.
IMG_9890.jpeg
 
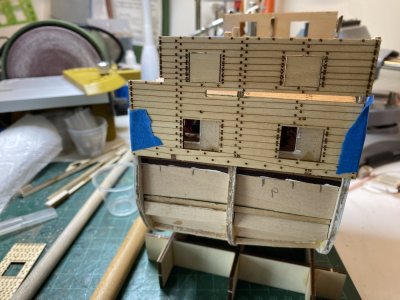
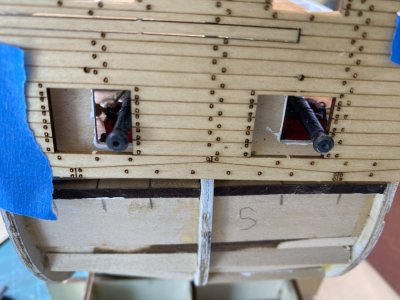
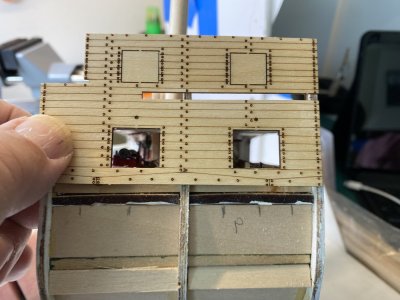
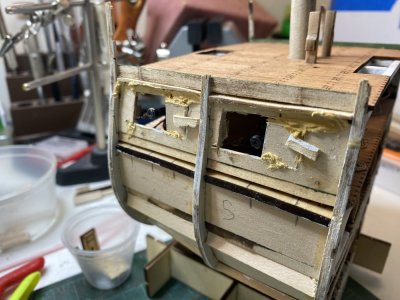
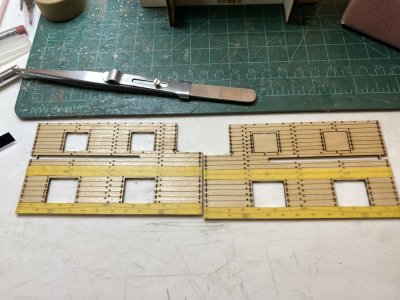
Well disaster has struck the build. I was concerned that the height of the gun ports in the gun deck would not align with the outer frame ports. I took the outer port section and tried to align it with the inner sides of the gun port. They were actually fine vertically but there is a giant mismatch in the horizontal direction. After some study I found the cause. The inner walls of the gun deck are not symmetrical. There are port and starboard sides. There is in the instructions the wording "paint White the port and starboard Gun Deck Sidewalls", but they are not marked as such. With the notching either wall could fit either side and with my luck I picked the wrong sides.

IMG_9895.jpegIMG_9894.jpeg
At this point I am truly at a loss about what to do. The outer walls have a port and starboard orientation due to the position of the boarding ladder. I can not really rip everything apart to move the walls. The internal ports could be widened but that will necessitate moving the cannons and cutting through the knee braces. The only really non destructive move I can think of is to move the cannons back and to present the model with the gun ports closed.

Any advice at this point would be welcomed!

Rob
 
Well disaster has struck the build. I was concerned that the height of the gun ports in the gun deck would not align with the outer frame ports. I took the outer port section and tried to align it with the inner sides of the gun port. They were actually fine vertically but there is a giant mismatch in the horizontal direction. After some study I found the cause. The inner walls of the gun deck are not symmetrical. There are port and starboard sides. There is in the instructions the wording "paint White the port and starboard Gun Deck Sidewalls", but they are not marked as such. With the notching either wall could fit either side and with my luck I picked the wrong sides.

View attachment 513733View attachment 513734
At this point I am truly at a loss about what to do. The outer walls have a port and starboard orientation due to the position of the boarding ladder. I can not really rip everything apart to move the walls. The internal ports could be widened but that will necessitate moving the cannons and cutting through the knee braces. The only really non destructive move I can think of is to move the cannons back and to present the model with the gun ports closed.

Any advice at this point would be welcomed!

Rob
Well, that stinks. Are you sure you can't get the panels off? Could you cut out and patch the panels to get the gun port openings in the right place and then veneer the inside and the outside with strips of thin planking (a lot of work, plus I'm not sure what that would look like on the edges). Can you just swap port and starboard turning the laser etching to the inside and then veneer the outside alone?

Ugh.
 
Well disaster has struck the build. I was concerned that the height of the gun ports in the gun deck would not align with the outer frame ports. I took the outer port section and tried to align it with the inner sides of the gun port. They were actually fine vertically but there is a giant mismatch in the horizontal direction. After some study I found the cause. The inner walls of the gun deck are not symmetrical. There are port and starboard sides. There is in the instructions the wording "paint White the port and starboard Gun Deck Sidewalls", but they are not marked as such. With the notching either wall could fit either side and with my luck I picked the wrong sides.

View attachment 513733View attachment 513734
At this point I am truly at a loss about what to do. The outer walls have a port and starboard orientation due to the position of the boarding ladder. I can not really rip everything apart to move the walls. The internal ports could be widened but that will necessitate moving the cannons and cutting through the knee braces. The only really non destructive move I can think of is to move the cannons back and to present the model with the gun ports closed.

Any advice at this point would be welcomed!

Rob
I ran into a similar problem with my ST cross section, not making sure lower levels matched the final top level, but since I had to use raw timber on outside I just cut to fit and you only notice if looking hard that ports are aligned wrong.
 
Maybe you can cut horizontally with fine saw, and scribe vertically to cut from back side (from outside) and then slide the small section over to make alignment correct, being inside lower deck the patch job may not be that noticable.

Many time we are the only ones who know there was a major mistake made in the model, depending on how it is shown on display.
 
Thank you all for your ideas! I did try to swap the pieces but it would not work, kind of like swapping and turning over gloves. I am going to cut the inner gun ports that are part of the gun deck inner wall. Parts of the knees will come with them and I will have to reposition the cannons. I will use the cut out pieces to patch the other side as Kurt suggests. It will make a bit of mess of the inner side of the gun deck, but hopefully that section will not be looked at too much.

Rob
 
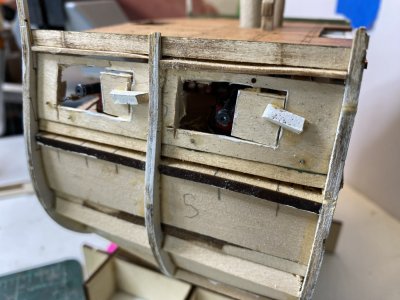
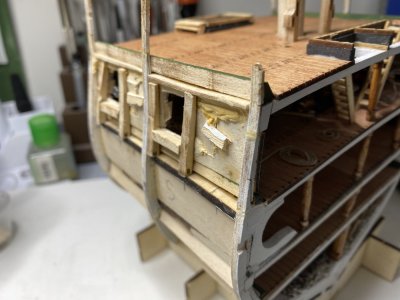
Well I am starting the repair of this problem by outlining the areas that had to be cut out to match the exterior wall. I then used a razor saw and a Dremel with a cut off wheel to cut those sections of the wall out. You may notice I have finally cut off the brace section of the frames in order to work on the spar deck.
IMG_9896.jpeg


I kept the cut out parts to patch the inner wall sections to make the mistakes less obvious. Once the walls were cut the sections fit better.
IMG_9897.jpegIMG_9898.jpeg
 
I spent a few hours loosening the cannons and rearranged them to be more in the center of the new window outlines. I had to reattach and change the lengths of some of the gun tackles. I glued the cut out pieces of the gun ports to the opposite sides of where they were cut out and put some wood filler in the gaps. I also shaved down the pieces I used to hold the cut ports so the exterior walls would fit.
IMG_9900.jpegIMG_9901.jpeg
 
While waiting for things to dry, I started to attach the main hatch which goes towards the rear. If you examine the instructions there appears to be some variation in the main hatch frame. The first photo does not show a middle piece of the hatch frame while the others do. When I fitted the hatch frame there is a gap in the middle part of the frame where decking is missing.
IMG_9903.jpeg
To make up for that I glued a scrap piece of 1/16th inch strip onto the frame.
IMG_9905.jpeg

I then glued the frame into place.
IMG_9906.jpeg
 
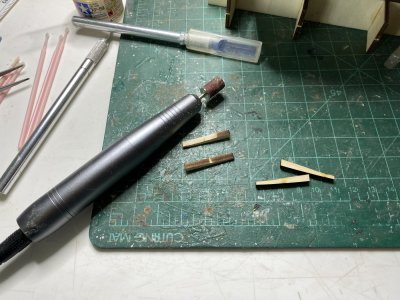
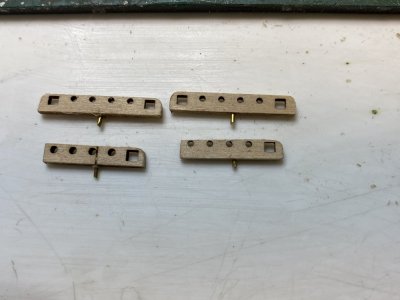
The interior braces for the gun ports were then sanded prior to putting them into position. I have been using a "nail drill" that is lightweight and works very well as a mini drum sander. It is a very inexpensive tool that I highly recommend!
IMG_9910.jpeg

The braces were then affixed into place. I will sand them down to fit the curves of the frames.
IMG_9911.jpeg
 
Last edited:
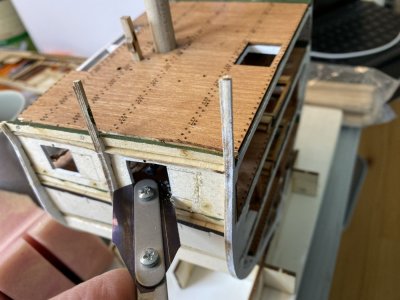
The walls were positioned and glued into place along the spar deck.
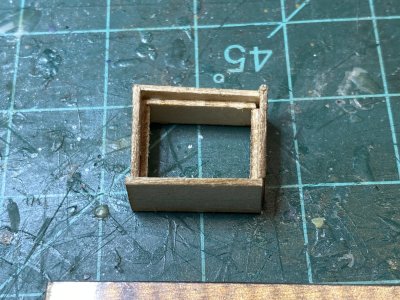
IMG_9916.jpeg
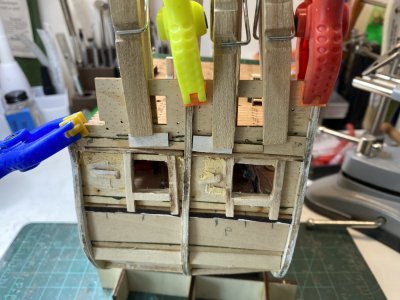
I thought the attachments were not sufficient (especially considering the whole cross section will be turned upside down to do the planking) so I took some 1/16" scrap pieces and used them to re enforce the joins. I discovered reading ahead a bit they will have you re enforce things a bit.
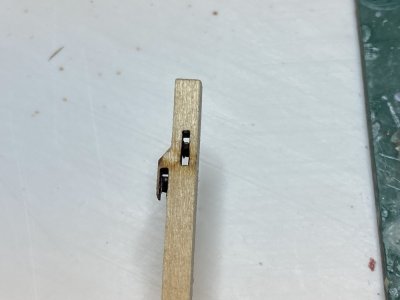
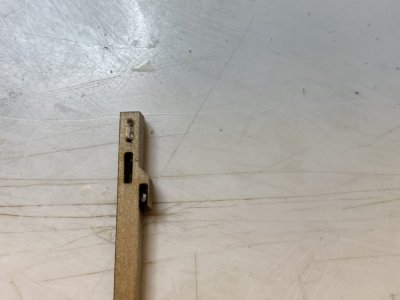
IMG_9917.jpeg
 
Back
Top