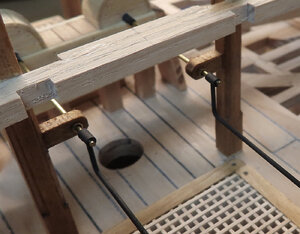
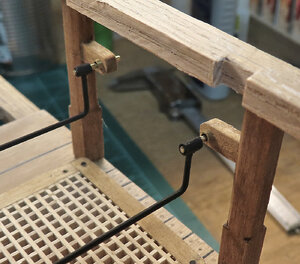
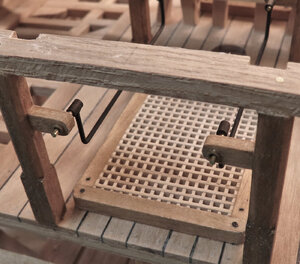
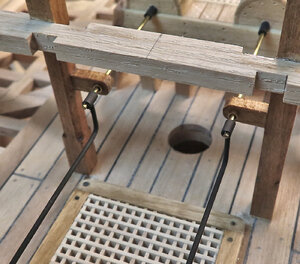
Thank you Mike for that little vote of approval - even though I am probably thinking too much. It seems that a little thinking ahead might be paying off some.
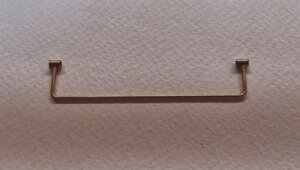
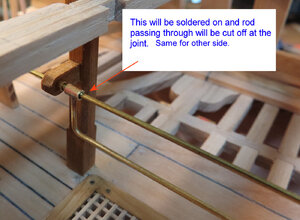
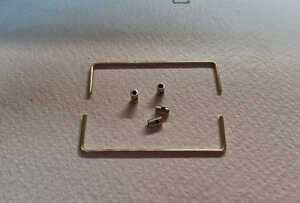
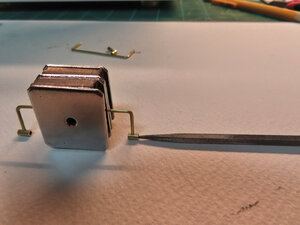
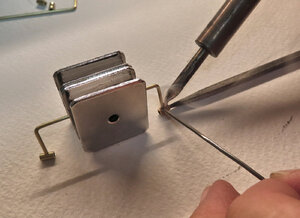
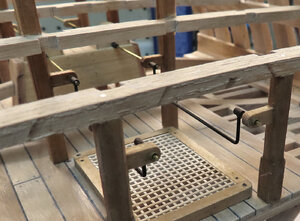
The brass rod is ONLY for alignment (and for a little amusement as well)
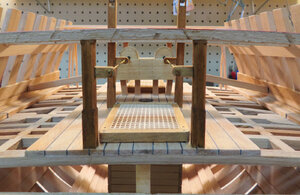
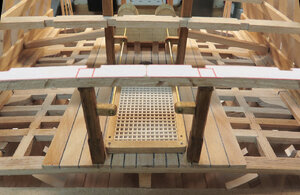
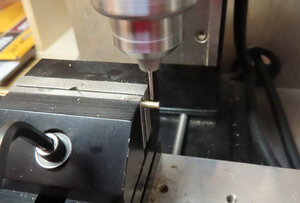
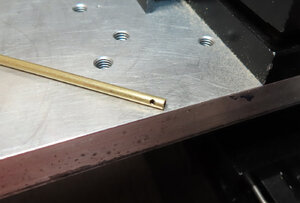
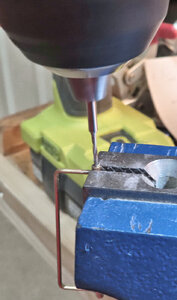
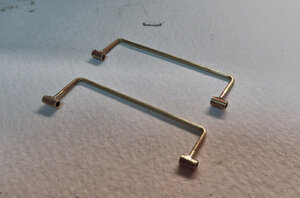
Working my way through the x-section attaching supports. Sometimes I do small increments like this. I already messed up a small batch of supports by drilling the holes too small. Had to throw them away. This what happens to me when I become overly confident - I usually screw something up. Therefore, I cut out a mass of parts only to find that I measured something wrong - hince the fact of bringing back incremental steps again.
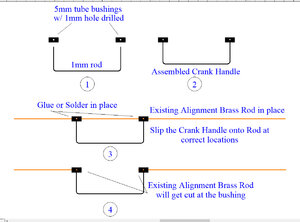
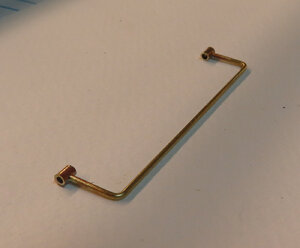
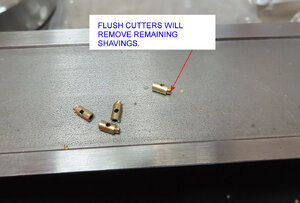
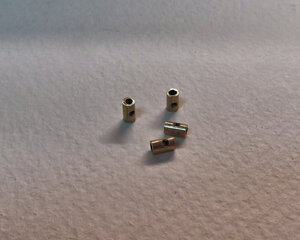
Camera close-ups do weird things with perspective. The bitts are nearly right at 90 ° to the deck. The supports do have tiny 5mm wide bushings that the 1mm rod passes through. When all this is a clear go, then the crank handles are next - I have a plan for the handles which I hope makes assembly more efficient.
Nothing is glued in yet as far as the bitts and MDB go. I might glue all the Bitts and Pillars only to the upper beams and NOT the deck so I can remove the Beams (of course the pillars will ride along too when or if I need to pull the beams off)


