-

Win a Free Custom Engraved Brass Coin!!!
As a way to introduce our brass coins to the community, we will raffle off a free coin during the month of August. Follow link ABOVE for instructions for entering.
-

PRE-ORDER SHIPS IN SCALE TODAY!
The beloved Ships in Scale Magazine is back and charting a new course for 2026!
Discover new skills, new techniques, and new inspirations in every issue.
NOTE THAT OUR FIRST ISSUE WILL BE JAN/FEB 2026
- Home
- Forums
- Ships of Scale Group Builds and Projects
- Group Build Archives
- Blandford Cross Section PoF Group Build
You are using an out of date browser. It may not display this or other websites correctly.
You should upgrade or use an alternative browser.
You should upgrade or use an alternative browser.
Donnie's HMS Blandford Cross Section Build: 1/32 Scale [COMPLETED BUILD]
Kurt Konrath
Kurt Konrath
Your work looks great for first time scratch builder.
Keep up the grand work!
Keep up the grand work!
HelloI agree that it is probably best to choose a wood that has good machinability and workability rather than the colors. I spent this evening working on the Jig. Mike says that the Jig does not have to be a work of art. The bottom is a pre-made 12"x36" shelf and 1/4" MDF 2x2 foot sheet. bought at home depot.
No, it is not glued up yet,. I just showing a dry fit.
I have one more question, please. When sawing out the base plate...do you leave the line or do you saw out including the line ? N0 16 in the report
best regards
Thanks Donnie
If I remember, I sawed up to the line (leaving the black line in tact). Then you can file to fit the frames if necessary.
So, I went back to my jig and I measured some of the openings and I come up with about .51 inches. I measured some of the frames and they were .4975. This .0025 off is obviously due to sanding and handling the parts, etc.
Two measurements can not occupy the same space anyway. One is going to have to be lesser while the other is larger.
It is better to sand or file 'down' to the size you want.
Last edited:
I do not know exactly how it is with the drawings of the Blandford, but usually the center of the line is the requested measure - so usually you should cut half of the line away
If you follow this principle in general, you should be able to make all parts correctly and they should fit.
If you follow this principle in general, you should be able to make all parts correctly and they should fit.
Thank you all again for your support, encouragement, likes, and even dislikes (if there were any). Thank you Mike for the design and guidance. Many of you helped me through this process and it is greatly appreciated. It did help me gain (some) more confidence in future projects.
And without further delay (now 11 months and 2 weeks) here is the final result - the good, the bad, and a little ugly (Ha - of some of what can not be seen - LOL)
And of course, I want to thank Dave Stevens of www.dlumberyard.com for the sponsorship program of the wood supplies.
Donald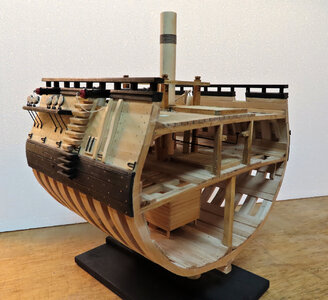
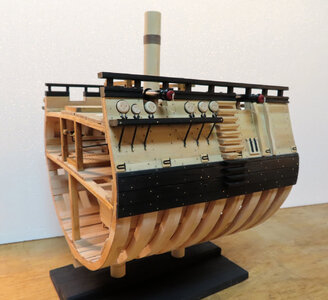
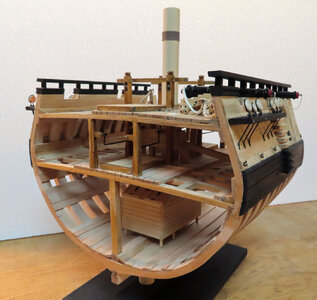
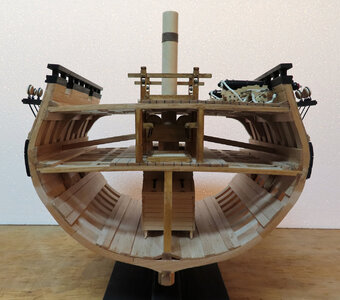
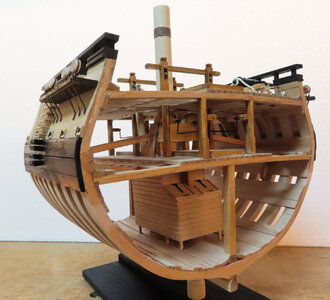
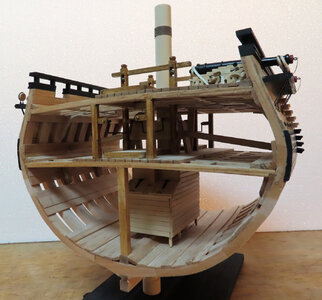
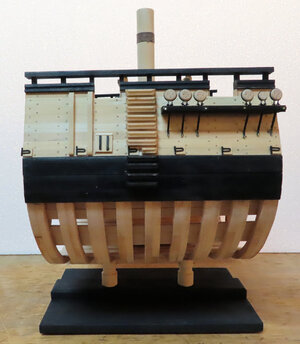
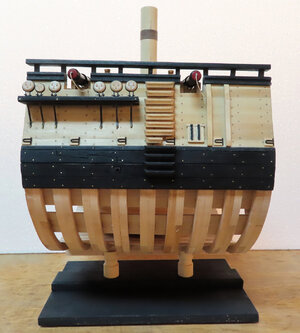
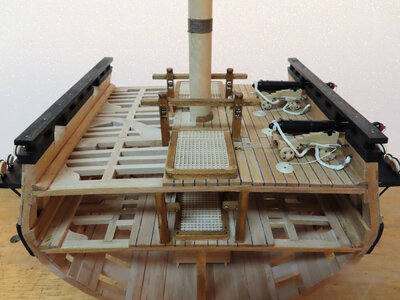
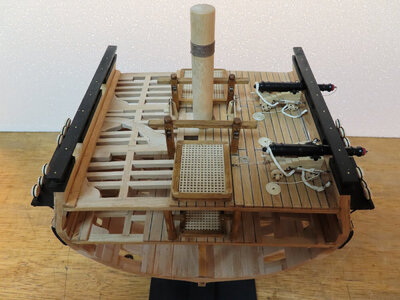
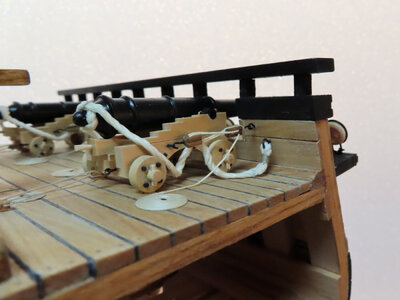
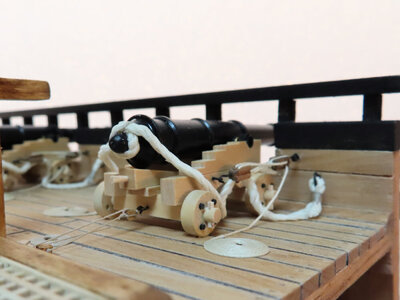
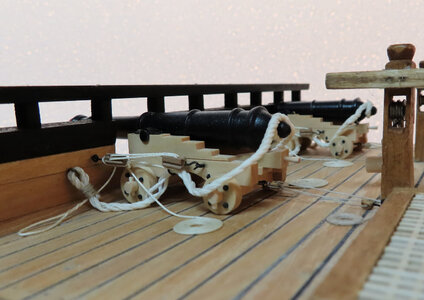
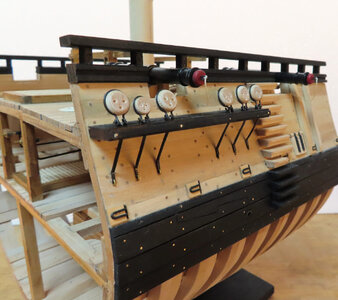
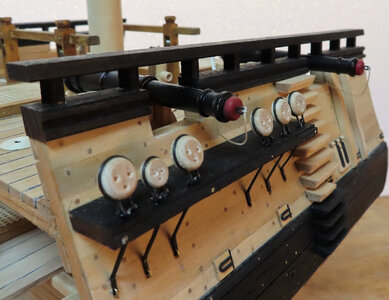
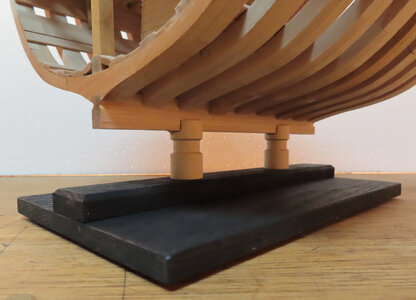
And without further delay (now 11 months and 2 weeks) here is the final result - the good, the bad, and a little ugly (Ha - of some of what can not be seen - LOL)
And of course, I want to thank Dave Stevens of www.dlumberyard.com for the sponsorship program of the wood supplies.
Donald


The cross section looks great Donnie,congratulation!
Congrats Donnie. Well made!
Kurt Konrath
Kurt Konrath
A great model for your first time scratch build. I love the extra details and time you gave to explain the work you did and the reason behind it.
I will miss checking in on your progress on the section.
Now to follow you on your next venture across the seas!
I will miss checking in on your progress on the section.
Now to follow you on your next venture across the seas!
Your skills are absolutely better then you think. This is a beautiful build nice contrast, clean and fitment on point.
Congratulations also from my side
You did a really good job on your first scratch build
Very well done my friend


and BTW: this model is something for our gallery of finished models
You did a really good job on your first scratch build
Very well done my friend


and BTW: this model is something for our gallery of finished models
Thank you all for the likes and congratulations. It means a lot to me.
Ha Uwek, you know that did not even cross my mind about adding it to the Gallery Showcase. I guess I need to do that LOL....
Ha Uwek, you know that did not even cross my mind about adding it to the Gallery Showcase. I guess I need to do that LOL....


