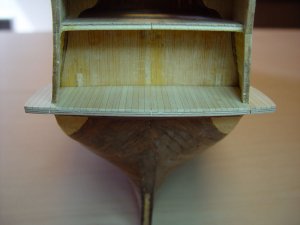
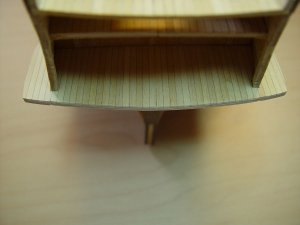
Section 3 – Stern Decking (continued)
Hello Mates,
If you remember, I made a mockup of the 1st and 2nd battery decks to get an idea of what the stern might look like. Now I know and am ready to move forward.
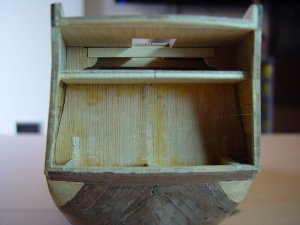
The first thing is to finish filing the stern opening.
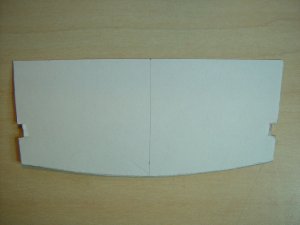
I am starting with the 1st battery deck. Make a real pattern that fits the deck precisely. Make sure that the part of the deck that will fit to the quarter gallery deck sticks out farther than necessary. Then cut out the pattern. Trace the shape onto whatever material you choose to use for the new deck. My choice is 3/32” birch plywood.
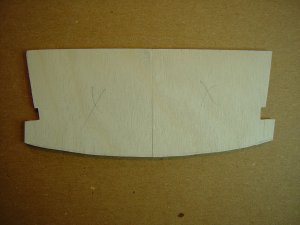
Cut out the new deck. In my case I used a 16” scroll saw by Allwin. I am using a jeweler’s blade in the jig saw to cut the wood. It is very thin (just under 1/32" thick) and cuts though the wood easily without splintering. When cutting out the deck, do not cut on the line. Cut maybe a 1/16” to 1/32” away from the line. This will give you some wiggle room to make adjustments.
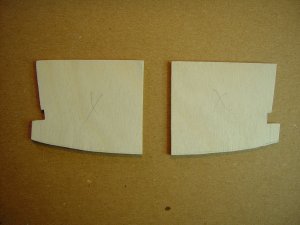
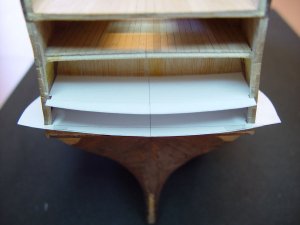
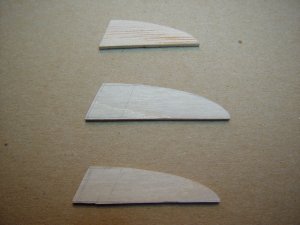
Next cut the deck in half. You will find you have to do this because you cannot install it any other way. Mark an “X” on each piece to signify the top side of the deck. Now carefully file or sand each half until it fits to the inner side of the hull. Make sure you know where the center of the stern is. You do not want to adjust the deck half to where it exposes the center line of the stern otherwise you will end up with a gap between the halves.
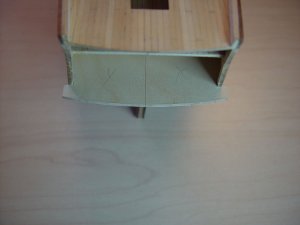
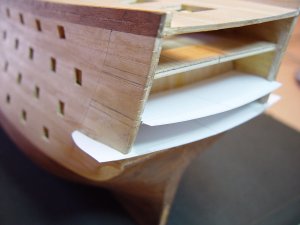
When you are done, insert the halves to see if they fit. If they do, you are done except for cleaning up the end of the deck plus matching the end wings of the deck to the contour of the hull.
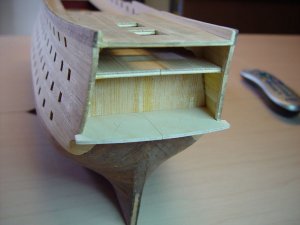
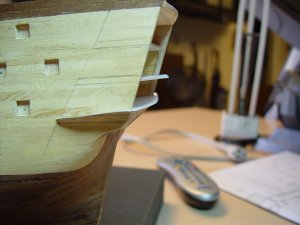
One other point. When checking the fit, make sure the deck sits slightly lower than the deck line you drew on the side of the hull. That way when you install the deck planking, the deck will line up properly with deck lines on the hull.
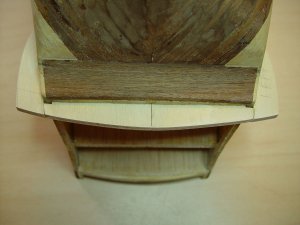
I have not cleaned this up yet. The plan is to have the quarter gallery decks butt up to the stern deck. This will give the appearance of being one piece.
When you are totally satisfied with the fit, glue the deck into place. You have the choice of planking it before or after you install the deck.
My next step is to verify the fit. Then make and install the two quarter gallery decks. When done, I will move on to the 2nd battery deck. There will be more pictures to come as I proceed.
Later,
Don


