Endurance (1912) - Occre, Scale 1:70 - My First Shipbuilding Adventure

Hmm. I've done a lot (like, a LOT) more plastic modeling than wooden ship-building

Same. Sixty years worth. I ran out of subjects !

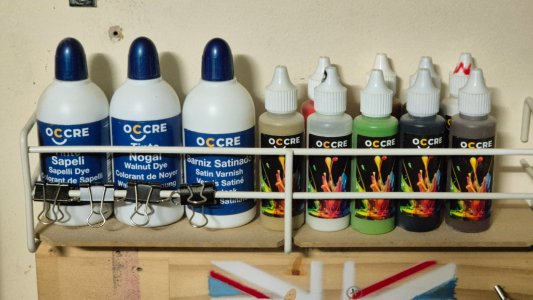
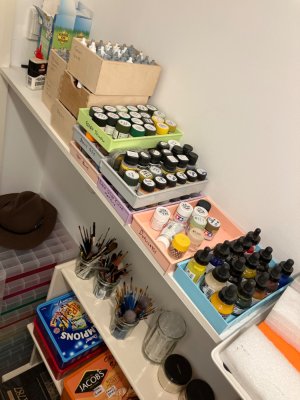
and I rarely use anything but Vallejo for airbrushing. It's true that it suffers from the same drawbacks as all other acrylics, but

It’s always intrigued me how modeller A will do brilliantly with a particular paint rands while modeller B can take it or leave it and Modeller C will hate it like sin. That’s why I’m trying not to push my own favorites too much here.

I prefer acrylics because it's easier to spray and cleanup indoors without generating a bunch of HAZMAT.

My children made me stop using enamels. They said I might kill the dogs!

That said, start with a good primer coat (I use automotive primer in a rattle can and you don't need to worry about adhesion (at least for a model).

Lacquer? Ew, smelly. I use Stynylrez acrylic polyurethane through the airbrush straight from the bottle. Mmmm…. Tasty.

I believe Cat is starting with a sealing coat of varnish. Hopefully not an oil based gloss or nothings going to want to stick.

I recently sprayed Stynylrez over a sealing coat of shellac and it looked so good I didn’t bother with the topcoat. I’m now wondering whether I could use it as a one stop sealer/primer/topcoat?

I will say I've had some bottles of Modelair that shot straight, and others that required a bit of thinning. A drop of retarder medium really helps flow and prevents tip clogging.

Retarder. Indeed that’s useful stuff especially in Australia in summer.

Another good thing to have handy is flow improver.
 
Hmm. I've done a lot (like, a LOT) more plastic modeling than wooden ship-building and I rarely use anything but Vallejo for airbrushing. It's true that it suffers from the same drawbacks as all other acrylics, but I prefer acrylics because it's easier to spray and cleanup indoors without generating a bunch of HAZMAT. That said, start with a good primer coat (I use automotive primer in a rattle can and you don't need to worry about adhesion (at least for a model). I will say I've had some bottles of Modelair that shot straight, and others that required a bit of thinning. A drop of retarder medium really helps flow and prevents tip clogging.
I also agree with some kind of primer coat under the paint. I use sanding sealer (not sure they have that where you live). I also second the retarder medium when airbrushing.
 
Hopefully not an oil-based gloss or nothing's going to want to stick.
No mate, it's what Occre supplied, all water based Thumbsup :)
25th Nov (3).jpg
I have to say, this is a heck of a lot to take in, it's a million miles from my portrait inks, but with your explanations I'm confident I'm getting the gist of the direction I should be taking, and of course always very grateful for the many years' experience, mistakes and successes that you've allowed me to fast forward to a somewhat safer path, I guess the rest is up to me ! :p
We get our hair cut at a small town about an hour and a bit from here, there's a model shop which I have frequented and know the guy fairly well, so next time we're there I'll chat about the paints he has - it's a great store considering it's in the middle of nowhere ROTF
----------------------------------------------------------------------------------------------------------------------------------------------------------------------------------Remember me enquiring about those Stanchions very early in the mix and you suggested I should be more patient?
Remember I mentioned I was born with minus zero patience?
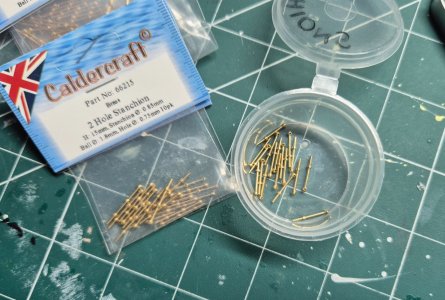
Well, it was the Occre supplied stanchions that caught my eye practically on box opening day, and from that point I thought, nup, not good enough.
Don't get me wrong, everything else supplied is of excellent quality, it was just those darned stanchions that haunted me.
So, I found some from dear Blighty, spot on, 1- and 2-hole, perfect height, not expensive either, mind you I had to sell the only kidney I had left for the shipping, but you know, priorities.

25th Nov (2).jpg

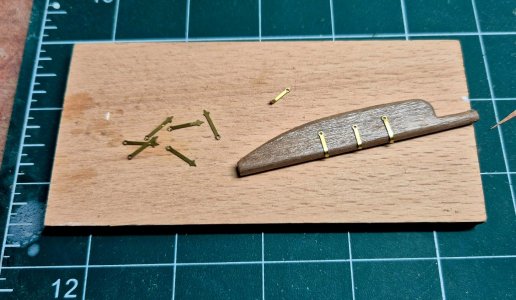
But those Occre stanchions make the best Rudder hinges ! Thumbsup;)

25th Nov (1).jpg

I'm putting the single hole either side of the rudder, then I'll use the 2 hole to fit on the pole thingy at the back.
Cool eh ? :pROTF
 
Well from all that panicking, planking and painting I thought I'd give myself a deserved break and create something that I've been thinking of lately.
The center compartment, I believe the crew nicknamed "The Ritz"
I recall reading somewhere in SOS a modeler showing pics of the Endurance with custom planks from the roof of the Ritz to the rear deck as opposed to Occres version where it's an included extension, so my intention (currently in progress) is to create that look, coming along very nicely, pics maybe tomorrow.
During my work at the shipyard yesterday, I wondered if you guys might be interested in a little trick I fell on during the top planking process which involved a 150mm stainless rule.
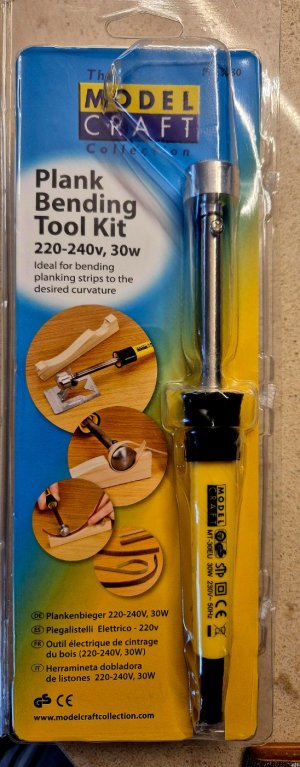
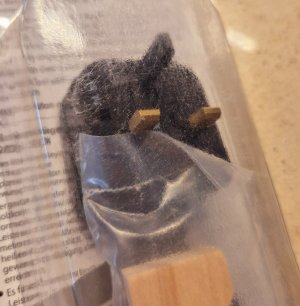
I used this rule during planking to gently pull backwards with slight pressure and pressed the planks flat perfectly, also using it as a "hot iron" while my Plank Bender was being shipped (came yesterday but the plug was very strange, so changed that to a normal one ;))
26th Nov (6).jpg 26th Nov (1).jpg

Back to that steel rule.
I remember reading in SOS someone mentioned there are no square edges on a ship due to the injury it may cause during rough seas, I always add an edge to any woodwork project I create anyway, I always think it looks "finished"
Back to that steel rule.
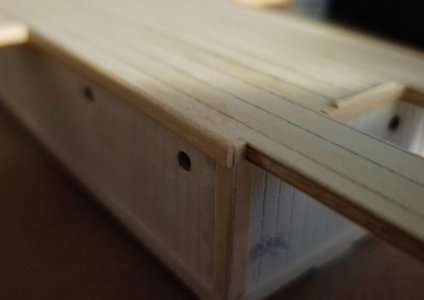
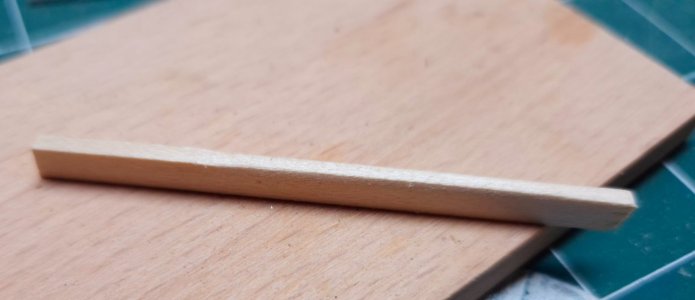
What I found was if after the glue has set, I could pull the end of the rule gently backwards and with slight pressure it creates a perfectly smooth, even and miniature edge to the woodwork (many might of been doing this for donkeys but to me it's a real discovery and I love it!)
As opposed to a slight and gentle file/sand, it leaves no trace of wood fibre at all.
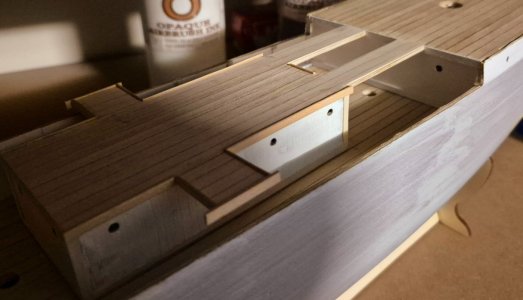
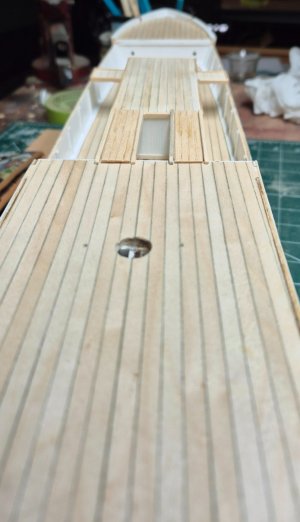
I had a go at taking some pics to show but unsure if it gives a decent idea, ignore the unfinished Ritz, work in progress :p

26th Nov (2).jpg26th Nov (4).jpg

Here's a piece of scrap 2mm x 4mm to help show the difference, the amount of soft edge of course can be controlled by the pressure.

26th Nov (5).jpg
 
Last edited:
I think that’s called burnishing. It’s a metalworking process also done on plastics where the pressure of the tool permanently deforms the material making it flow into a new shape.

On wood, I think you are crushing the fibres. I wonder if they will spring back to their original shape if they are wetted with water based varnish?

Maybe not. My treenails on the deck of alert stayed dimpled. Those circles were cut though, as well as crushed. Who knows? Time for an experimental wetting?
 

Ah, I didn’t read it as scraping. If you are removing shavings that’s scraping and a really old, really sound way to get a good clean finish. It’s like a small cabinet scraper. I use them all the time from the sharp edges of my 12 in steel rule down to small ones made for guitar makers and tiny ones I make by rolling the edge of a scalpel.

no trace of wood fibre at all

When I read that I thought you weren’t removing material but just flattening the corners. Sorry, I get confused easily these days. :confused:
 
Ah, I didn’t read it as scraping. If you are removing shavings that’s scraping and a really old, really sound way to get a good clean finish. It’s like a small cabinet scraper. I use them all the time from the sharp edges of my 12 in steel rule down to small ones made for guitar makers and tiny ones I make by rolling the edge of a scalpel.


When I read that I thought you weren’t removing material but just flattening the corners. Sorry, I get confused easily these days. :confused:
It’s possible I was the one who misunderstood. After reading it again, I think he is talking about rounding the corners as you said, and not actually scraping. Either way, there’s now info on two useful techniques
 
Sorry for the late response fellas, the11hrs time difference is a pain :p
Actually, you are both correct, I did use to scrape ever so slightly by an action I can only describe as "draw filing" using the rule, but I also pressed and squashed afterwards if I needed to smooth it off. - hoping that makes sense :confused:

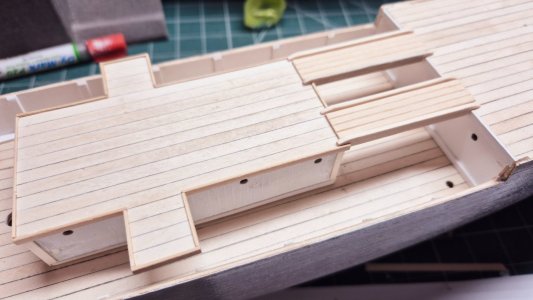
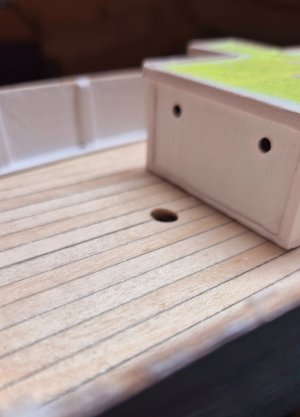
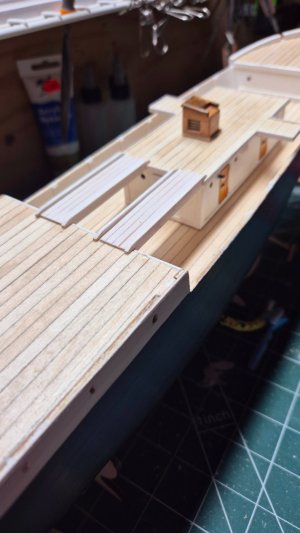
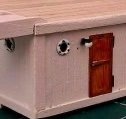
Had a ball creating those little walkways from the center cabin to the rear deck, really very pleased how they turned out.
The supplied section from Occre is still in one piece, all used was 4 off 1mm x 3mm sections and glued them together at the edges, and after shaping placed them on top, and then made some sides up from 2 x 5mm Thumbsup:)

20241127_172918.jpg 20241127_173036.jpg

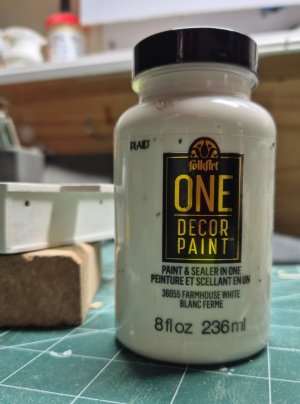
We were talking about paint the other day, about the white in 1914 not being the white we see today.
Well look what I came across while we were out at a shopping center yesterday !
I've tried it and it's spot on, "Farmhouse White" by a company call "FolkArt" - I believe it could be a UK product?
We don't have many "Farmhouses" here, homesteads yes, but not farmhouses.
An Acrylic in Eggshell finish and it's perfect for the look I was after. Thumbsup:p

20241127_190932.jpg 20241127_191841.jpg

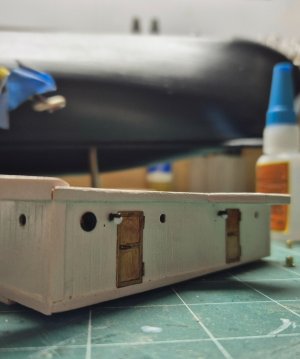
I don't think the photo does justice, but you just might see a difference between the first coat I put on the centre cabin and
the area in the background still currently in Occre white.
 
OK folks, a little catch-up before me and the sheila head off to town for the weekend.
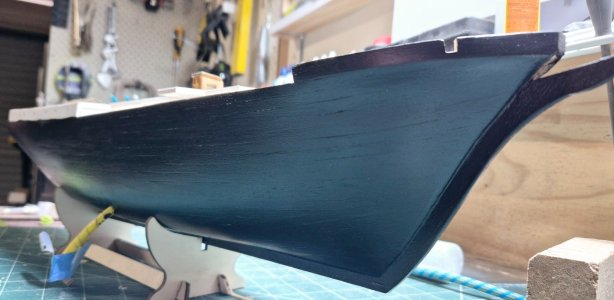
Finished up brush painting the hull, and sooo happy you guys chatted about the paint hues.
Stoked (extremely happy) with that White, and mixing that black to a not-black-but-still-black has given it a blueish-black.
Mate, I'm wrapped (another extremely happy)
20241129_080105.jpg
While waiting for that black to cure, I went back to my obsession with the centre cabin.
I think it's because I can experiment and practically complete without glueing it in place or compromising any of the build.
In the back of my mind, I always consider that the Polaris was built as a tourist boat for the wealthy to experience Polar Bears and Penguins, so the quality would of been upmarket if nothing else, of course Sir Earnest got it at a pinch after the owner went skint, and modified it greatly to cope with his Imperial Trans-Antarctic Expedition.
The centre cabin roof was primarily a viewing platform for the aforementioned toffs, and so for Endurance, walkways were added to bridge the cabin roof to the rear deck extending the work/storage areas greatly.
20241129_203533.jpg
Portholes.
Woe is me.
At one stage my darling ship looked like a pirate donut factory from the north Sea.
Nope, nope, thrice nope.
After studying many Getty images, I've decided for white on hull portholes, black on cabins.
20241129_192115.jpg

I would of put in a pic of the donuts but I think I've spontaneously deleted.
 
Last edited:
I would of put in a pic of the donuts but I think I've spontaneously deleted.

I’ve spontaneously deleted entire models, drunken binges, toxic relationships, careers. Sometimes erasure from records and memory is the best policy. ROTF

Your hull looks very black with its Arctic Ocean blue undertones. Outstanding result and brush painted? I can’t do quality brushwork like that.

The undertones in colour are like grace notes and bends in the blues. They are the difference between music that makes you dance and music that makes you cry. And yet most of us never consciously notice either phenomenon, we experience it directly with the soul/heart/limbic system (according to your personal preferences).
 
Back
Top